5.1.3. AFNI GUI: Image window

AFNI GUI: Image Window

../../_images/image_window.png

Load a dataset and open an image viewer.

Image Window

Basics

  • Click and release mouse button 1 (left button) to move the crosshairs to the location of the cursor.

  • Click down Button 1 (left button) in the image window and hold it down, then drag around while holding. This changes contrast and brightness.

    • You must move cursor a small distance while doing click-and-hold before the contrast/brightness change starts.

  • Scroll-wheel in the image window moves through slices.

  • Keyboard ALT ( on macOS) while using the scroll-wheel in the image window will change the functional overlay threshold slider in the main AFNI GUI window.

    • This action affects all image viewers in the current AFNI controller.

  • Shift+button 2 will allow you to drag crop a region.

    • (The middle button on a 3 button mouse, or click down on the scroll-wheel, or shift+option on macOS.)

  • Keyboard shortcuts are listed here.

  • Clusterize shortcuts (these have a cool animation effect):

    • j = Jump to the nearest cluster’s peak (or center of mass)

    • f = Flash current cluster if the crosshairs are inside one.

    • n or N = Jump to the next or previous cluster’s peak or center of mass.

../../_images/image_window.png

Crosshairs

  • Crosshairs in image window show current focus location (xyz in AFNI controller)

  • Also show the cut planes for the other image viewers (in this case the sagittal and coronal viewers)

  • Can control crosshair color and gap size from main AFNI controller. (see here).

  • When using image montage, other viewers show multiple crosshairs. (see here).

../../_images/image_window_xhairs.png

Hidden Image Popup Menu

  • Hidden image popup menu using Button 3 or right-click over the actual image.

  • May need its own page to show some examples.

  • InstaCorr Set

  • InstaCorr SeedJump

  • Jumpback lets you jump the focus position back to its last place. Useful for when you click in the wrong place and get lost.

  • Jump to (xyz) lets you enter xyz-coordinates (in mm), and then the focus position will jump there. (3 numbers , or space separated)

    • External programs 3dclust and others can generate xyz coordinates of interest.

    • Once you have +tlrc dataset, can jump to regions from Talairach atlas.

    ../../_images/image_window_HiddenImage_popup_jump_xyz.png
  • Jump to (ijk UL) lets you jump to a particular voxel index location in the underlay coordinate system. (Dialog box is similar to Jump to (xyz))

  • Jump to (ijk OL) lets you jump to a particular voxel index location in the overlay coordinate system. (Dialog box is similar to Jump to (xyz))

  • Jump to (Cluster)

  • -Go to atlas location

  • -Where Am I?

  • -Atlas Colors

  • Image display lets you turn control widgets on and off to unclutter screen a little; useful if you want to make a screenshot. But use the Sav1 button instead of a screenshot. (see here)

    ../../_images/image_window_HiddenImage_popup_Image_Display.png
  • Edit Environment

  • Draw ROI plugin

  • bg =x (x is some number)

../../_images/image_window_HiddenImage_popup.png

Slider

  • The slider below image lets you move between slices.

  • The number above the slider indicates the current displayed slice. (in this case 144)

  • Leftclick and drag to move past many slices.

  • Leftclick ahead or behind to move 1 image at a time.

  • Hold button click down to scroll continuously through slices.

  • Middle click (option+left click on macOS if you set it up in XQuartz) in ‘trough’ to jump quickly to a given location.

  • Mouse scroll-wheel action when cursor is over image also changes slices.

  • ctrl+click will jump to the start of end of the slices, depending on which side of slider you click.

../../_images/image_window_slider.png

Vertical Intensity Bar

  • Vertical intensity bar to right of image shows mapping from numbers stored in image to colors shown on screen.

  • Bottom of intensity bar corresponds to smallest numbers displayed.

  • Top corresponds to largest numbers displayed (popup hint shows numerical range)

  • Smallest-to-largest display range is selected from the Disp control panel. (see here), or from the right click hidden popup menu (see here).

  • Scroll-wheel in the intensity bar changes contrast.

  • ALT ( on macOS) plus scroll-wheel in intensity bar changes brightness.

  • All image viewers from all AFNI controllers use the same intensity bar.

    • When you change intensity scale in one viewer, all others viewers change.

    • Unless AFNI is started with the -uniq command line option, in which case each AFNI controller’s viewers have independent intensity bars. But all image viewers from same controller always share same intensity bar.

../../_images/image_window_IntensityBar.png

Colr, Swap, Norm, .etc

  • Colr changes grayscale to color spectrum, and back (fun & useless).

  • Swap swaps top of intensity bar with bottom.

  • Norm returns the intensity bar to normal (after you mess it up).

  • c controls contrast. b controls brightness.

    • Useful combination c ↑ 2-3 times, b ↓ 2-3 times.

  • r rotates the intensity bar (also fun & useless).

  • g changes the gamma factor (nonlinearity) for the intensity bar.

  • i changes the size of the image in the window.

  • 9 changes the opacity of the color overlay. (This control only present for X11 TrueColor displays does this matter anymore?)

  • z zooms out and in.

  • pan lets you pan around when zoomed in. (greyed out if not zoomed)

  • crop lets you crop the image viewing area.

  • Card or Obliq (not a button) tells you if the dataset axes

    are parallel to LR-AP-IS or not parallel.

  • At bottom right, the arrowpad controls the crosshairs.

    • Arrows move 1 pixel in that direction for the current window.

    • Central button closes and opens crosshair gap (for fine control of the crosshairs location)

    • For more crosshairs controls see here.

../../_images/image_window_RightButtons.png

Disp

  • Disp controls the way images are displayed and saved.

  • This may need to go on its own page!

  • It pops up its own control window and most controls change image immediately.

  • Orientation controls at top allow you to flip image around.

  • + LR Mirror flips the image left to right. For example, if the image was displayed left=Left it will flip to left=Right

  • No Overlay lets you turn color overlays off (crosshairs; function)

  • Min-to-Max Intensity bar is data min-to-max.

  • 2%-to-98% Intensity bar is smallest 2% of data to largest 98%. This avoids having a few very bright voxels dominate intensity scaling.

  • Free Aspect lets you distort image shape freely. Otherwise, AFNI tries to keep image shape true as you stretch/shrink window.

  • The save panel controls how images are saved to disk. For more details, (see below)

    • All buttons off: saved image file contains slice raw data. (not what you want)

    • Nsize Save: same, but images are 2N in size.

    • PNM Save: images are saved in PPM/PGM format (color/gray).

    • Save to .xxx(s): saves image(s) to specified format.

    • Save One: for saving montage.

    • Save Anim GIF will save an animated .gif file scrolling through the slices of the image.

  • Project applies a projection function to plus-or-minus ‘Slab’ images from each pixel.

  • Slab +- selects the number of slices around the current view to use for the projection. Useful for looking at blood vessels and other different images.

  • Tran 0D lets you transform voxel values before display. Log10 and SSqrt are useful for images with extreme values.

  • Tran 2D provides some 2D image filters for the underlay only. Median 9 smoothing can be useful for printing images.

  • RowGraphs are plots of the underlay (grayscale) image intensity as x vs. y graphs.

    ../../_images/image_window_Disp_RowGraphs.png
    • Each graph is from one displayed horizontal row of the image.

    • The bottom rowgraph is from the image row under the crosshairs.

    • Upper rowgraphs are from higher image rows.

    • Image transformation functions and image rotation/flips will affect the rowgraphs as well as the image display.

    • The color marker indicates the crosshair focus point and can be hidden with the No Overlay button.

    • If you want columns, flip the image with CCW 90.

  • Surfgraph lets you graph the voxel values in a surface graph.

    ../../_images/image_window_Disp_SurfGraph.png
  • Extra imaging processing filters are provided at the bottom.

    • Sharpen is sometimes useful for deblurring images.

    • Edge Detect is useful as the underlay for checking alignment.

../../_images/image_window_Disp.png ../../_images/image_window_Disp_menu.png

Sav1.jpg

  • Sav1.jpg lets you save images from viewer to disk files.

  • Image files are saved in your current working directory.

  • The saved image is on the matrix of the dataset. It is NOT a screen capture; that is, the image saved will not depend on the size of the image viewer window or the resolution of the screen.

  • The crosshairs will be captured with the image unless you turn it off. (see here on how to do that)

  • The Prefix is the name of the image file you want to save without the extension. afni will append the extension of your chosen format.

  • If you use the same prefix more than once, afni will overwrite the image saved to disk without warning.

  • Blowup causes an explosion in your computer, destroying all work!

  • just checking to see if anyone reads this…

  • Actually Blowup artificially increases the size/resolution of the output image by a factor of your choosing from 1 to 8. This is useful for outputting pretty images for all of the papers you are going to publish (while also citing AFNI) See here on how to cite AFNI.

    ../../_images/image_window_Save1_dialog.png
  • The .jpg will change with your choice of output format. (for example it might be Sav1.bmp for a bitmap image)

  • To change the format, right click the Sav1.jpg button to get this popup:

    ../../_images/image_window_Save1_format.png
  • Selecting Sav:aGif will save an animated .gif file scrolling through the slices of the image.

  • Selecting this will change the saveing dialog box adding a From: and To: indicating the slices that you want.

    ../../_images/image_window_Save1_aGif.png
  • Warning: Images are saved as sent to the viewer, not as displayed.

    • Means that aspect ratio of saved image may be wrong. (non-square pixels)

    • This can be fixed with Define DatamodeWarp Anat on Demand (see here).

    • Or by setting AFNI_IMAGE_SAVESQUARE to YES (see here).

../../_images/image_window_Save1.png

Montage

  • Mont lets you display a rectangular layout of images (i.e., montage).

    ../../_images/image_window_mont_dialog.png
  • Across and Down determine number of sub-images shown.

  • Spacing determines how far apart the selected slices are

    • Every nth slice, for n = 1, 2, …

    • Multiple crosshairs in other image viewers will show montage slices.

  • Border lets you put some blank pixels between sub-images.

  • Color lets you choose the color of the border pixels.

  • At bottom row, the action buttons cause something to happen:

    • Quit closes the Montage control window.

    • 1x1 changes Across and Down back to 1.

    • Draw actually causes the montage to be drawn.

    • SetDraw then Quit

  • In this example, we have selected a 2 by 2 montage showing every other slice with a 1 pixel yellow border.

    ../../_images/image_window_mont_axl.png ../../_images/image_window_mont_sag.png
../../_images/image_window_mont.png

Rec

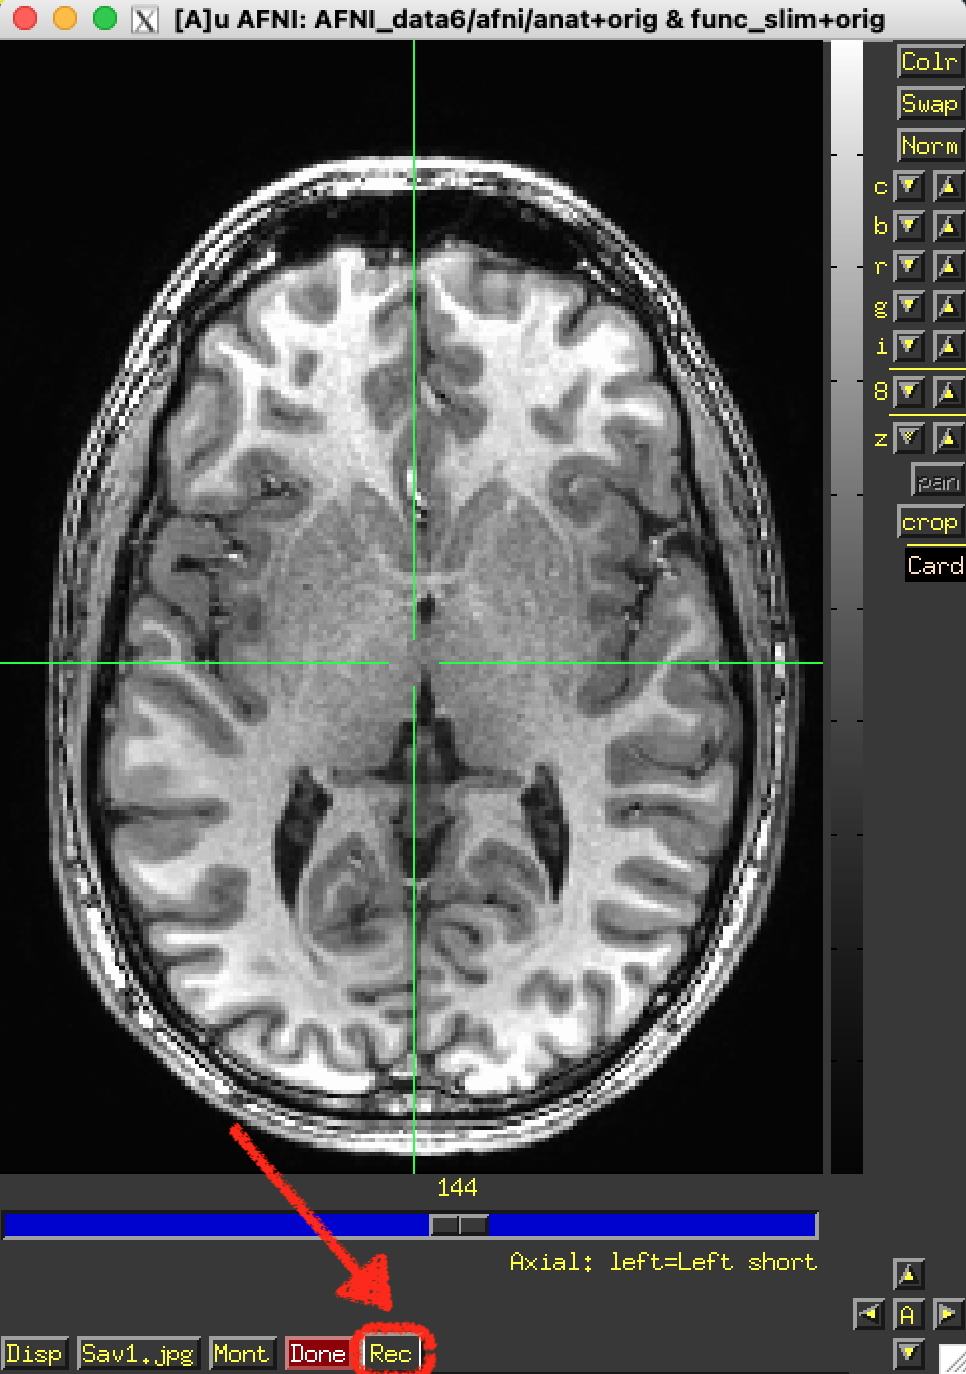
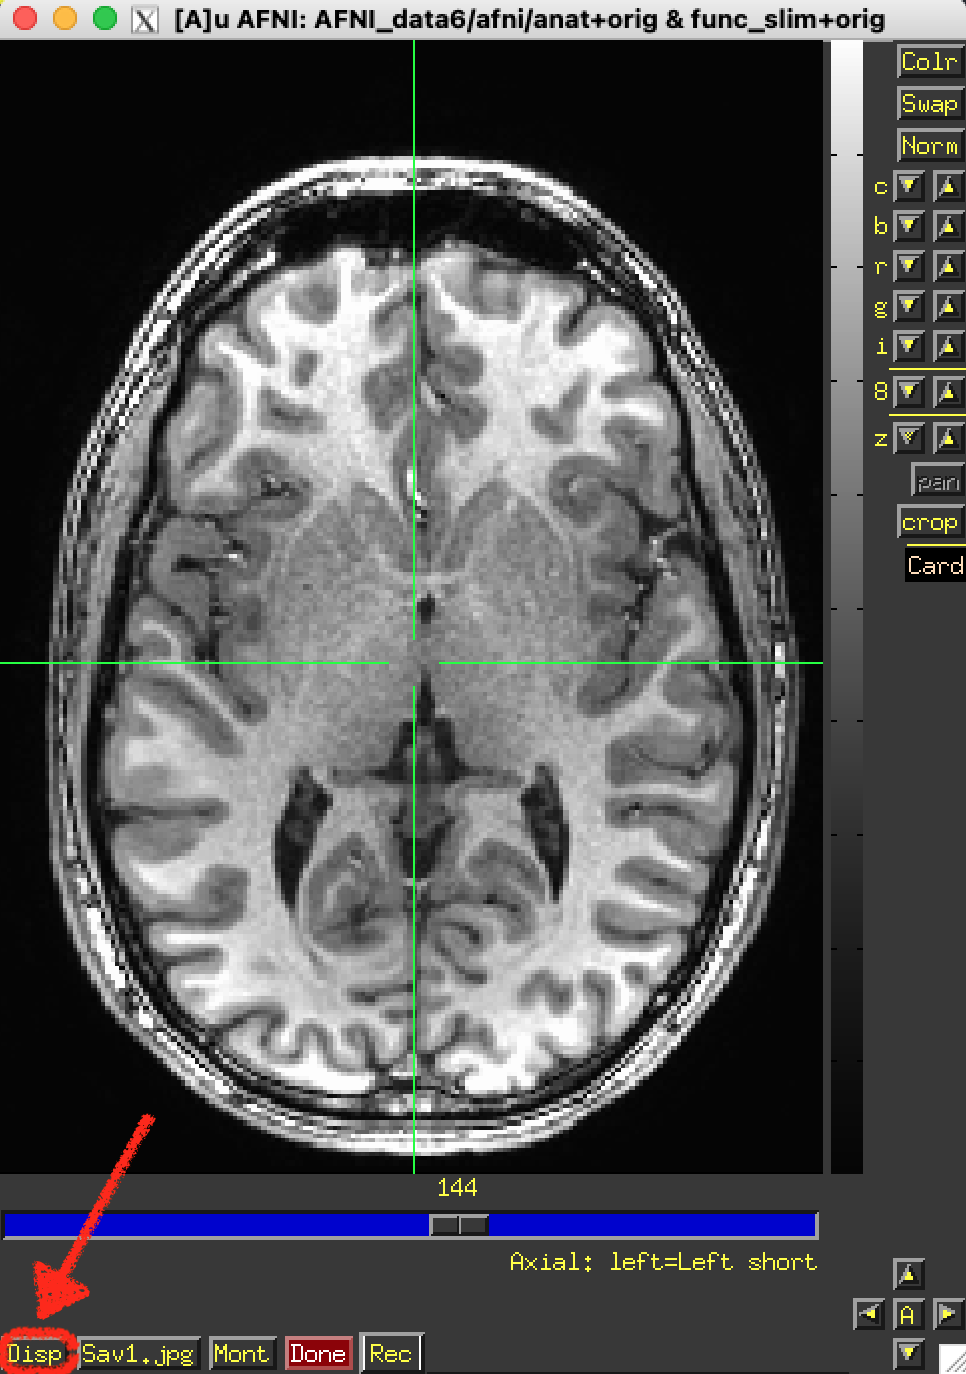
  • Rec lets you record images for later saving.

  • So you can build a sequence of images using any set of AFNI controls. You can change color maps, functional thresholds, datasets, … then save them to disk for animation, etc.

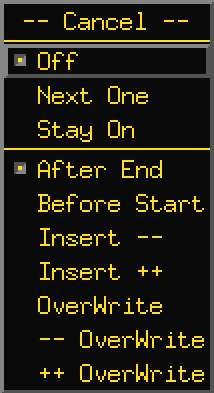
  • The Rec button button pops down a menu that sets the record mode.

    ../../_images/image_window_Rec_dialog.png
  • The top section controls WHEN images will be recorded into the sequence.

    • Off ⇒ recording is off…

    • Next One ⇒ the next image displayed is recorded, then back to Off.

    • Stay On ⇒ record each image when displayed.

  • The bottom options control WHERE new images are to be stored into the sequence.

    • After End = at the tail of the sequence.

    • Before Start = at head of sequence.

    • Insert -- = insert before current sequence position.

    • Insert ++ = insert after current sequence position.

    • OverWrite = replace current sequence position.

    • -- OverWrite = replace image before current position.

    • ++ OverWrite = replace image after current position.

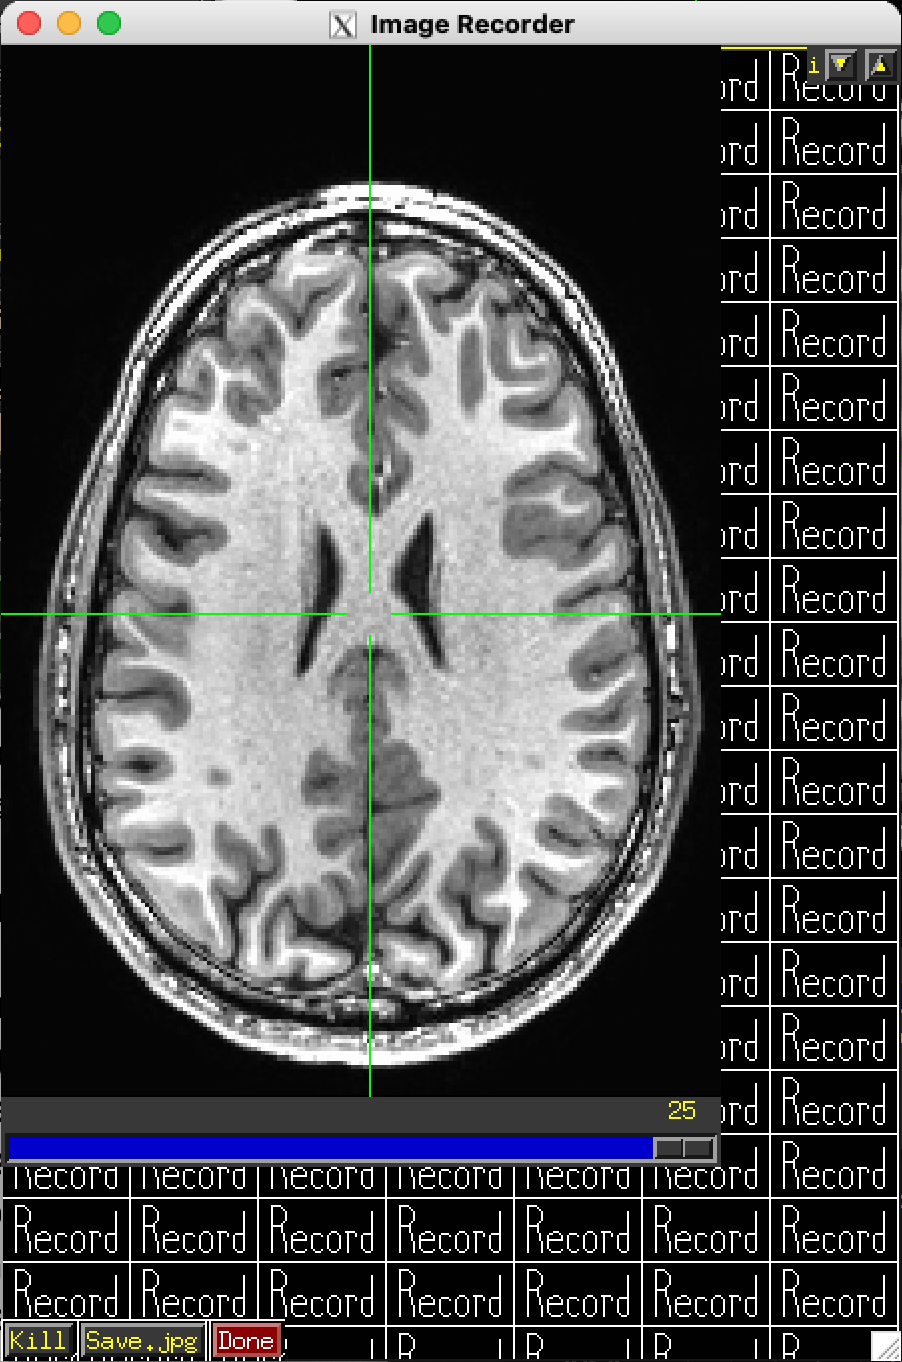
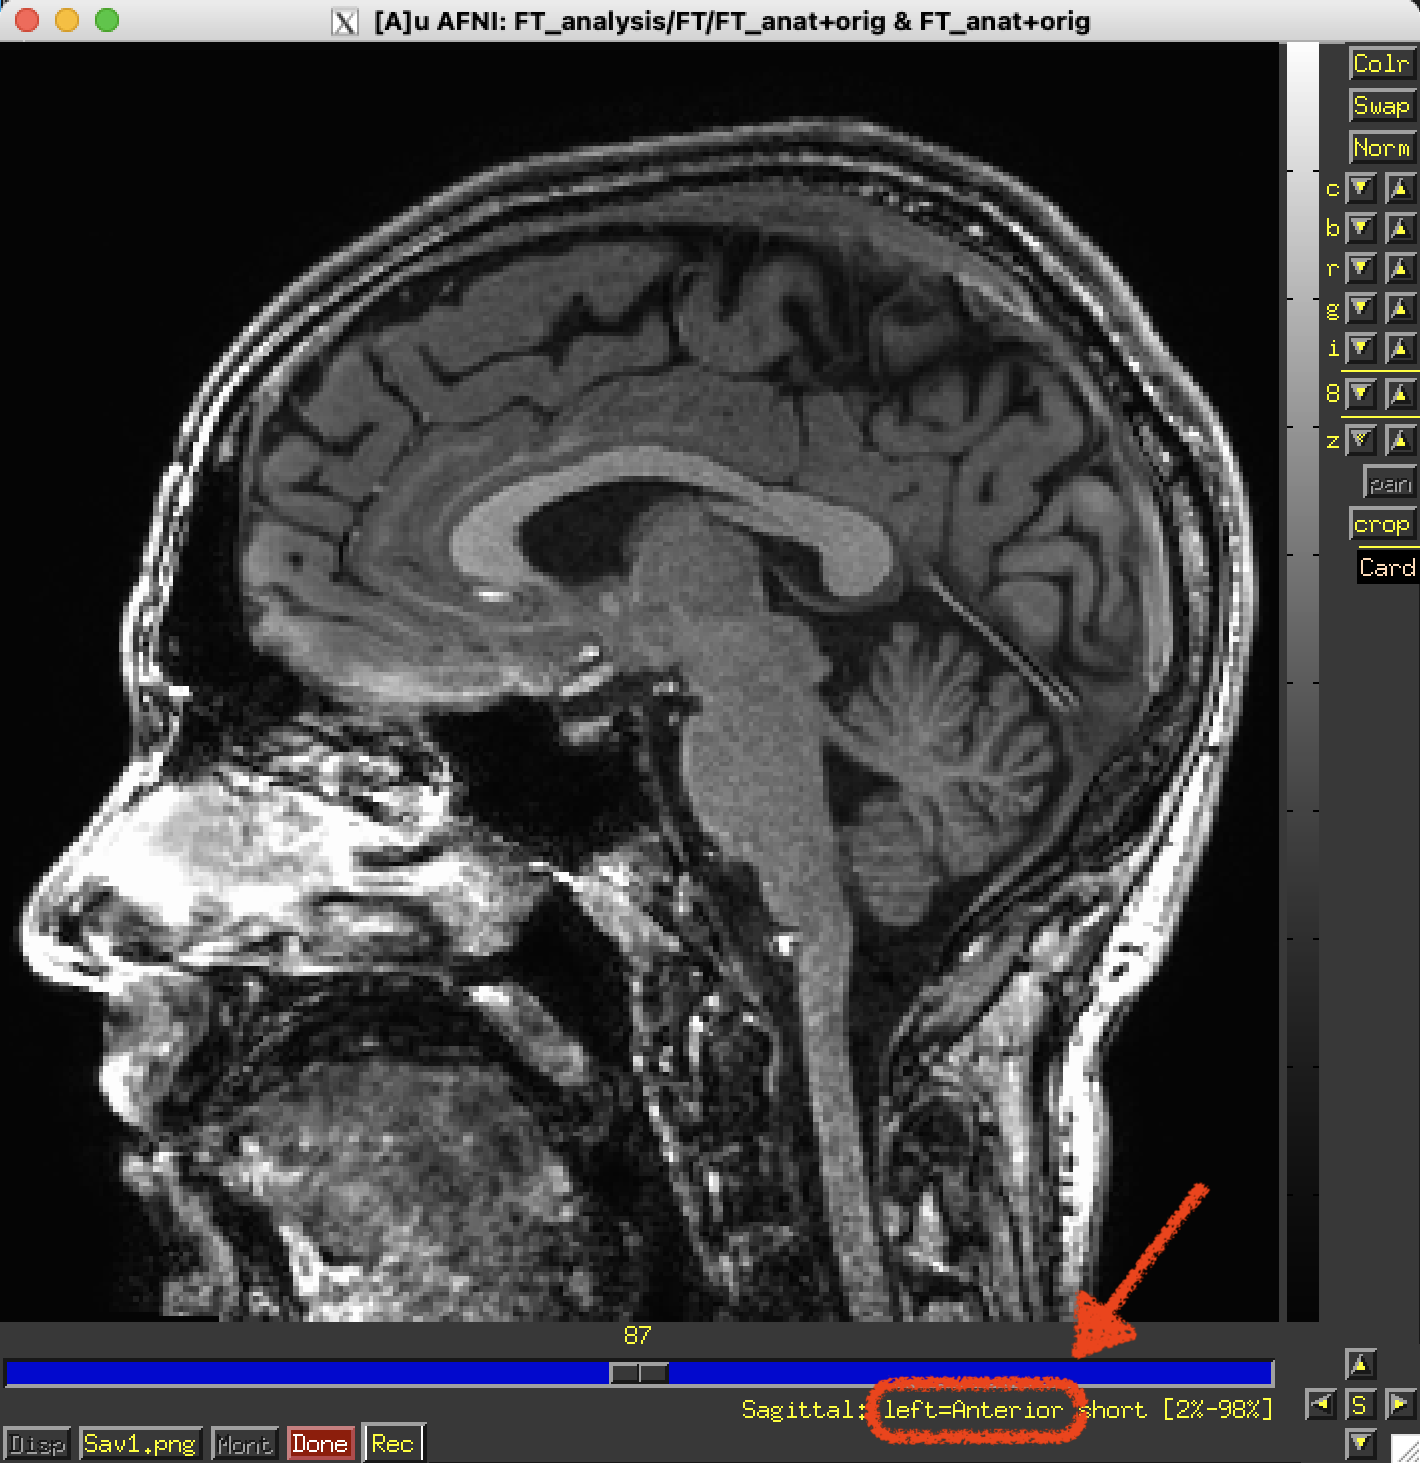
  • Recorded images go into a special new image viewer.

    ../../_images/image_window_Rec_save_viewer.png
  • The slider moves between recorded images.

  • Kill deletes 1 image from recorded sequence.

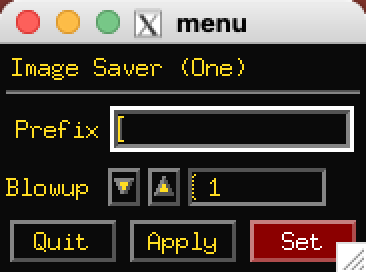
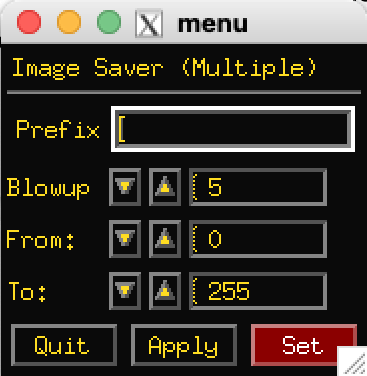
  • Save will save record images. (files with the same prefix will be overwritten without warning.

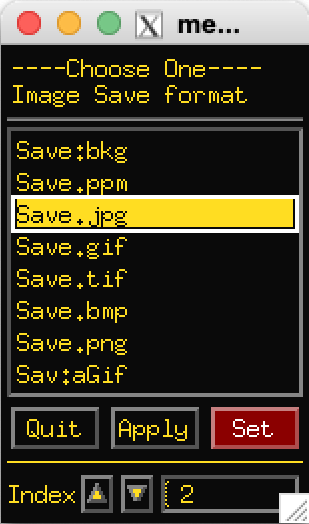
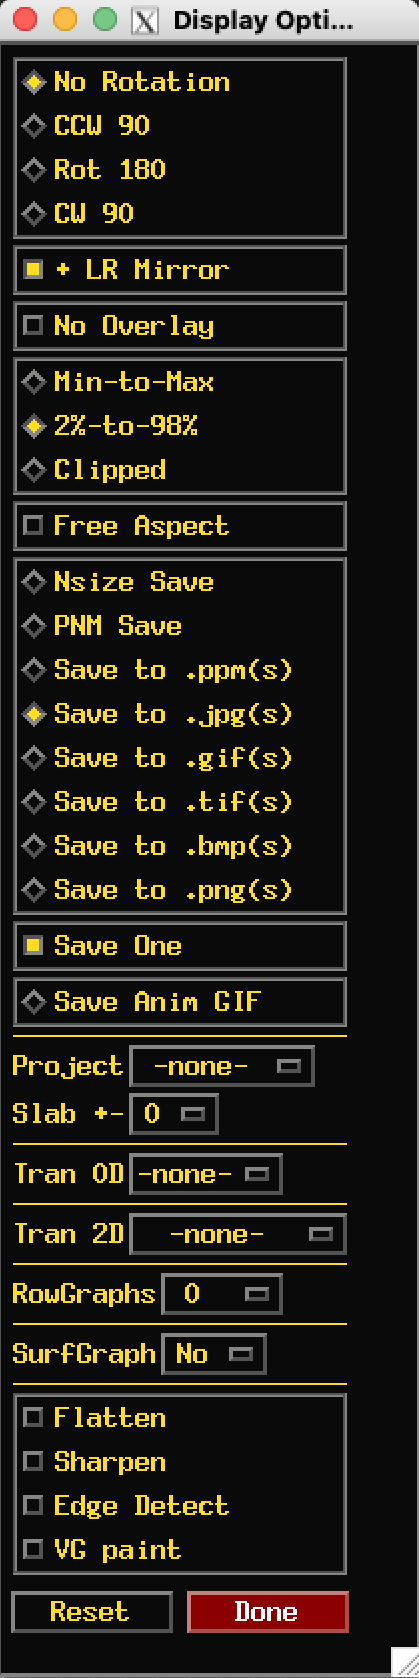
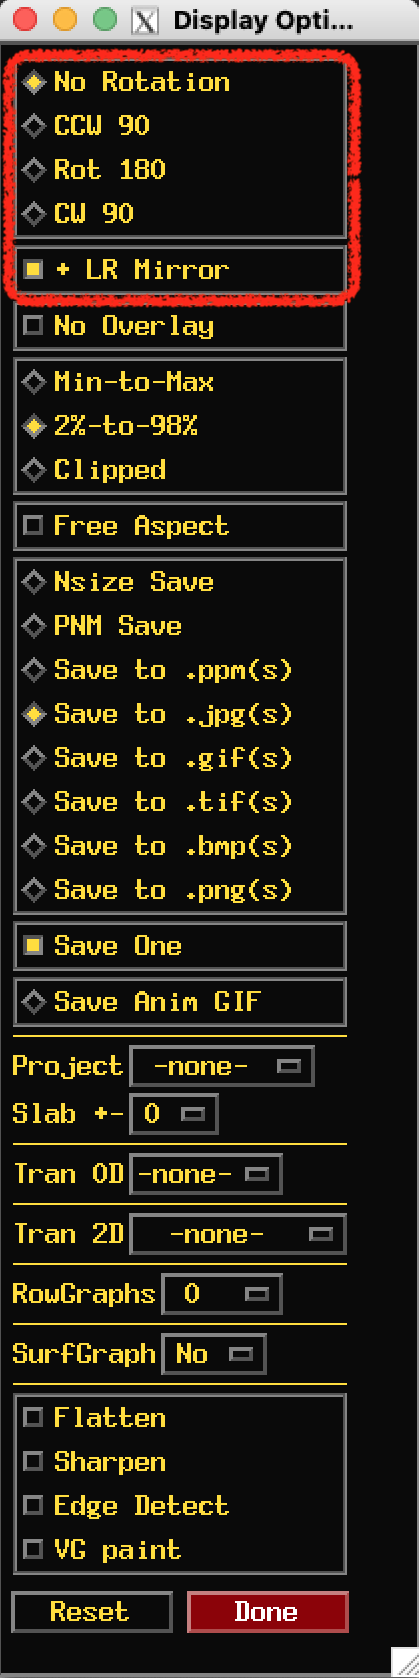
  • Right click on Save to change the output image format.

    • Your choice of formats is not saved after you close this special viewer. So remember to change this each time you start.

    • aGif is a good choice. If you leave it on .jpg you will get a single jpeg file for each item in the sequence.

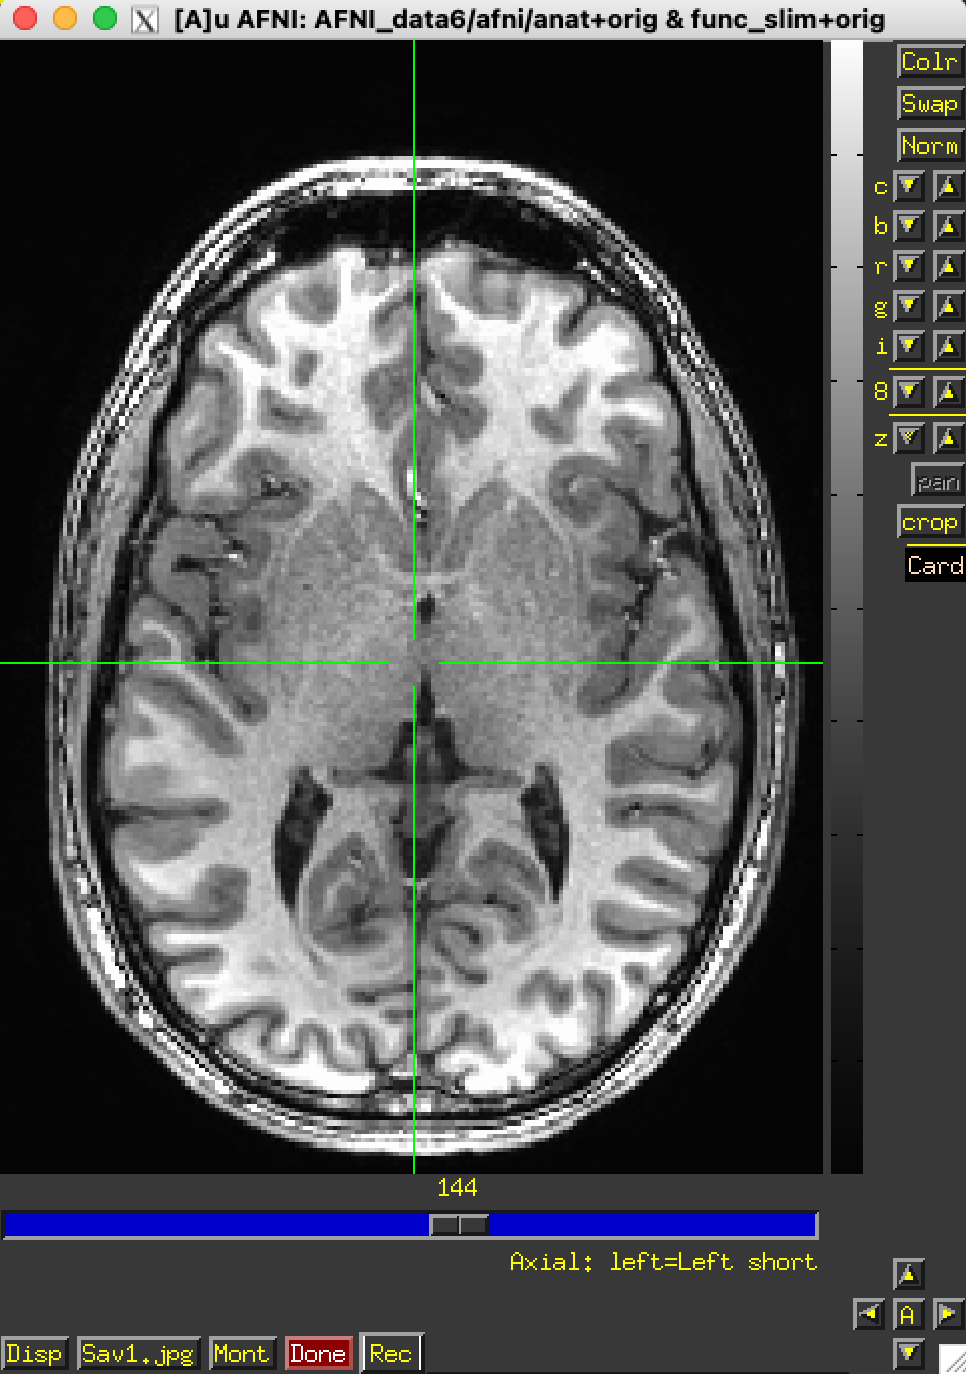
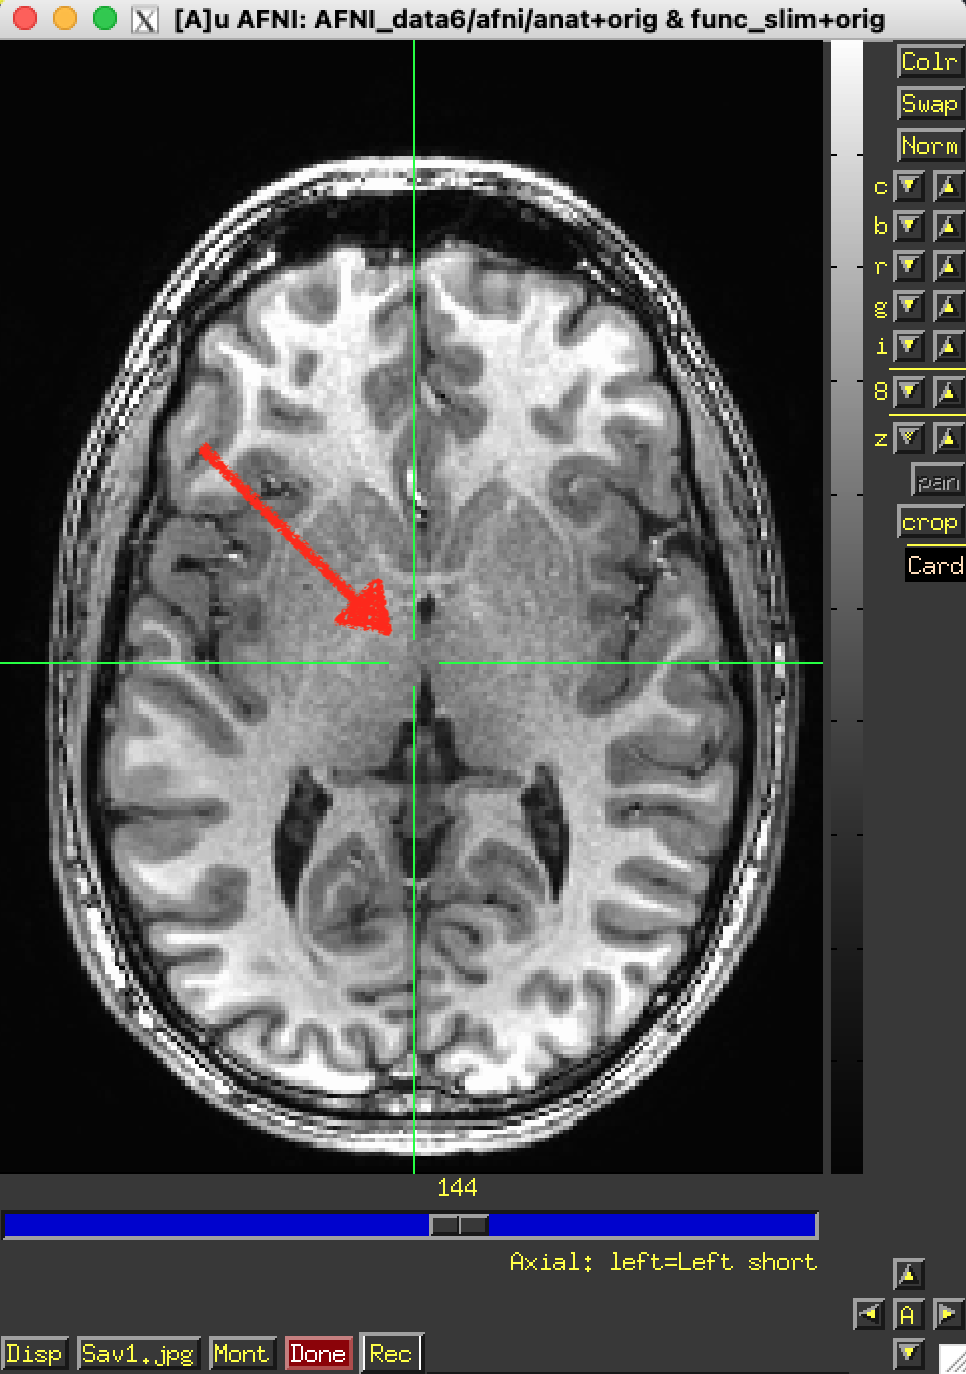
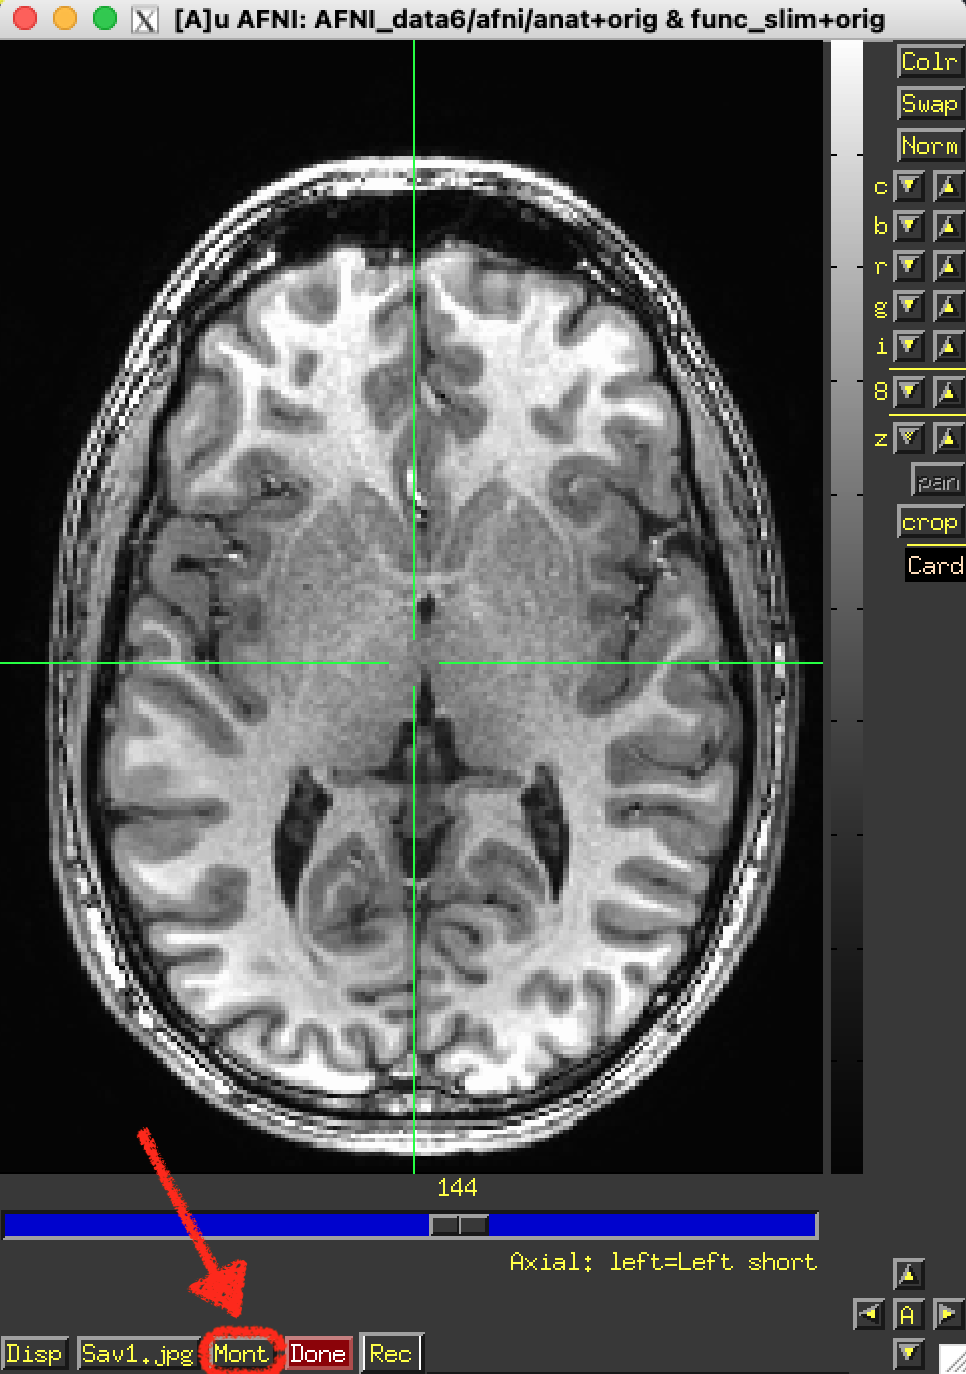
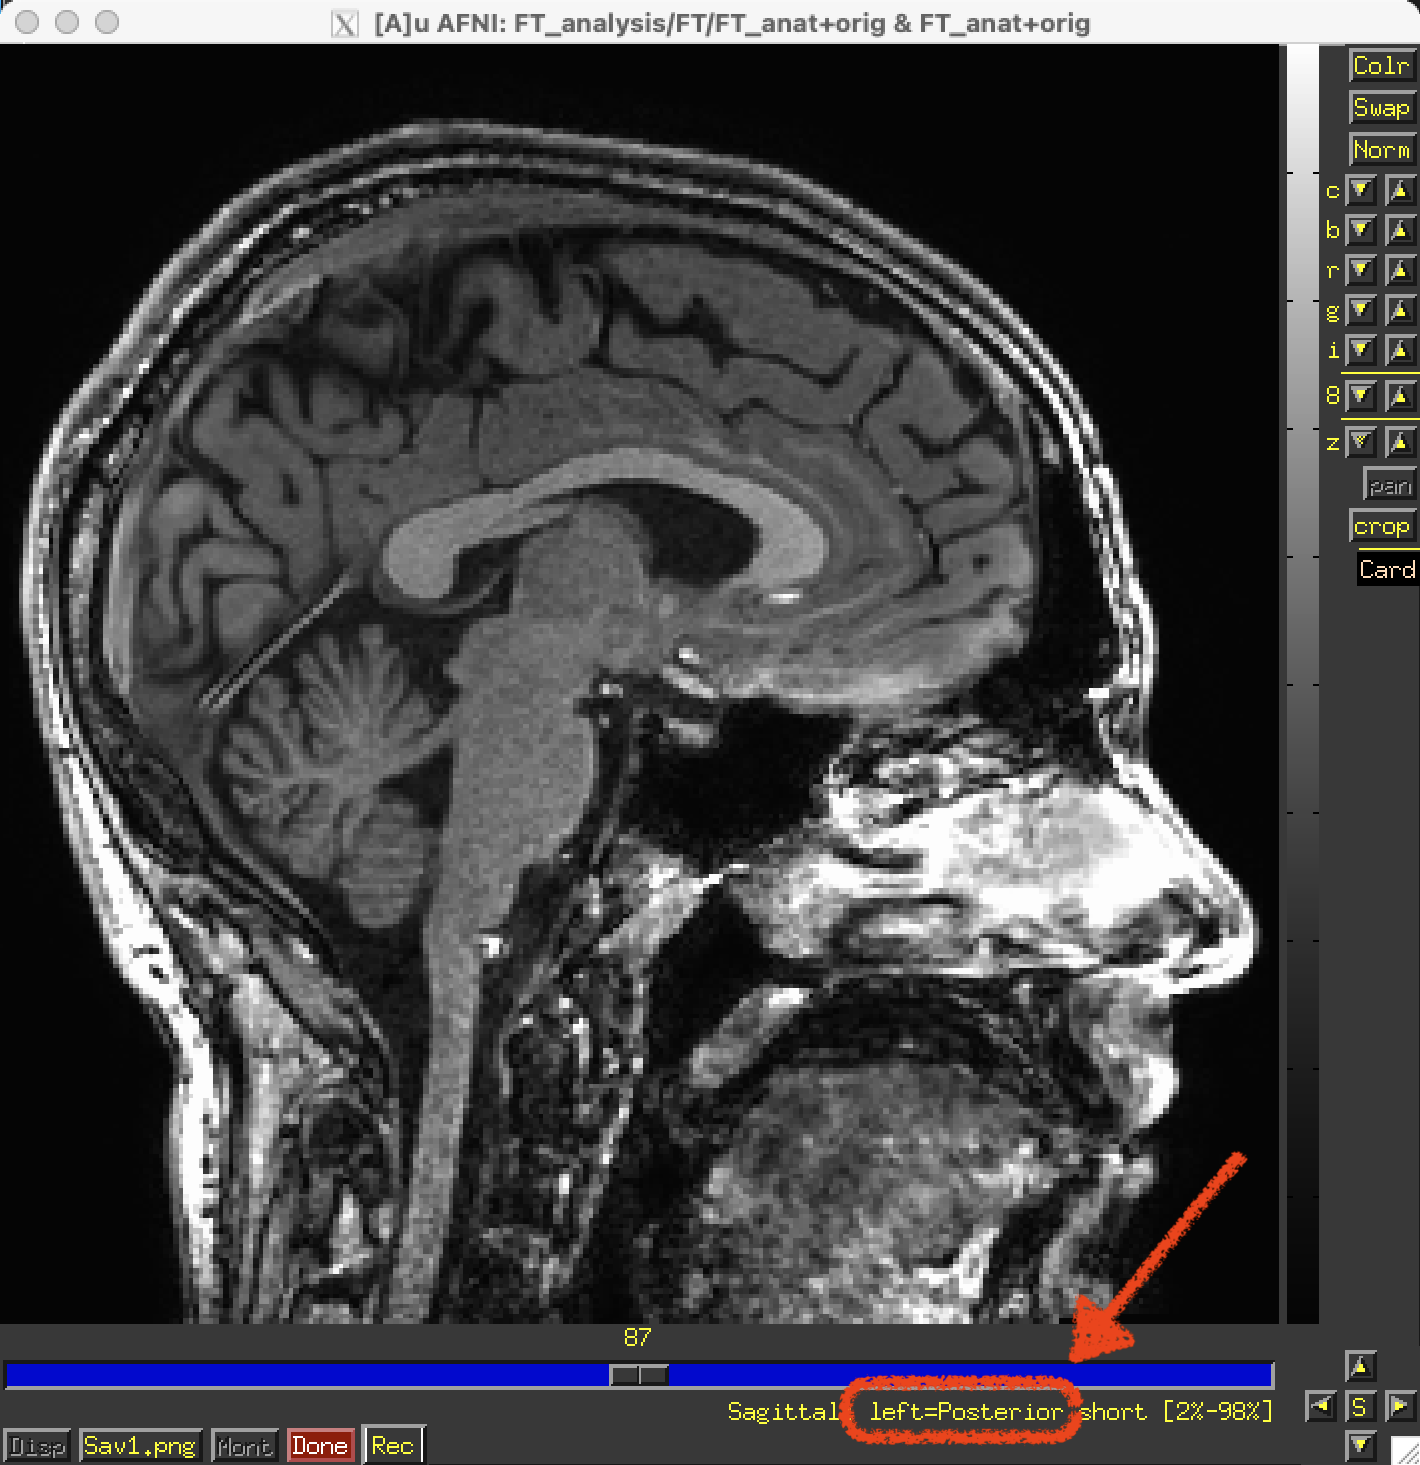
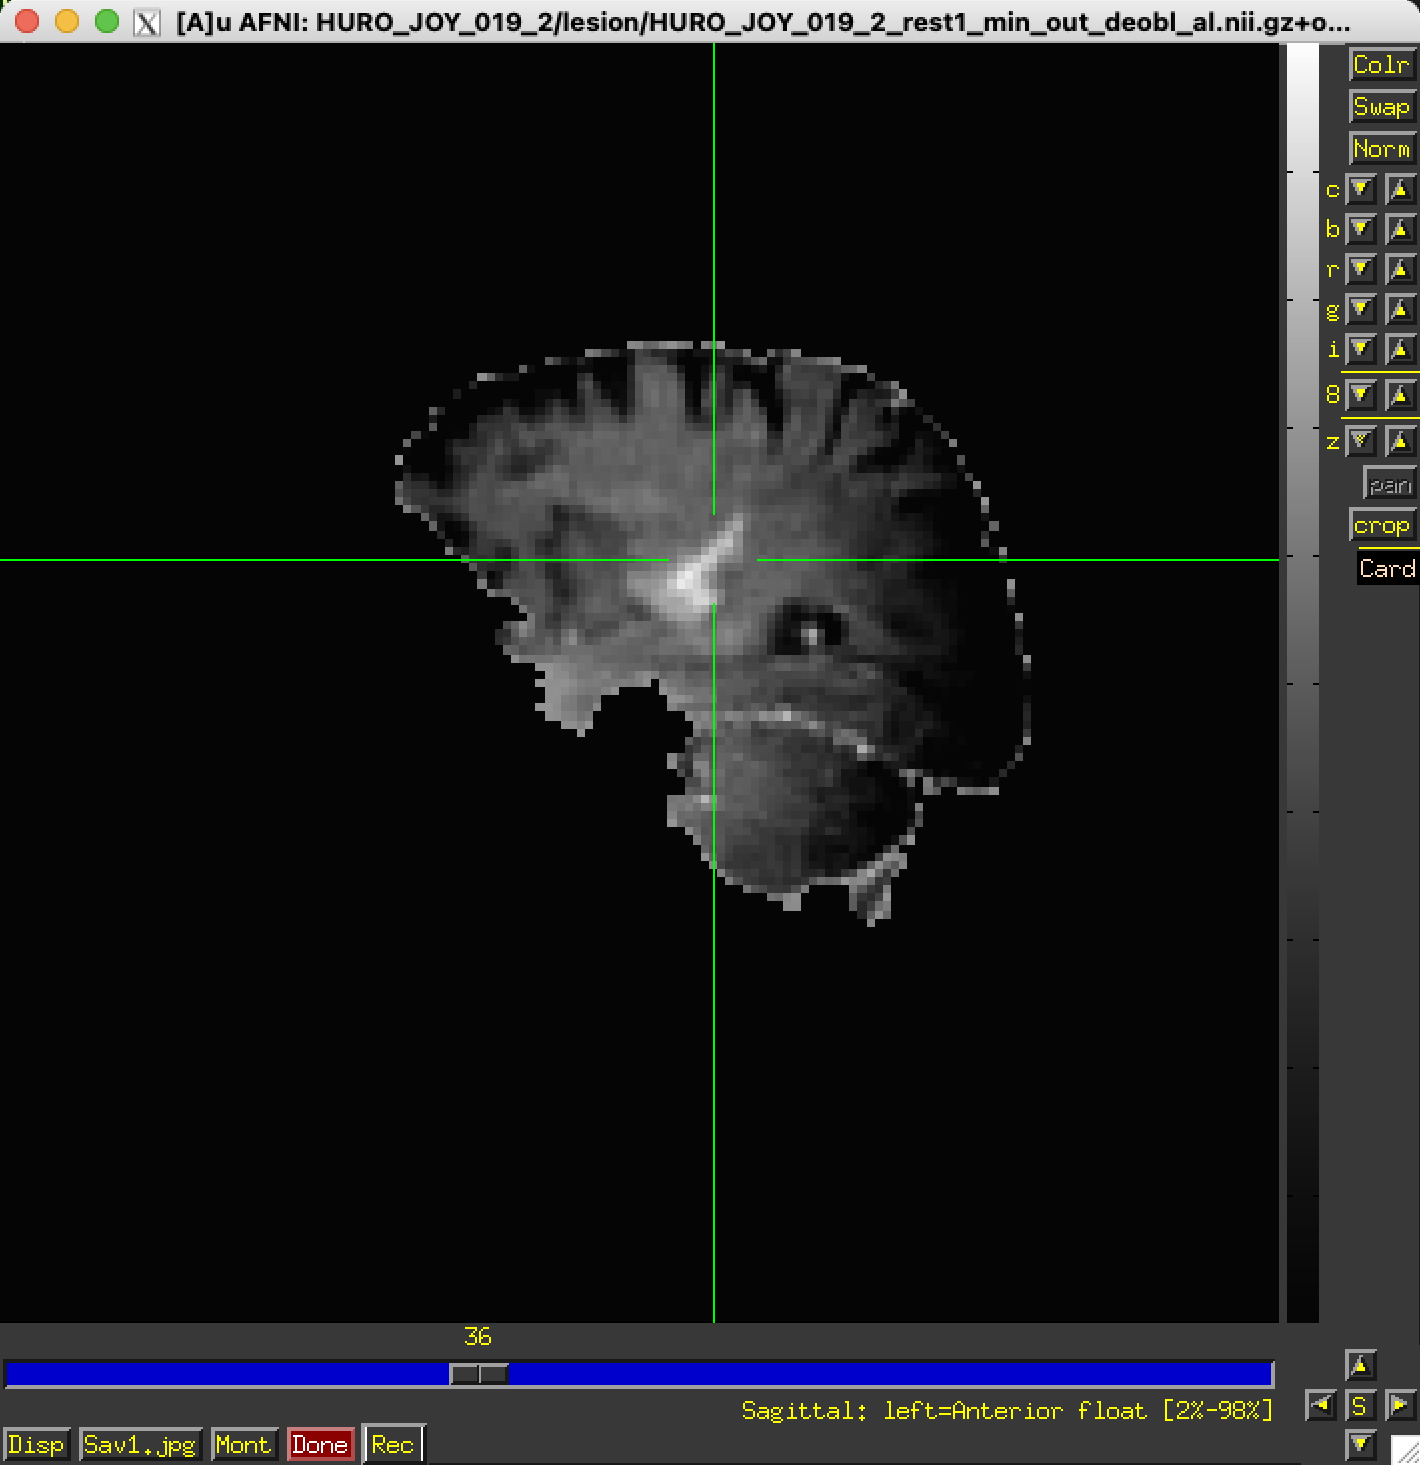
    • You may want to set Xhairs to Off on the AFNI control panel before recording images.

  • Done closes the recorded image viewer.

    • Remember to click Done before you start doing anything else as this will keep recording forever!

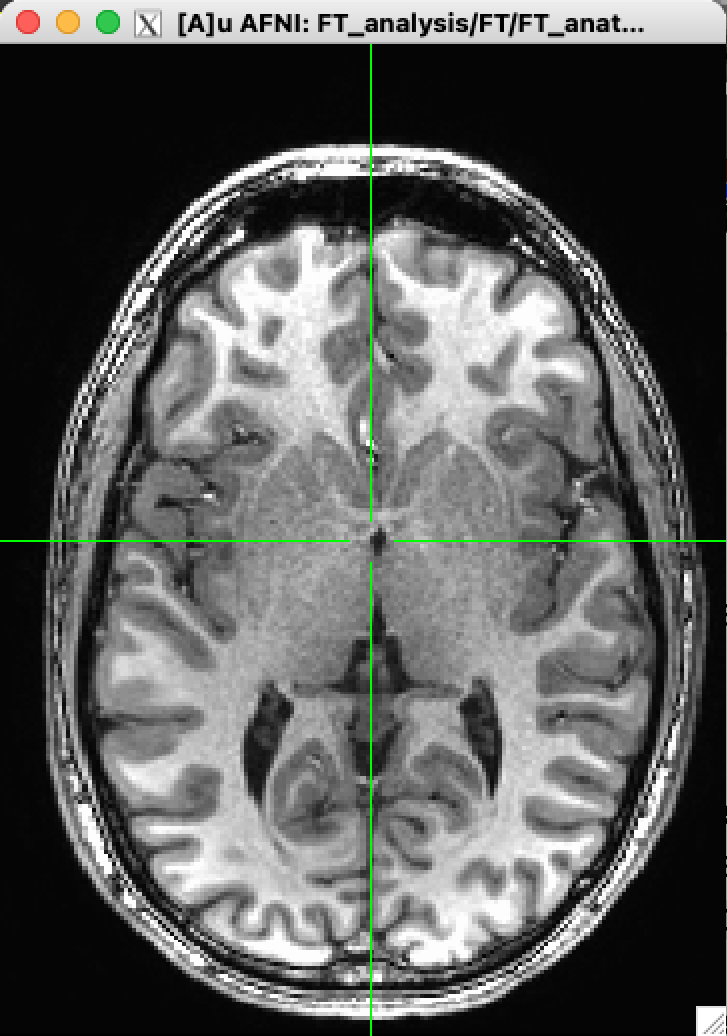
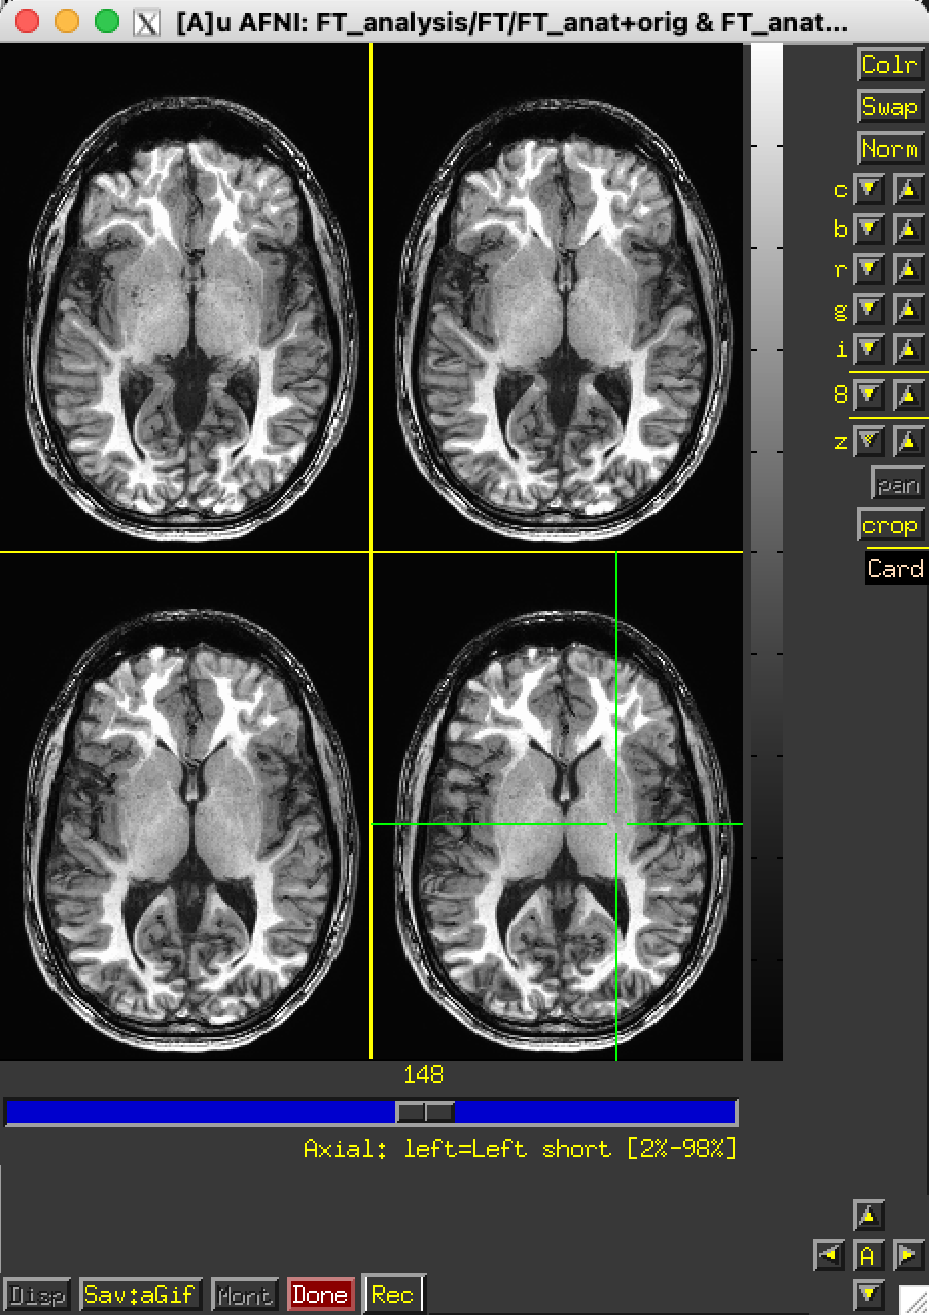
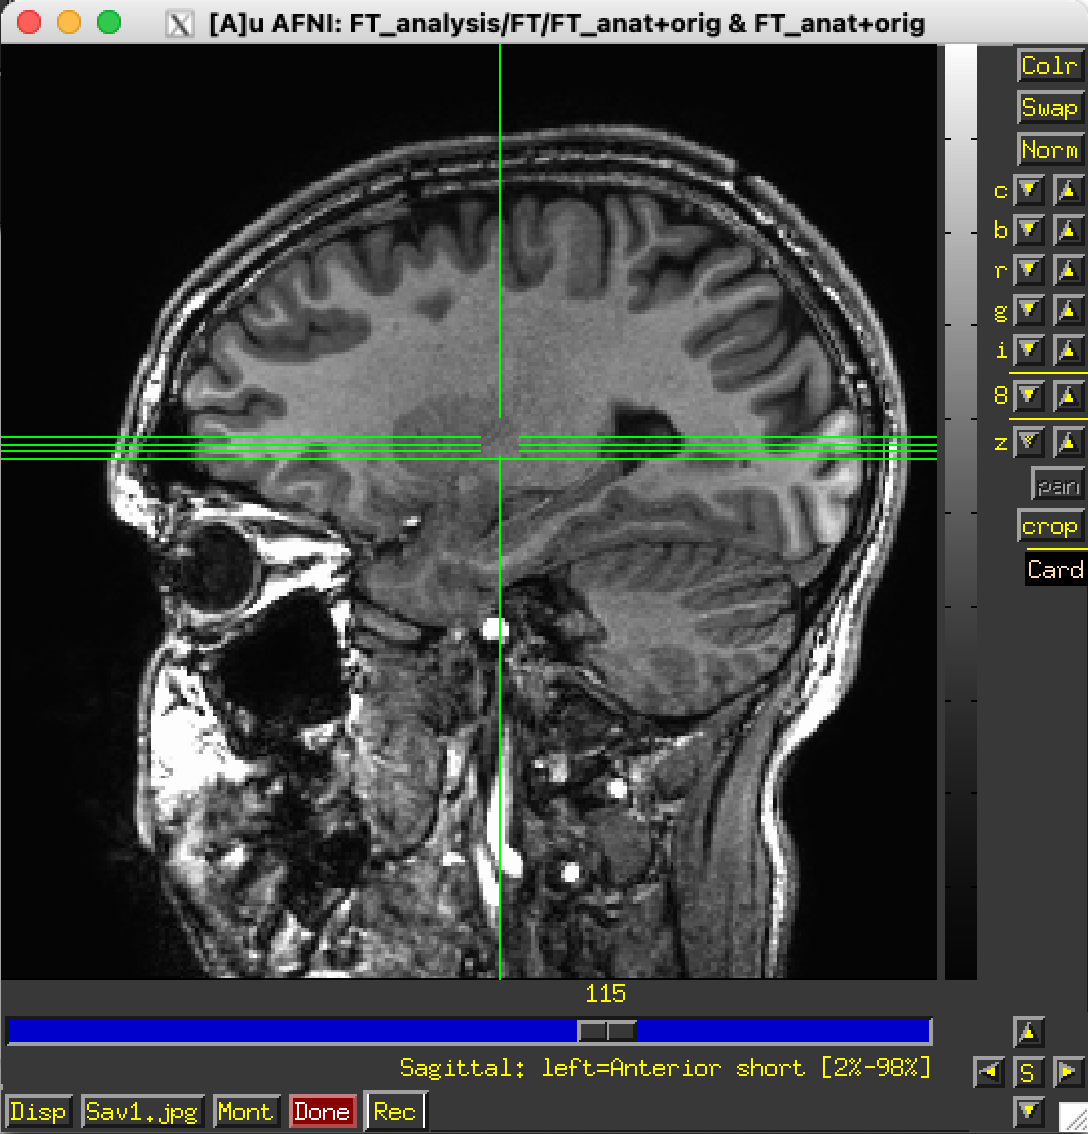
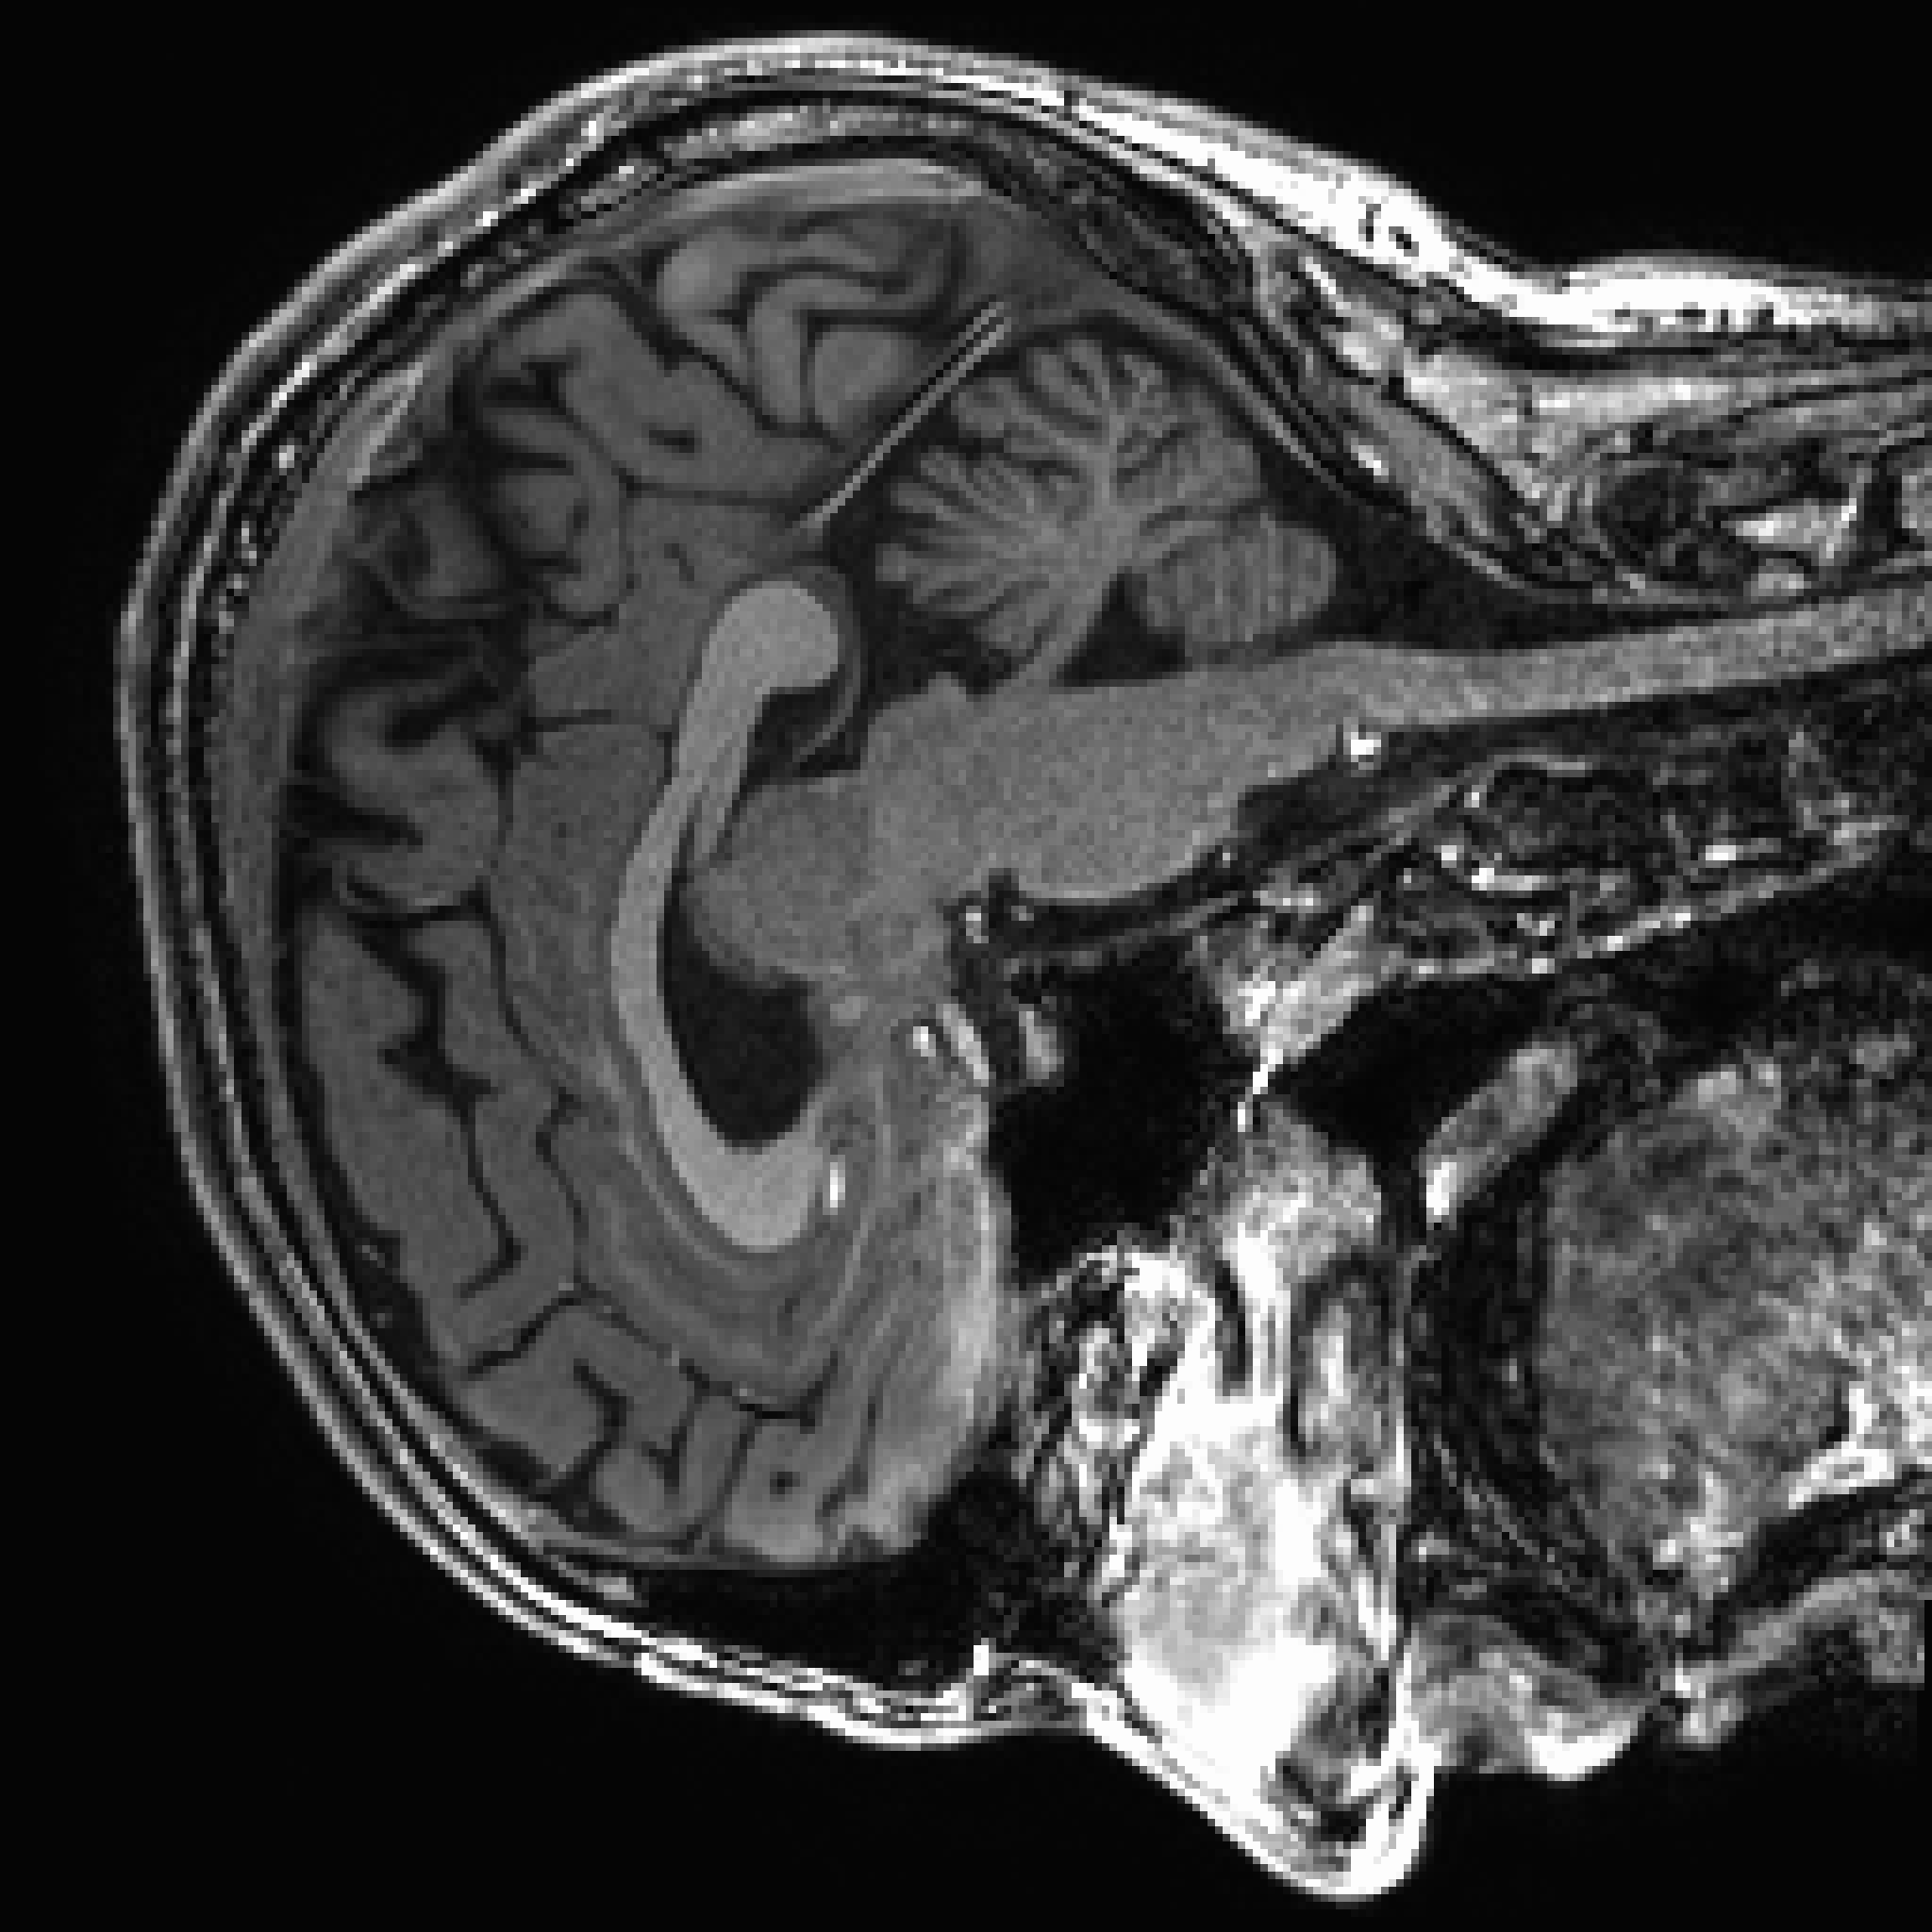
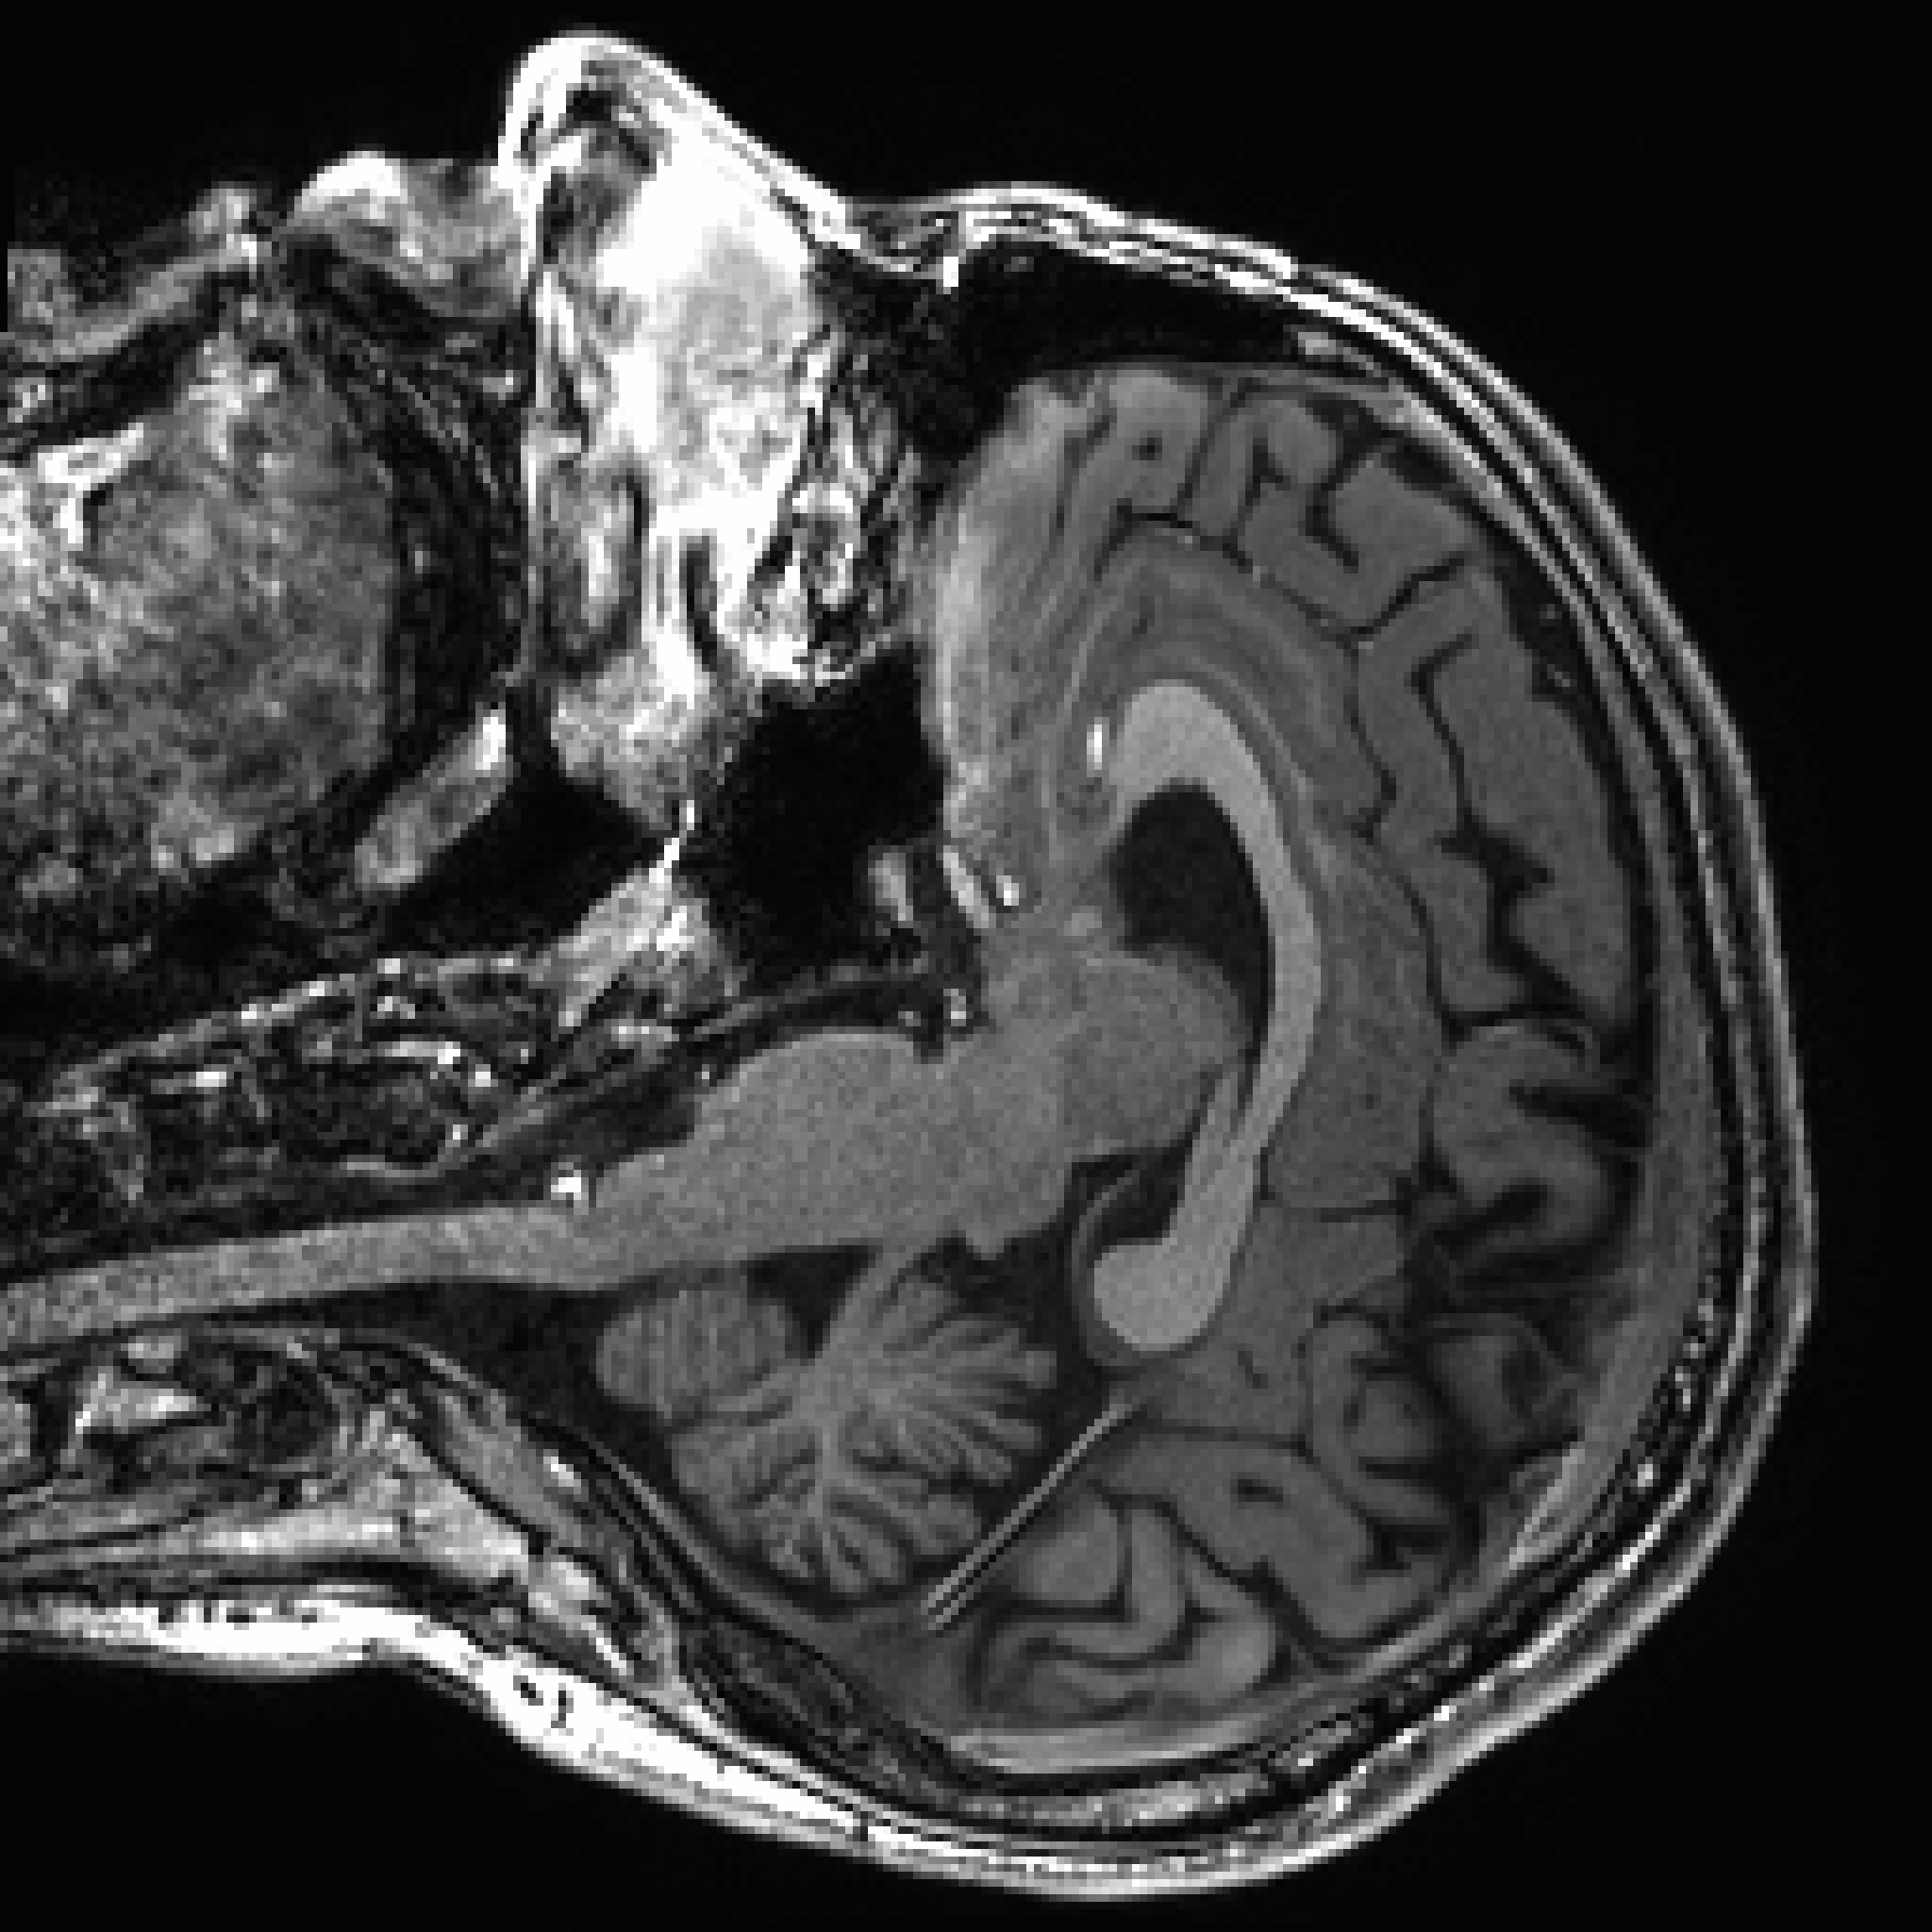
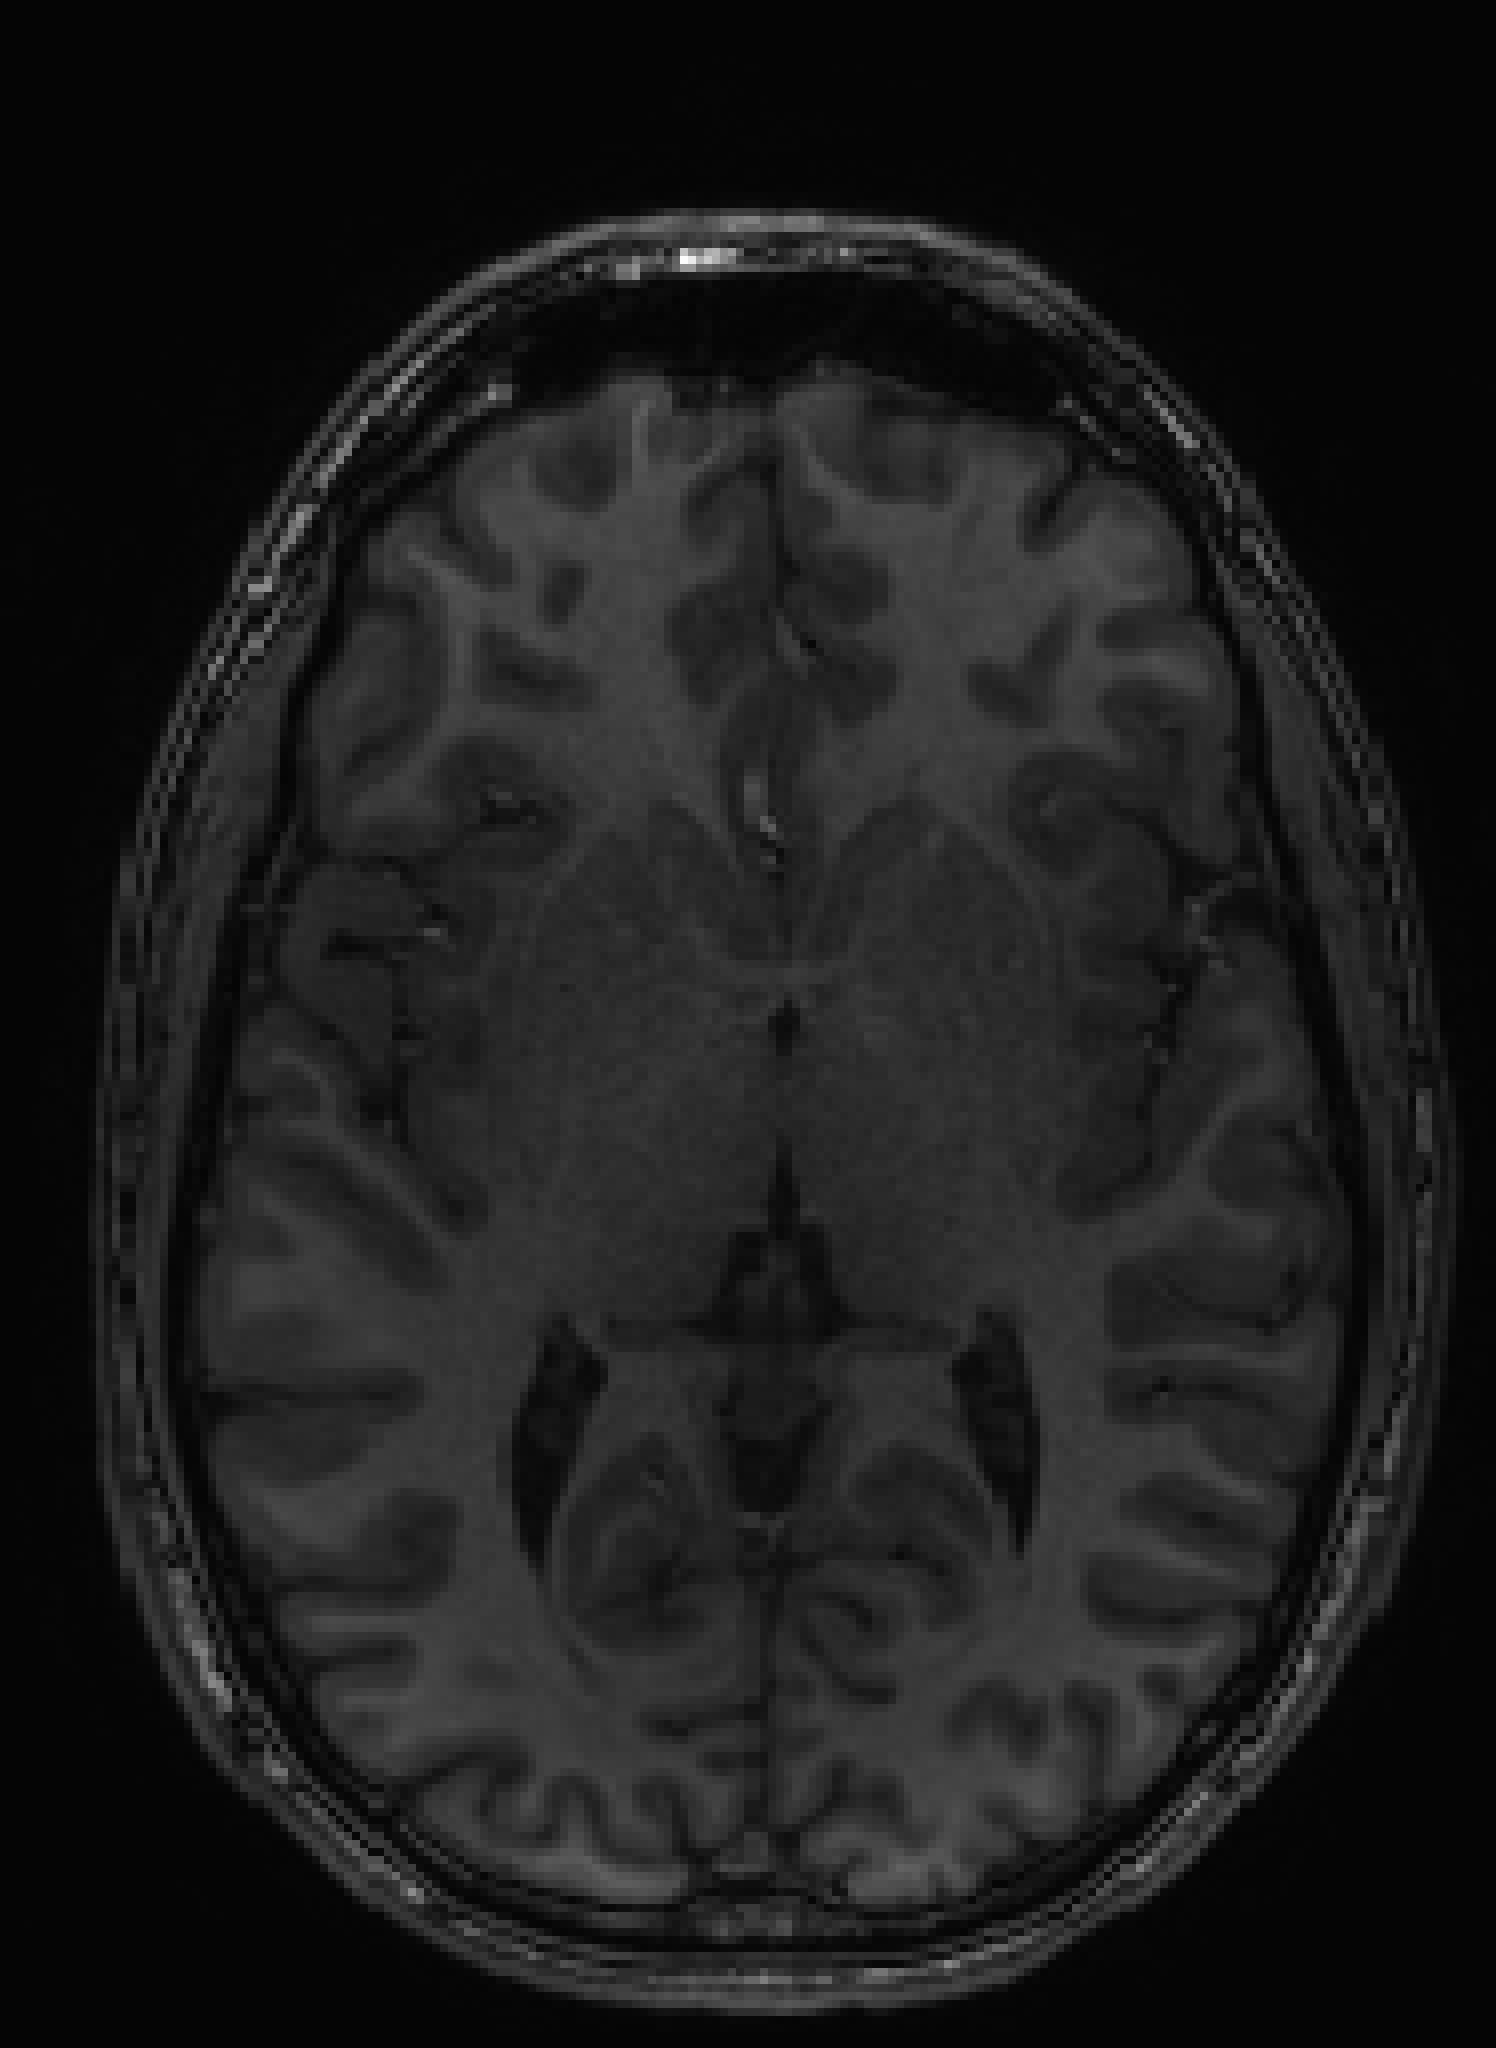
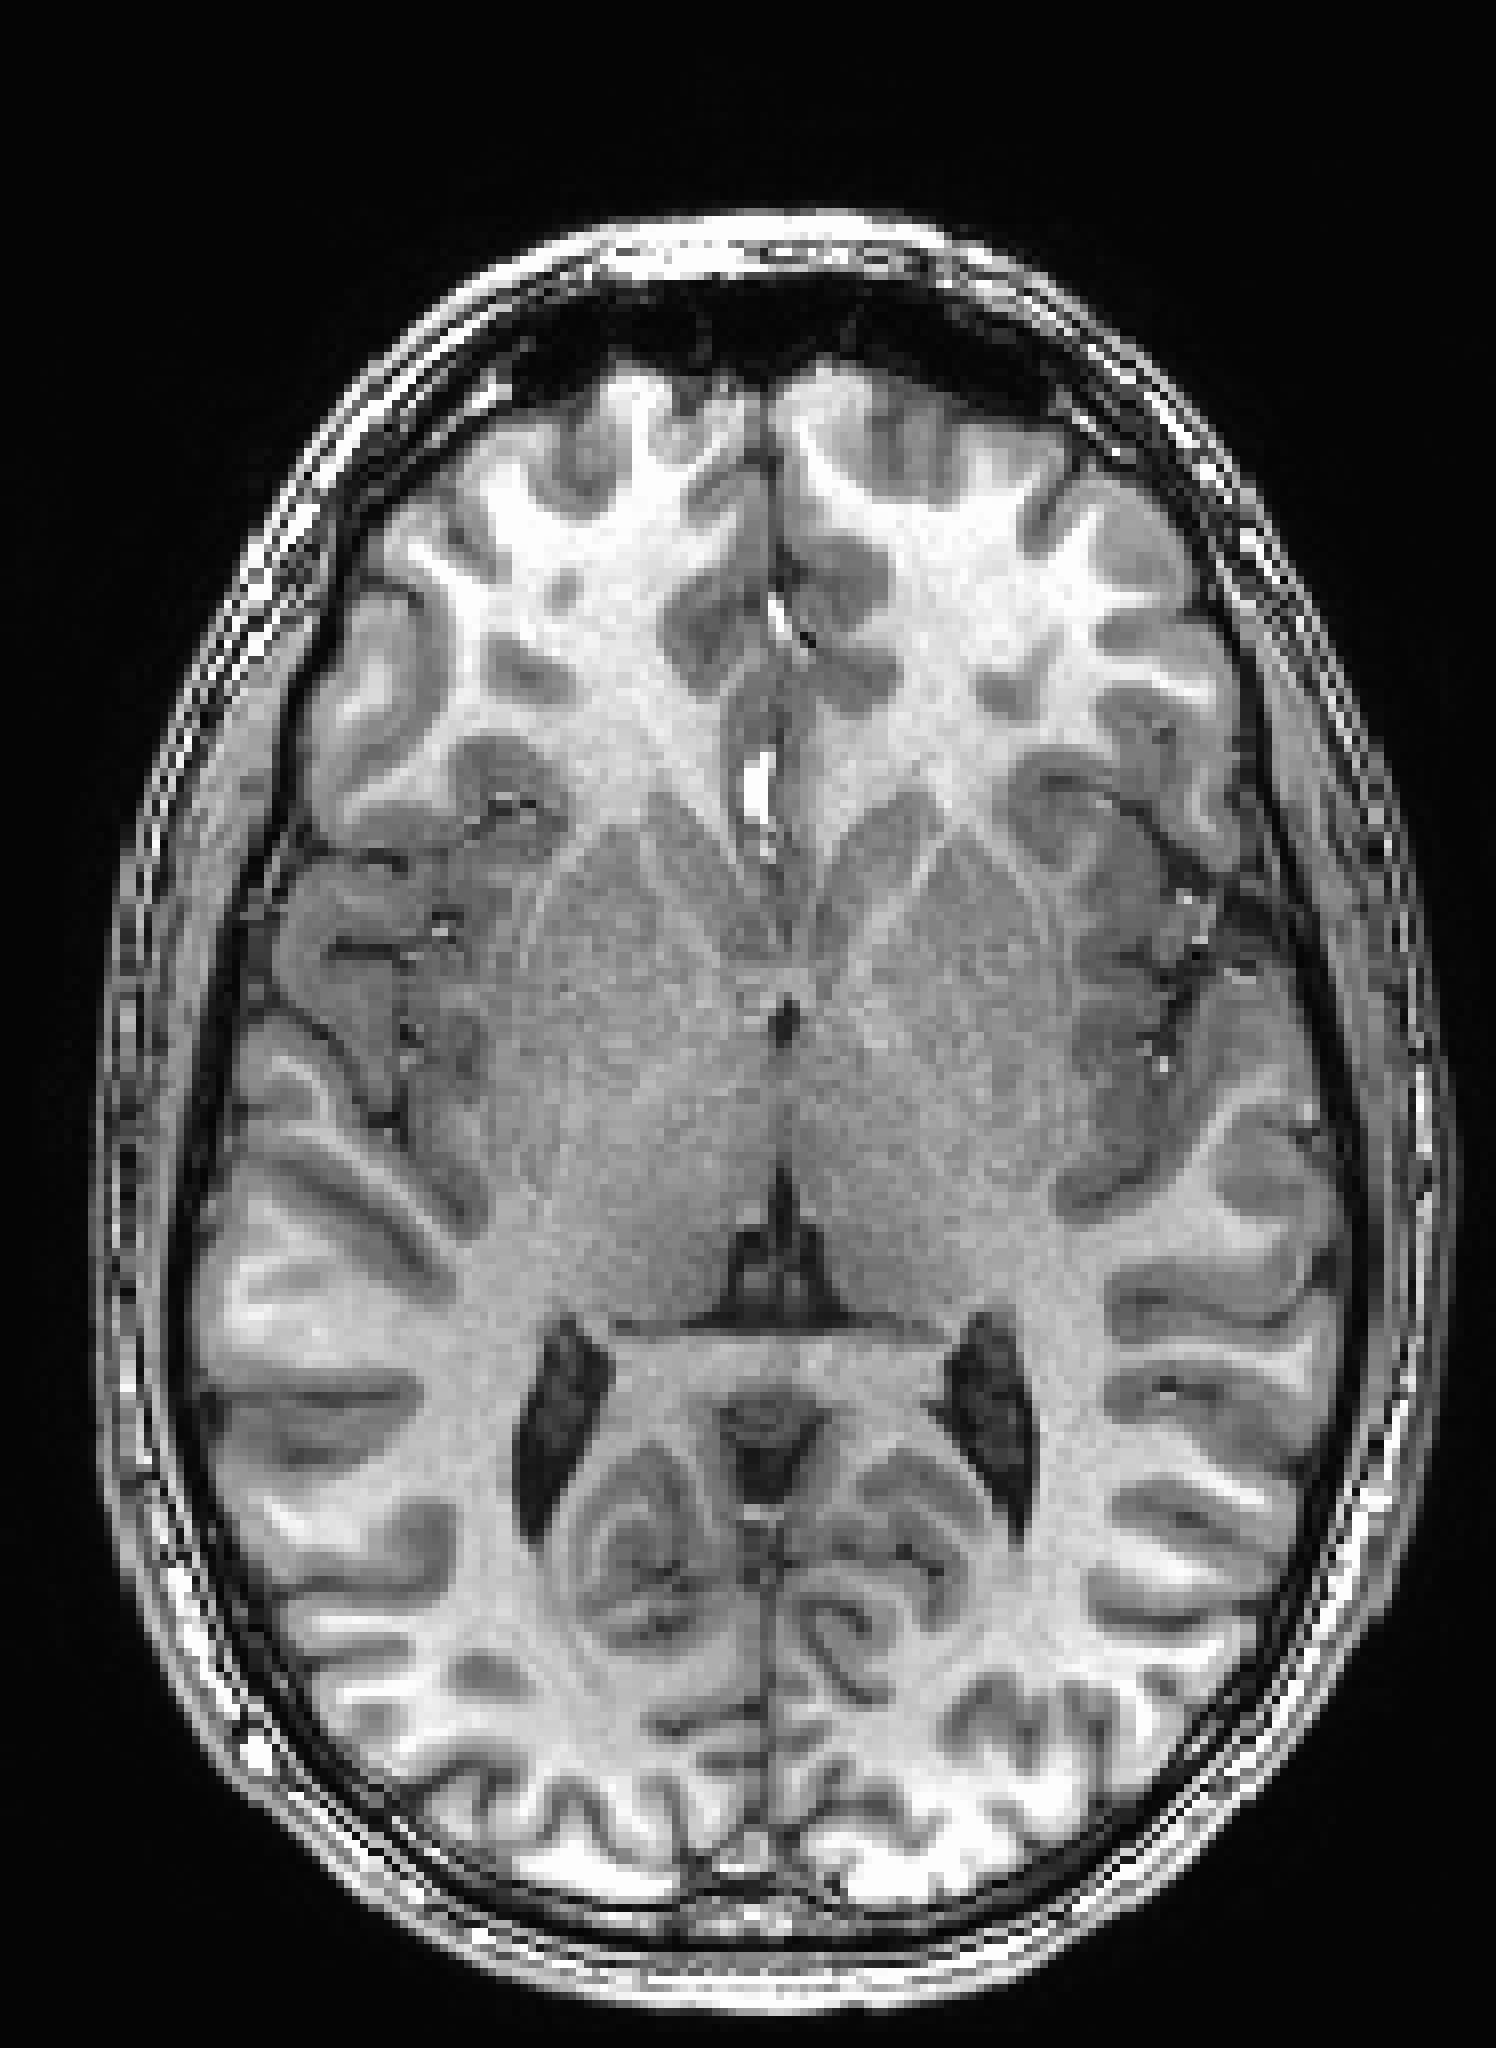
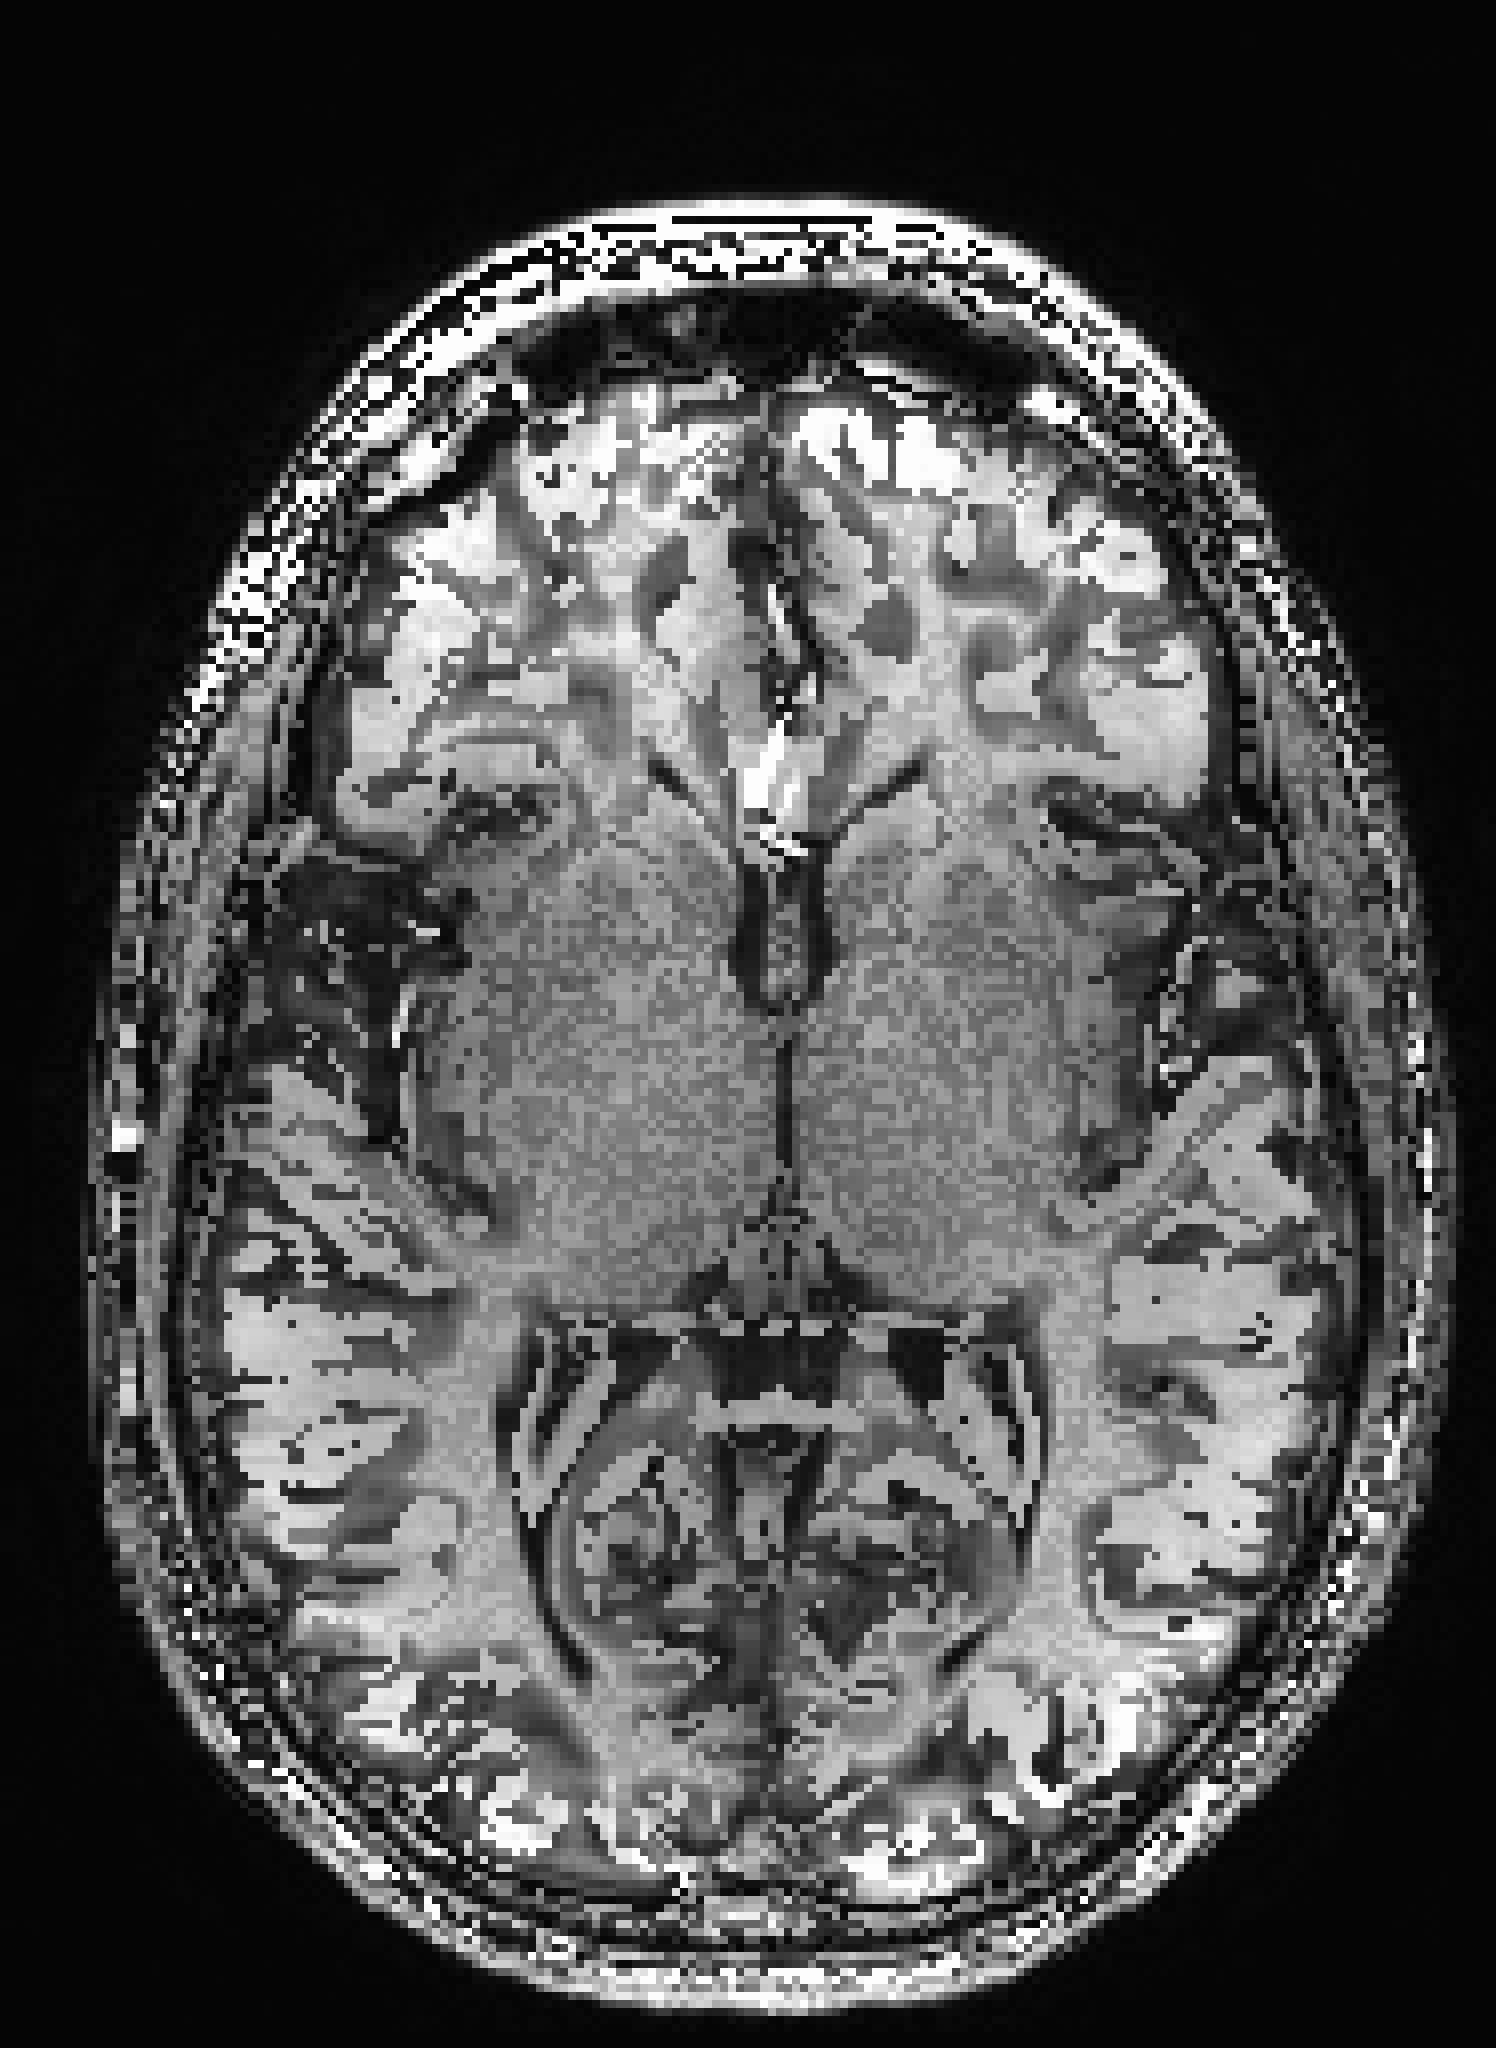
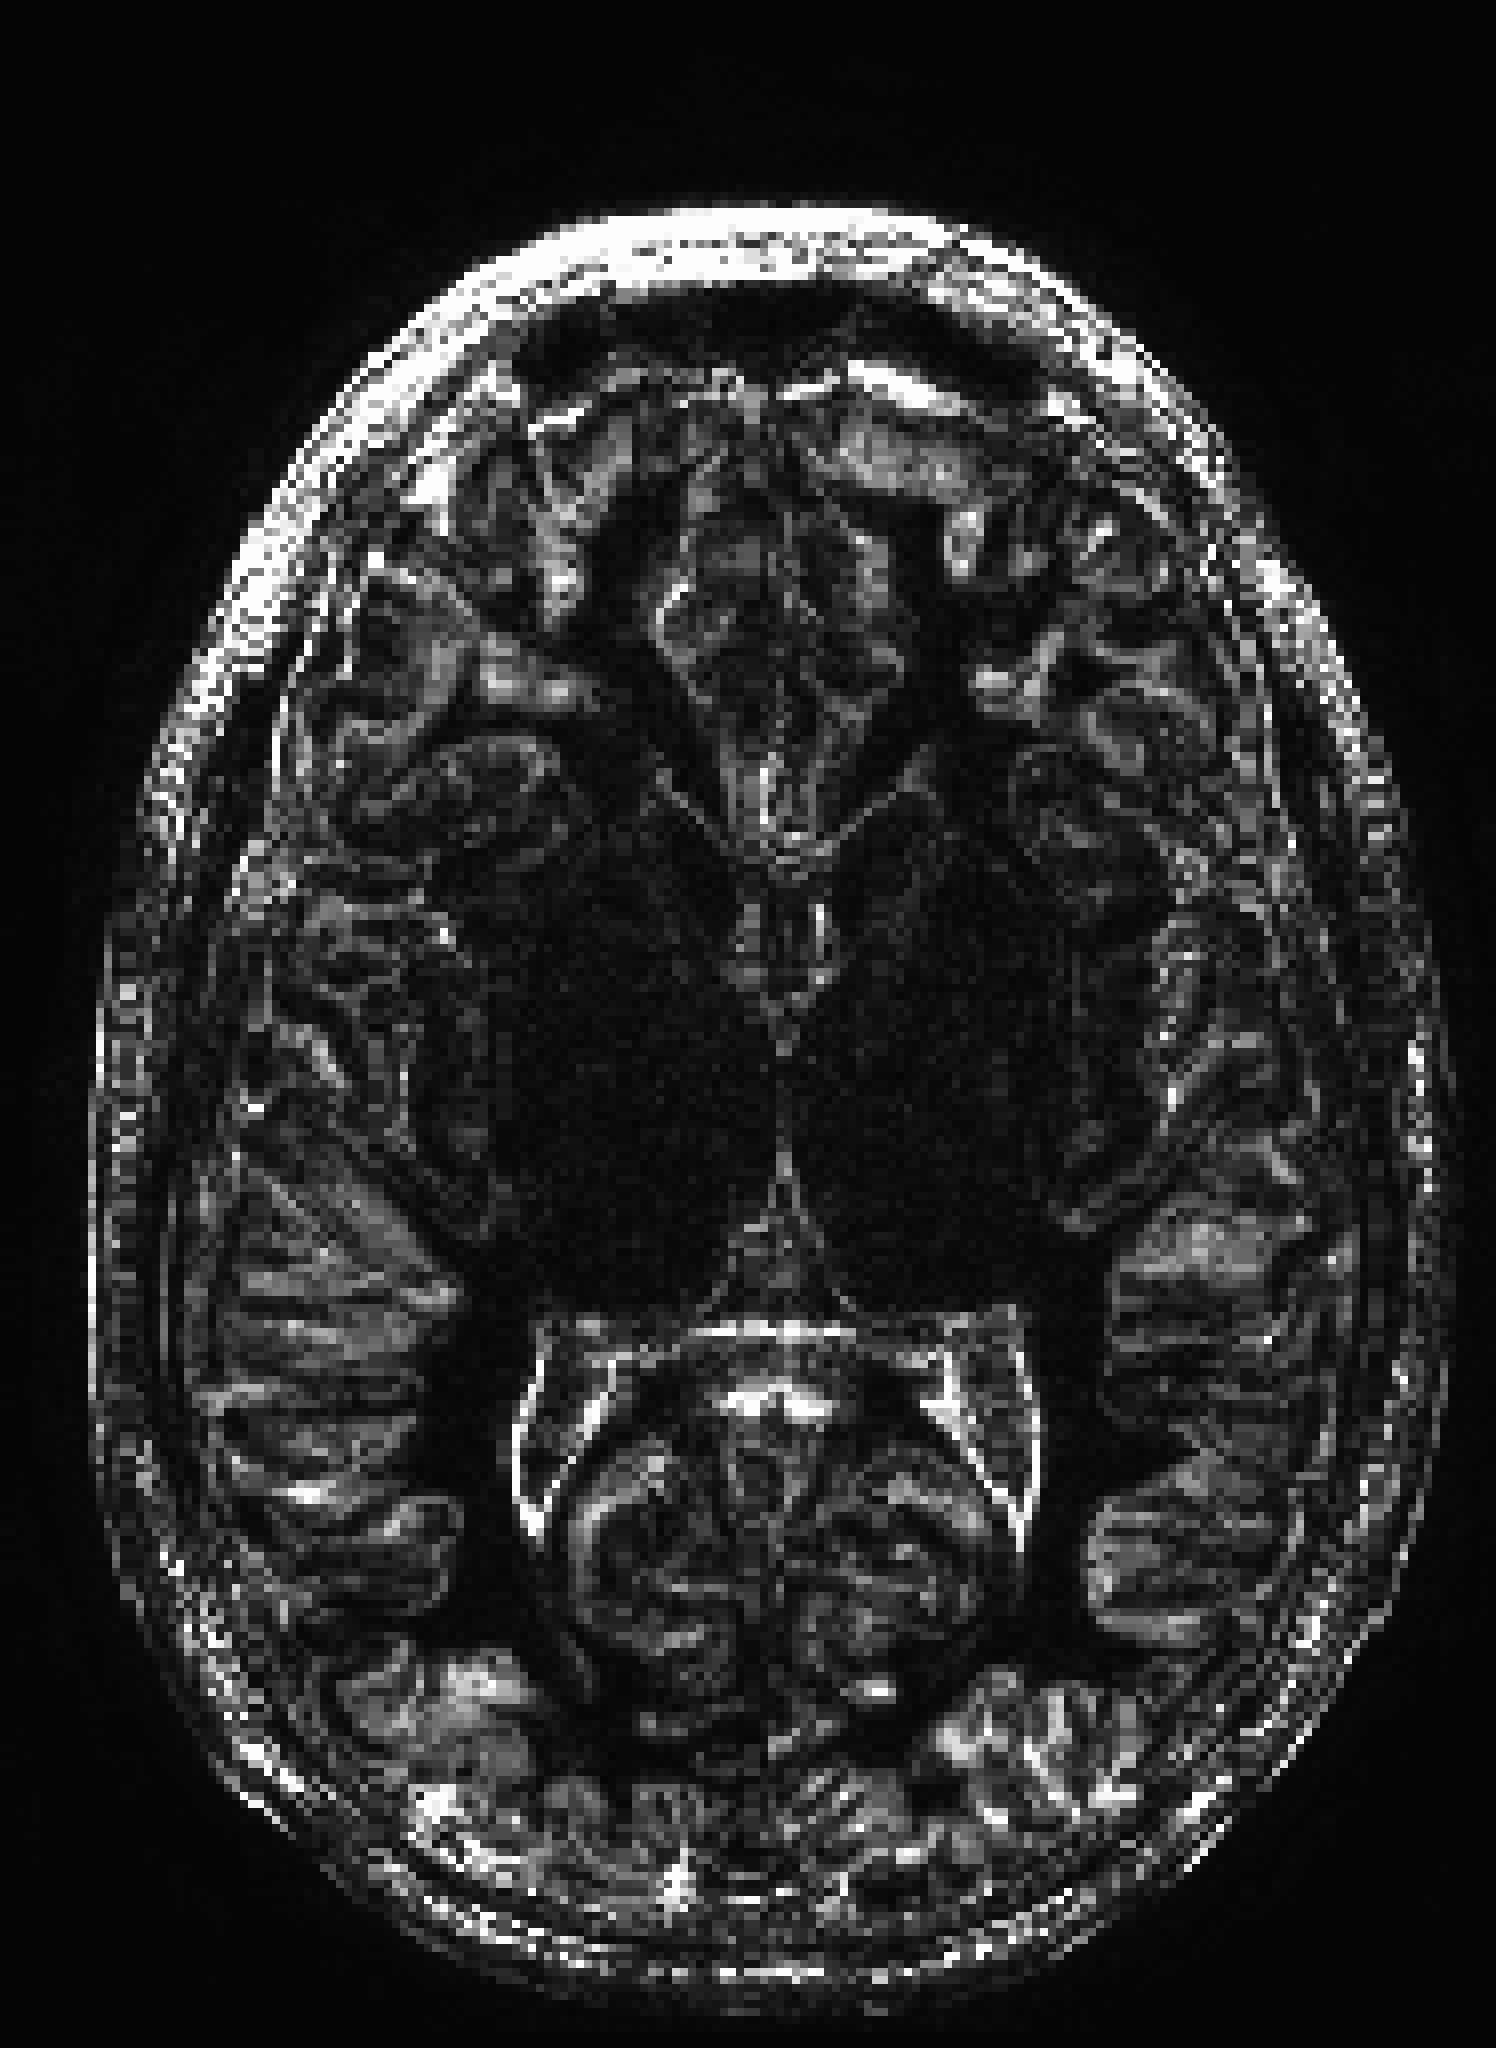
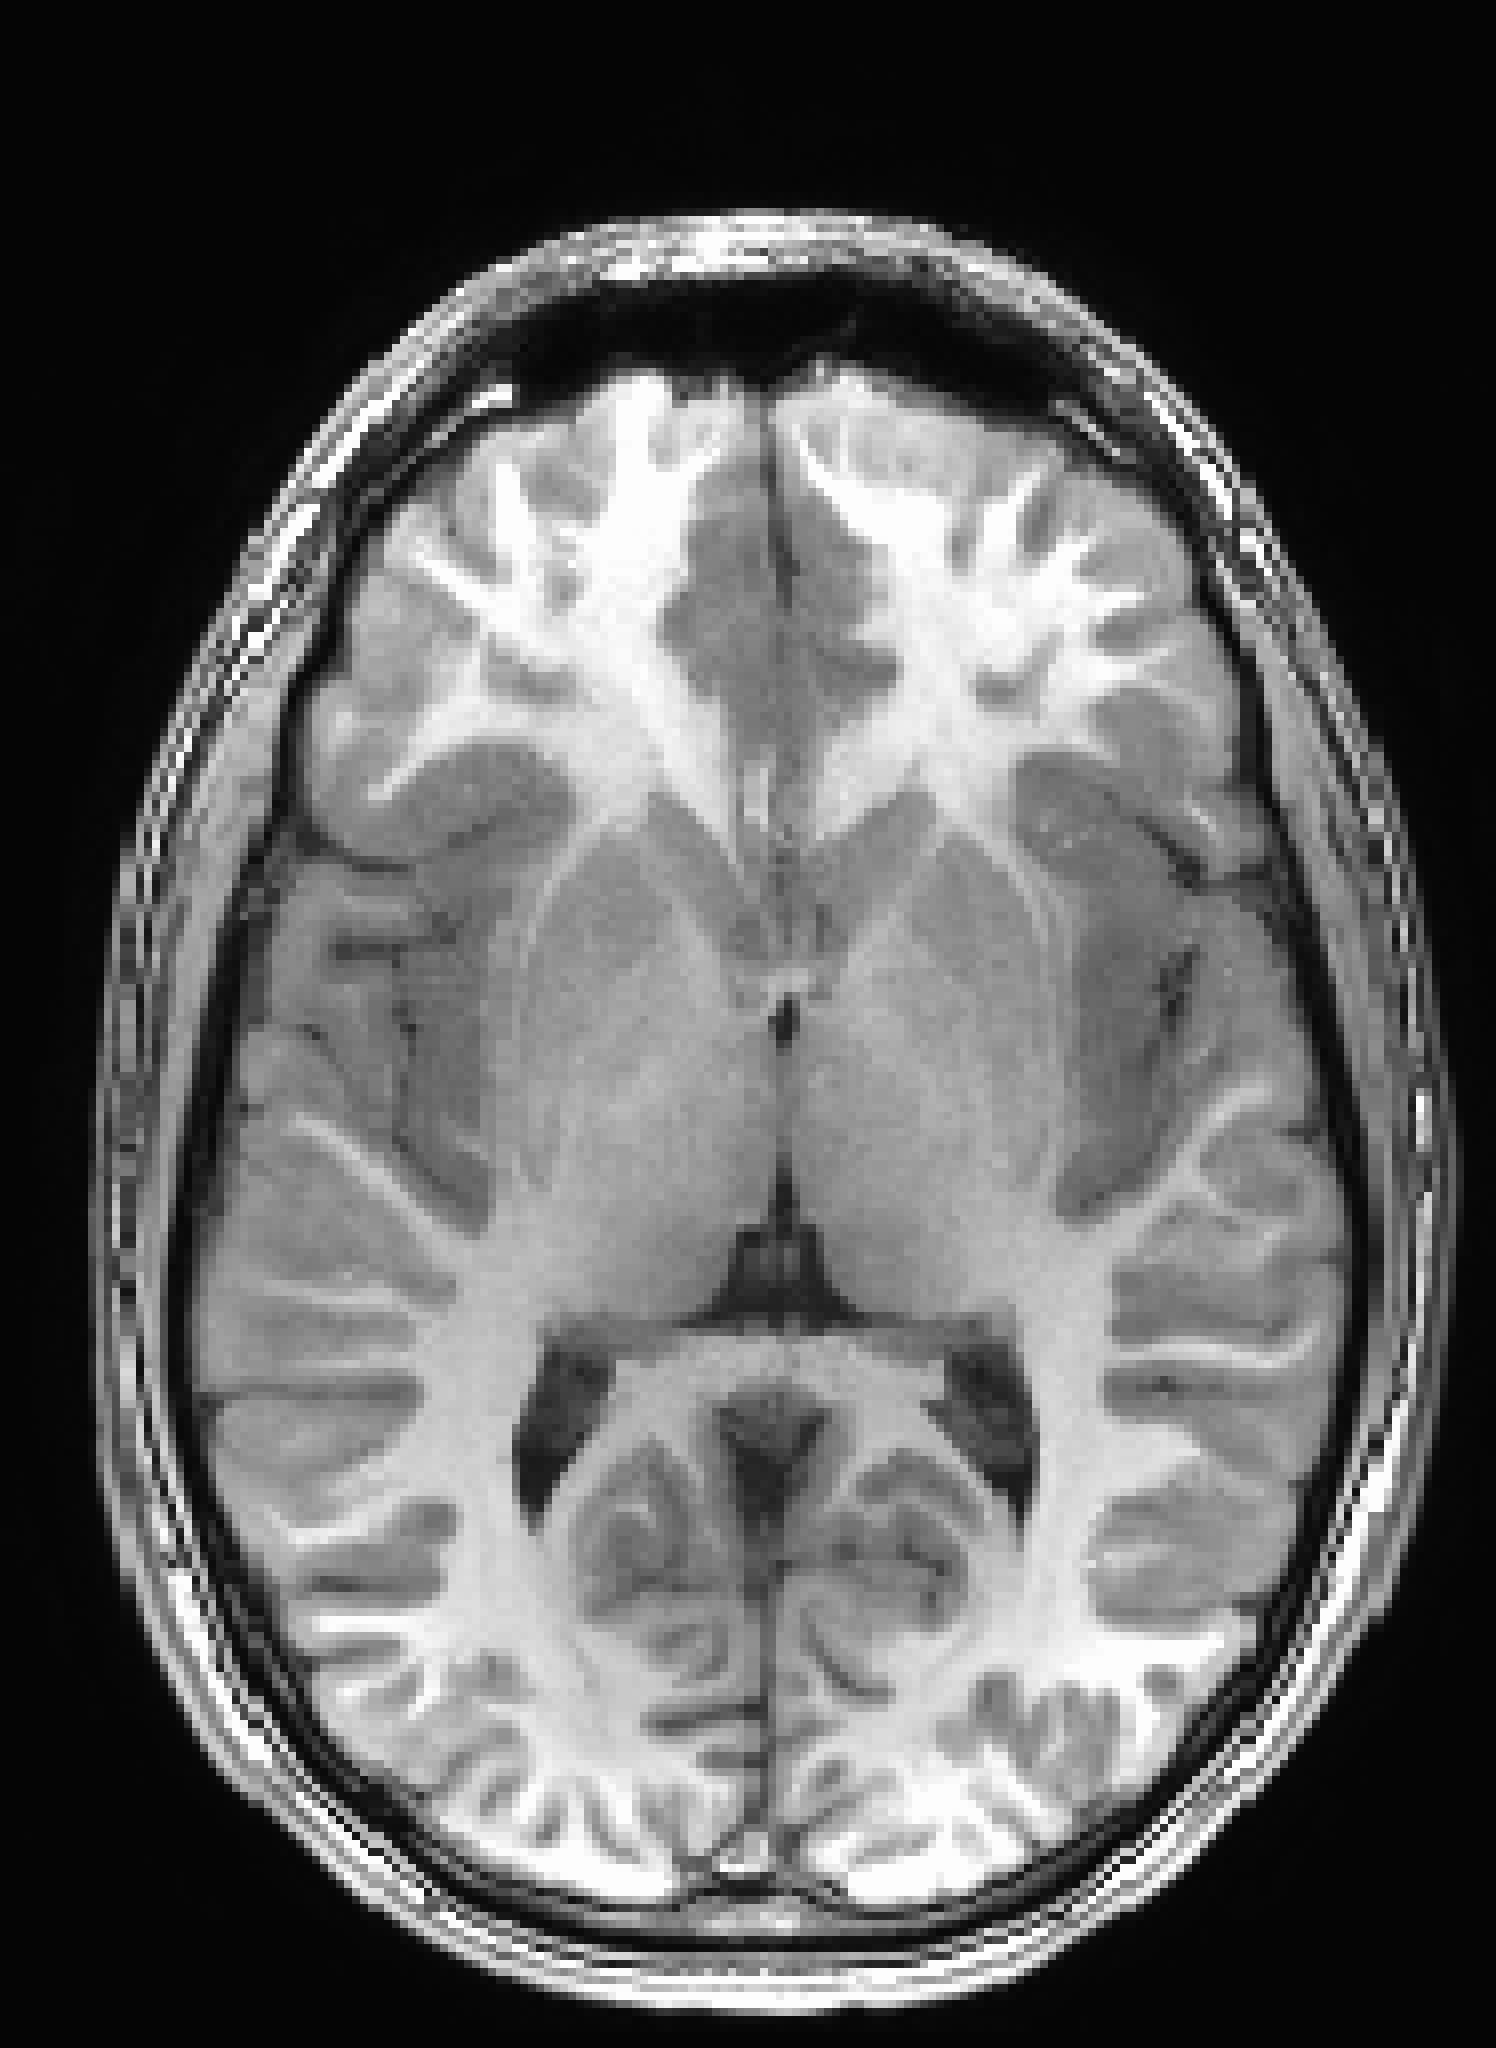
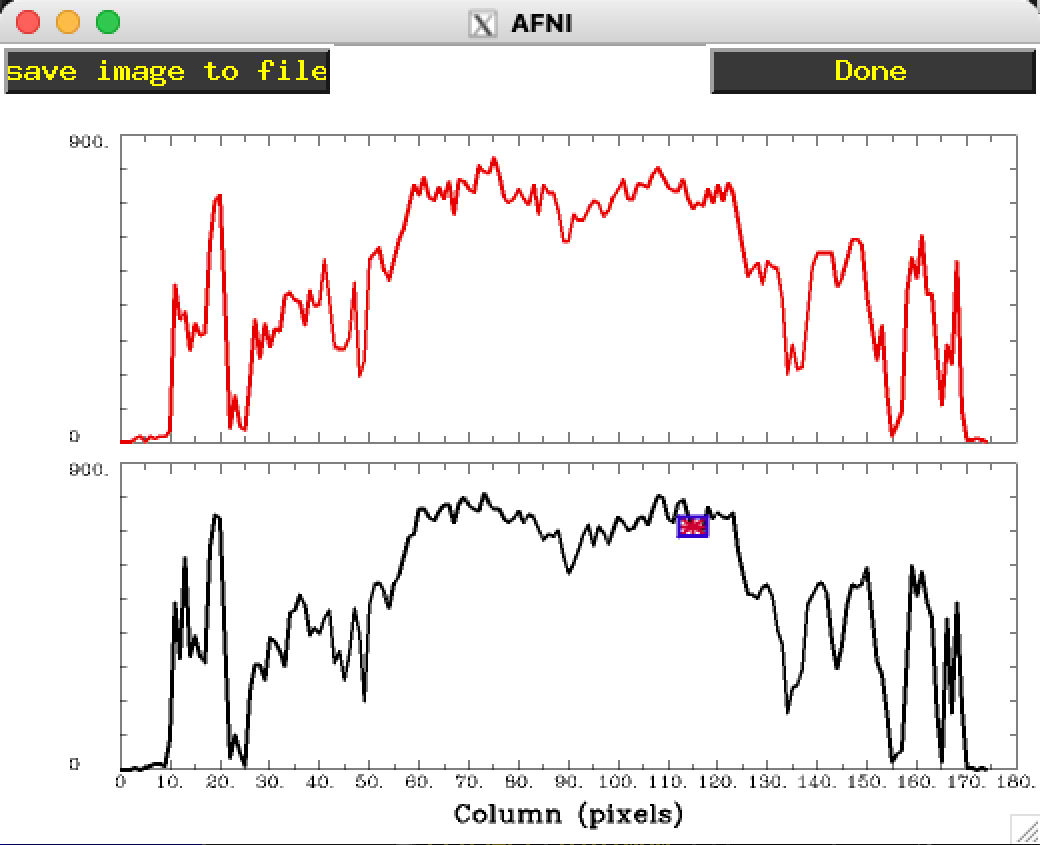
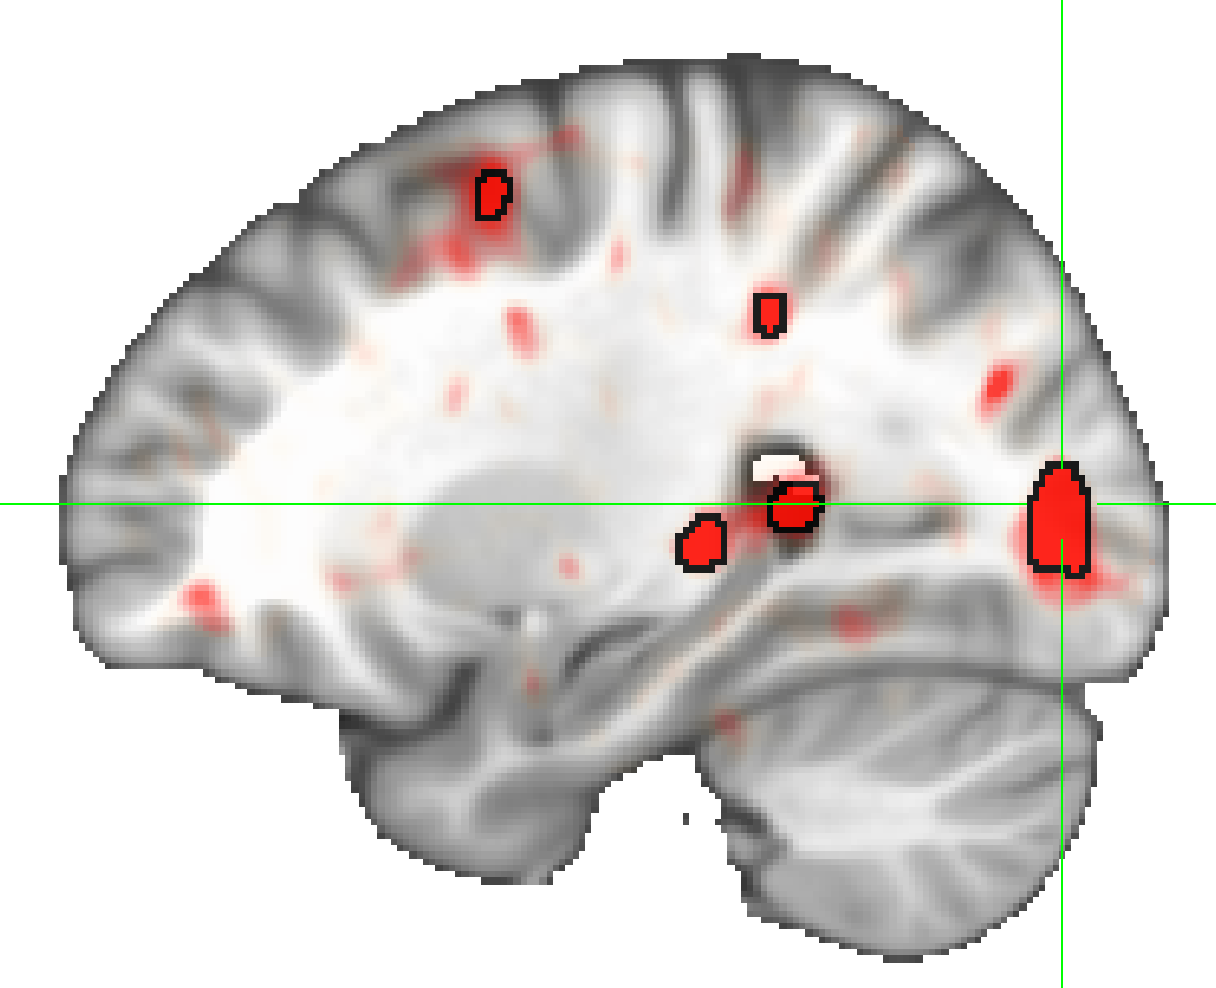
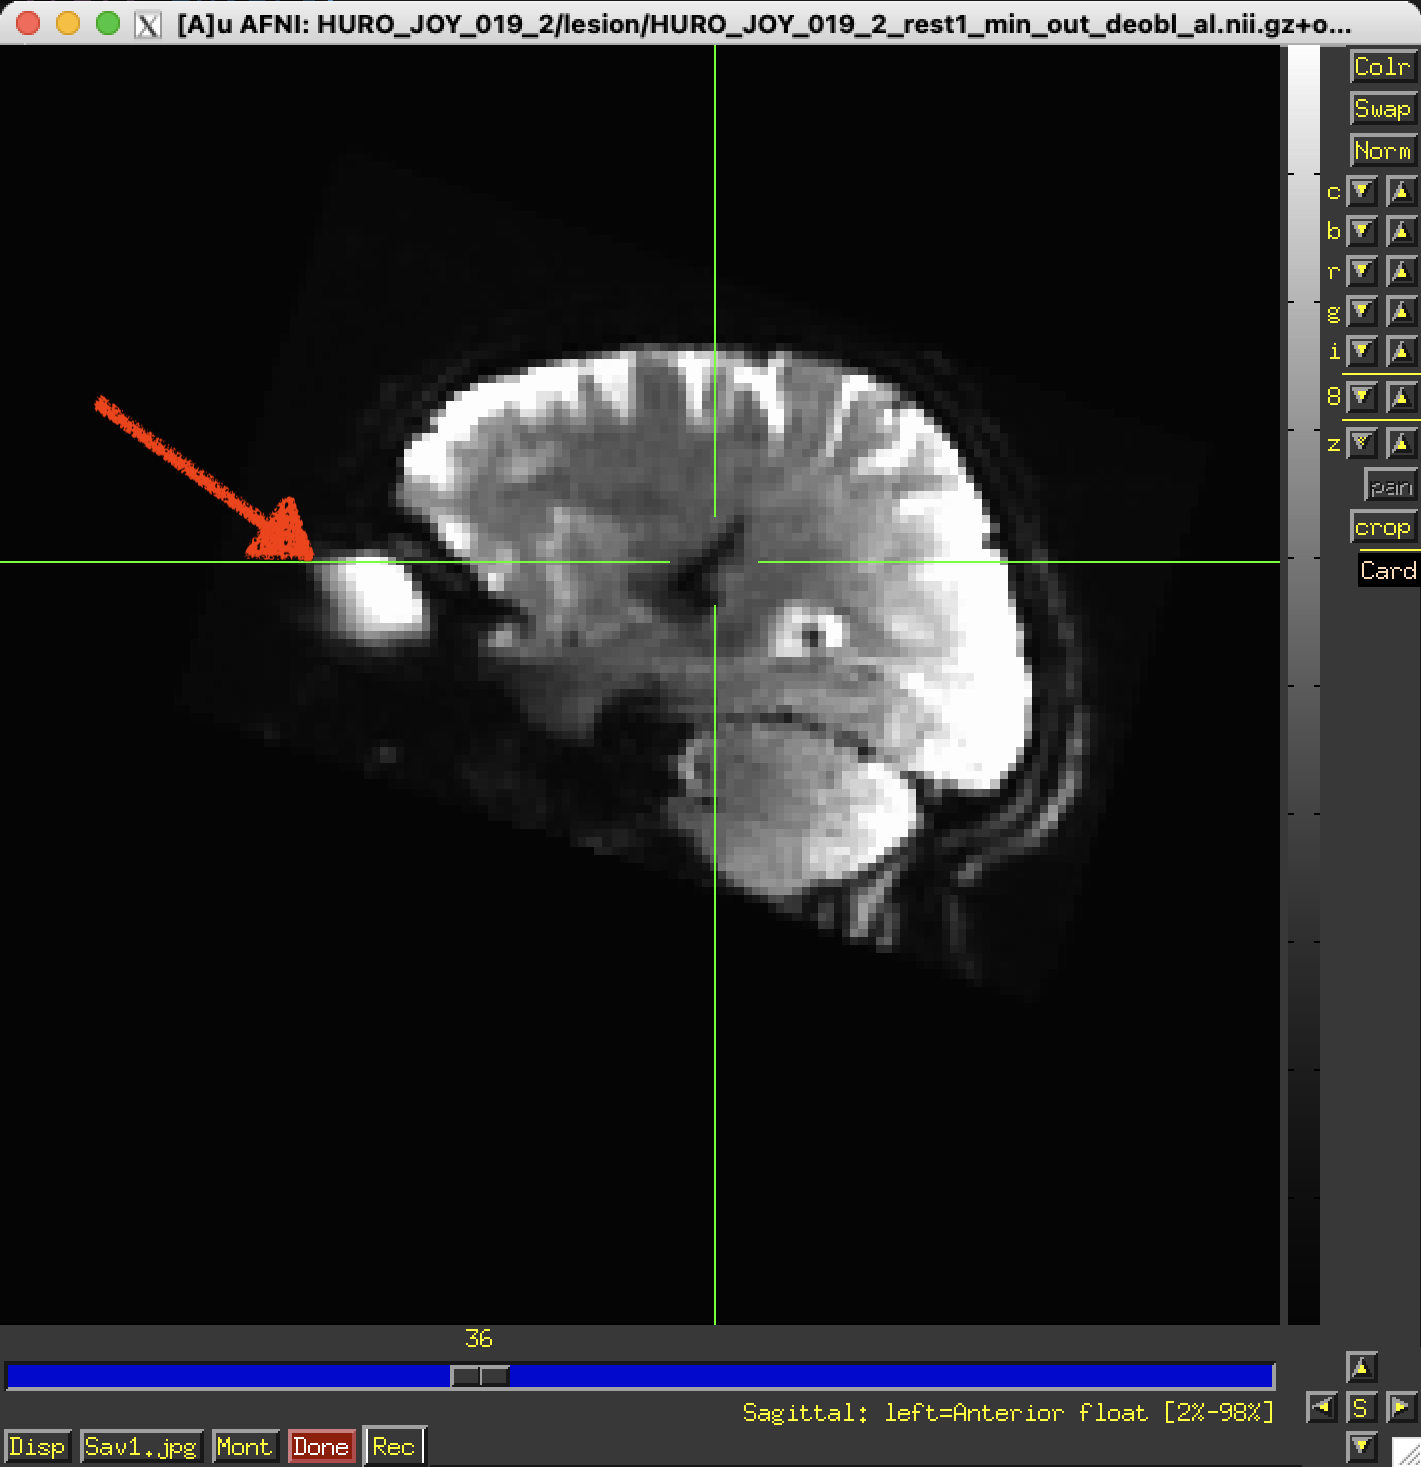
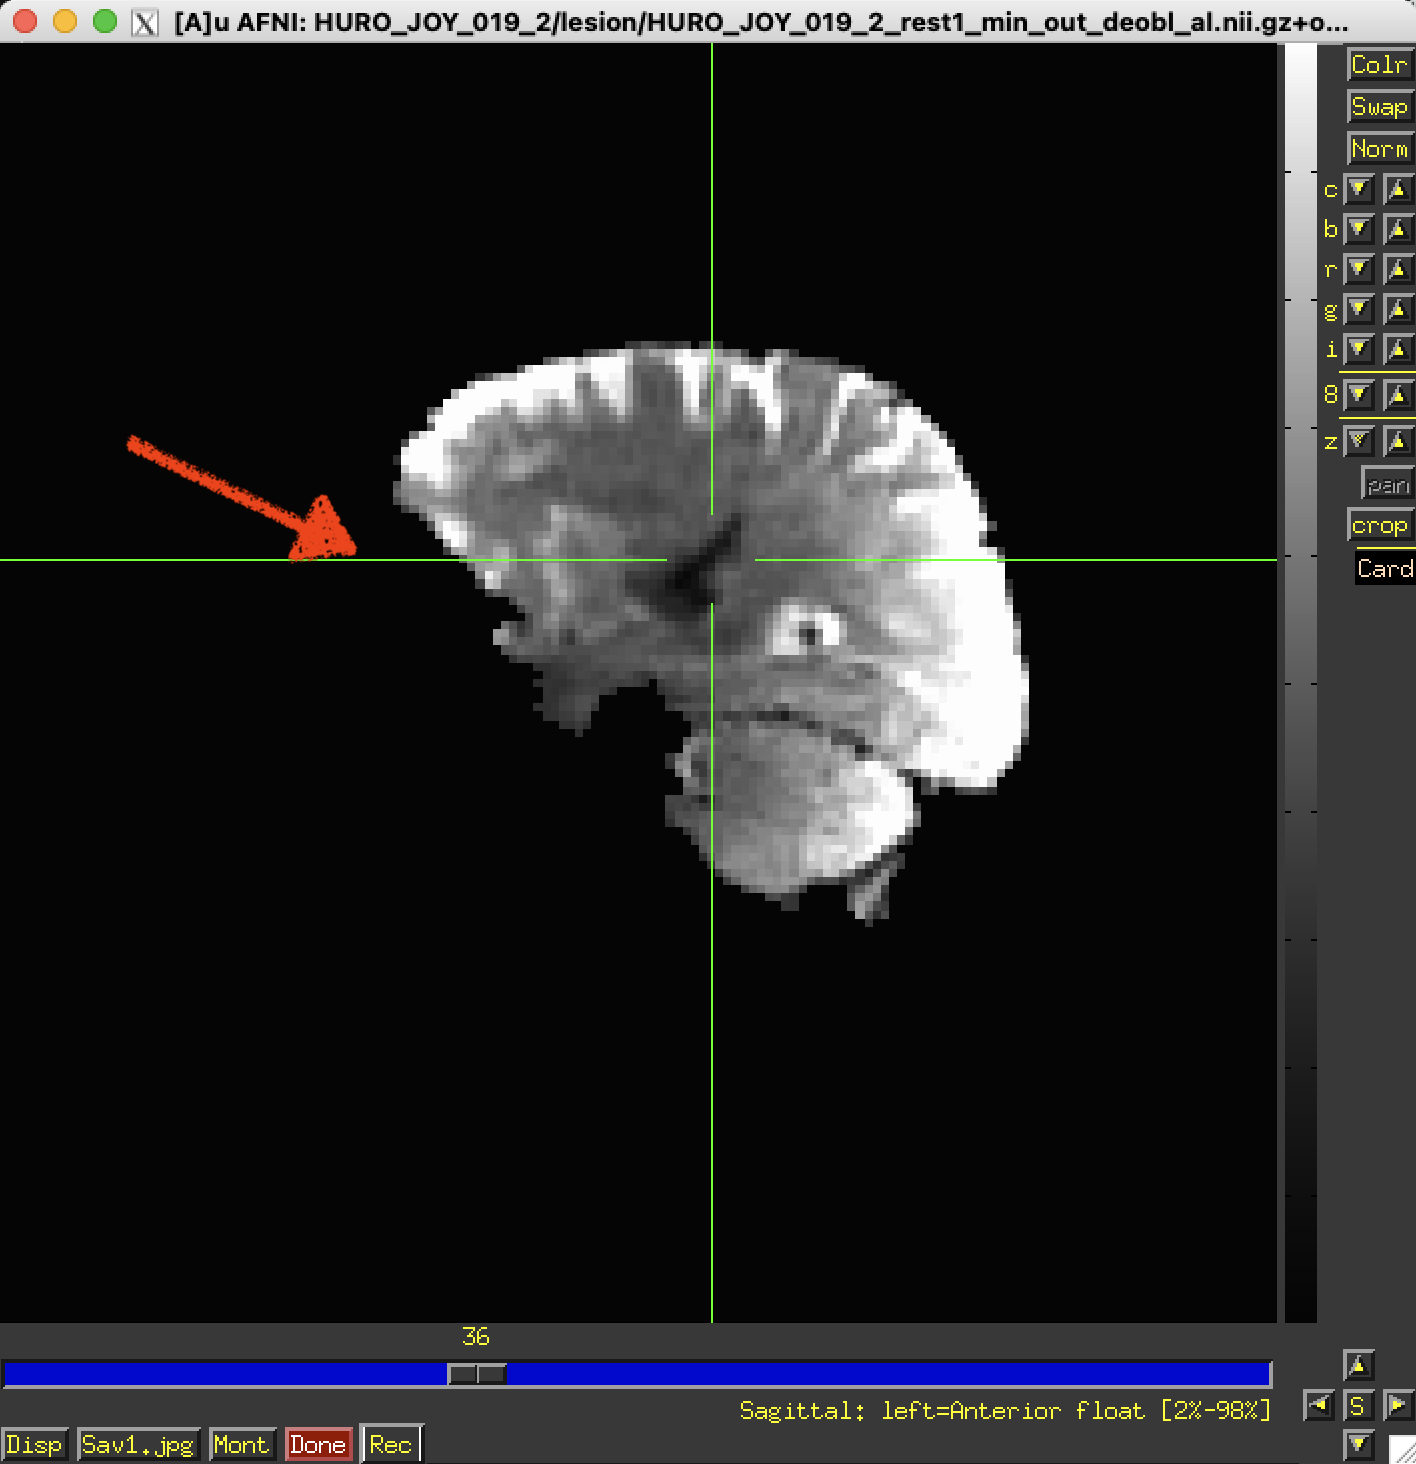
  • Here is a simple example output:

    ../../_images/image_window_Rec_example.gif
  • If Unix programs whirlgif and/or gifsicle are installed on your system, AFNI can write GIF animations directly (e.g., for fun Web pages).

  • If program mpeg_encode is installed, AFNI can write MPEG-1 animations.

  • Source code for these free programs is included with AFNI source code.

../../_images/image_window_Rec.png

Jump within GUI Guide

Starting

Main controller

Image window

Graph window

Overlay panel

Datamode panel

Chooser menu

Maps