Mac OS, 10.13-15 (via App)
Welcome to the Jungle [1]
The following is a set of scripts packaged as an App. It is designed to automate the AFNI installation steps. You should launch the script by double clicking the icon like a regular program. We have tested the app on OS 10.13 to 10.15 with various hardware.
This app will download and install the recommended versions of the following:
Xcode Command Line Tools
Xquartz
Homebrew
R
AFNI
It can also run the afni_system_check, download class / bootcamp data, and install shiny packages.
If a package is already installed, you may be asked if you want to
reinstall it. But you can skip it if you like. This script will also
setup your ~/.cshrc, ~/.bashrc, ~/.bash_profile, and
~/.zshrc. It will add the appropriate entries to your paths
specified there. After completion, you should restart your computer
just in case.
If you are seeking the non-App version of install instructions (i.e., via command line), please see HERE.
Take the File and Run [2]
Note
On macOS 10.15 there may be additional dialog boxes to approve.
Start Your Engines [3]
Download the file and extract the zip if it did not extract automatically in your Downloads folder.
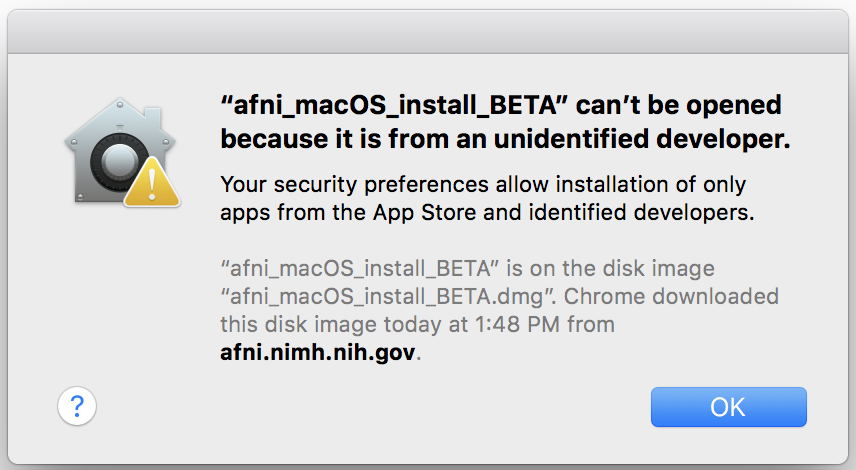
If you double click the “afni_macOS_install_BETA_V3” icon, you may get a popup notification about an “unidentified developer” similar to this:
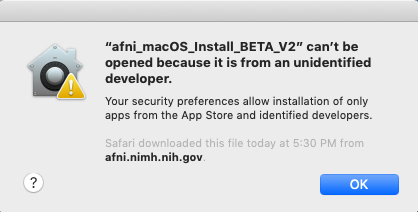
- If so, you can continue by:
Right or control clicking the app icon.
Then click
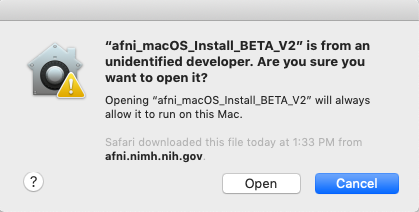
Openfrom the popup menu.(see here for more info: https://support.apple.com/kb/PH25088)
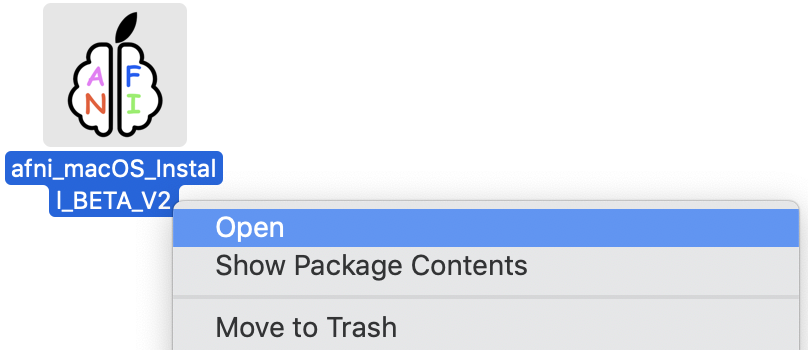
Now you will be able to open it.
You may also get warnings for “System Events” or “Finder” access.
|
|
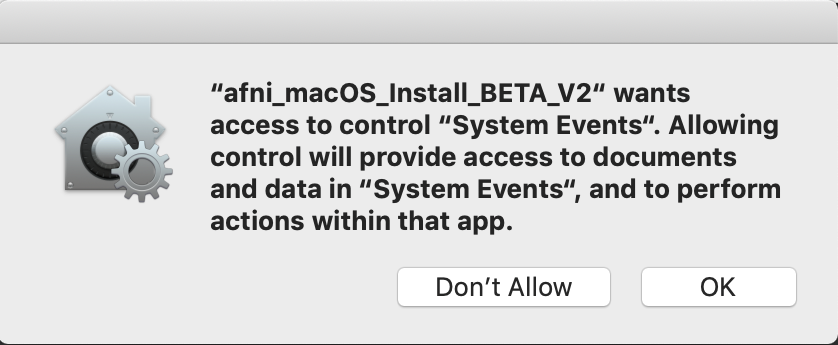
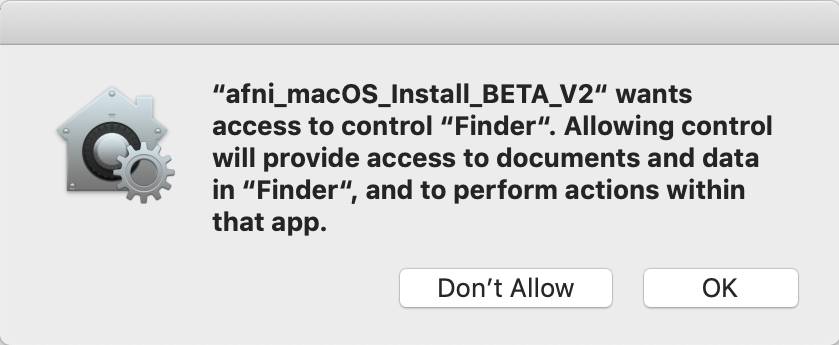
These will grant access for the app to use apple script and automator for opening dialogs and using the Finder to choose folders.
If you click “Don’t Allow”, this installer quit with an error similar to this:
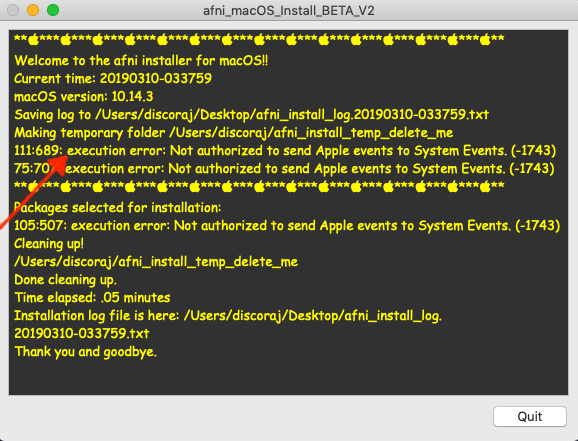
- If you see this error, you can allow access by going to:
“System Preferences” -> “Security & Privacy” -> “Privacy” -> “Automation”
Click the lock to make changes and check the box(es) under the “afni_macOS_install_BETA_V2” entry.
Then run the installer again.

Note
This is NOT an unattended install! The dialogs WILL time out after ~10 hours.
Use your M-O-U-S-E!
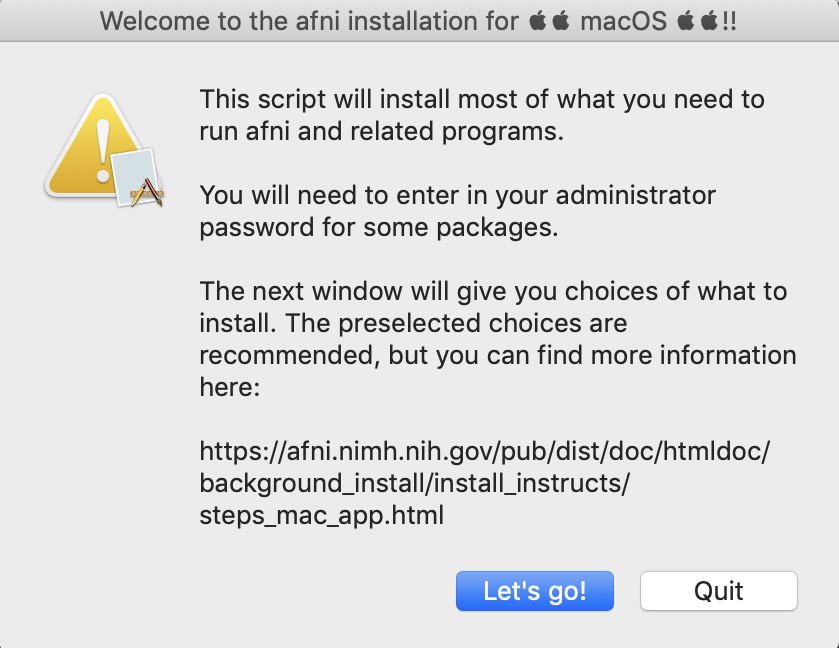
The first dialog box is an introduction and brief explanation
You will see a text box that will show you the output from the terminal progress. (it may pop up behind your current window)
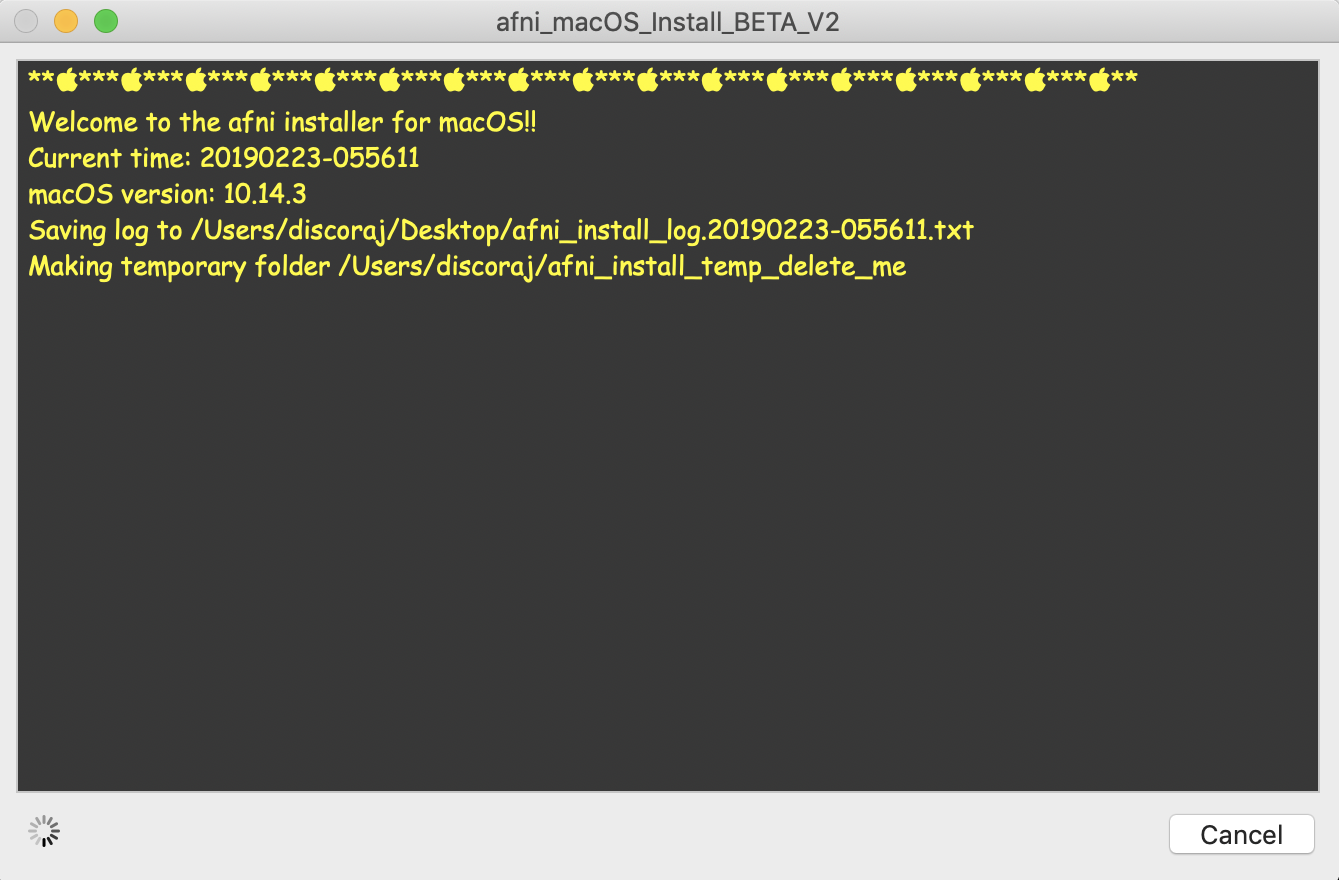
Note
Everything you see in the text box will be saved to a log file on your desktop with a name similar to “afni_install_log.20190223-055115.txt”
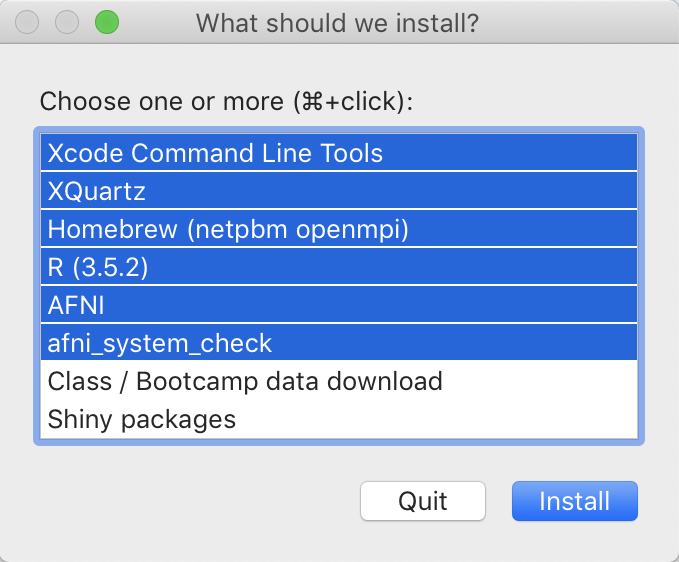
- The next dialog presents you with choices of what to install.
The recommended choices are automatically selected by default, but you can pick and choose what you want. You can multi select items using ⌘+click
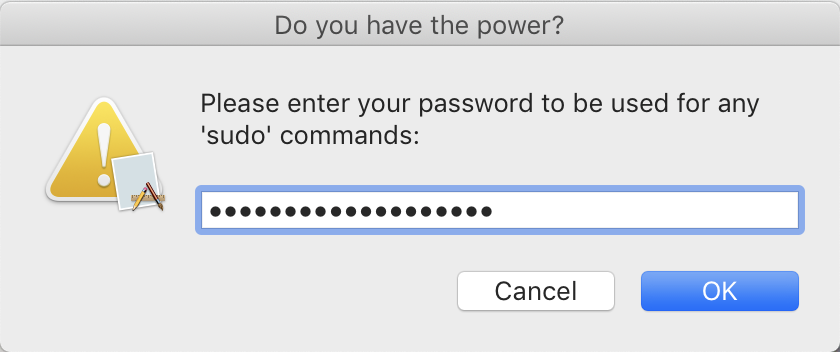
- Do you have the POWER?
For some packages, you may need to enter your password in the dialog box.
Note
Notice that a temporary folder “afni_install_temp_delete_me” is created in your home directory. It will be deleted when you quit. If not, it is safe to delete.
Don’t let the fear install [4]
Here are a few details of the choices that presented for installation.
Command Line Tools for Xcode
The command line tools are mostly necessary for compiling some R packages from source (gcc etc.). But that mostly happens behind the scenes so you won’t have to deal directly with any of that.
The usual way of installing this is typing this in the terminal:
xcode-select --install
XQuartz
This is desktop manager needed to run X11 programs, such as afni.
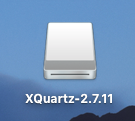
During the install you may notice the xquartz installer drive briefly mount and unmount.
Homebrew 🍺
No. Not beer, but a package manager for macOS. It is used to install
netpbm which has functionality for converting image formats (such as
to PNG) and is used in several programs like @snapshot_volreg,
@chauffeur_afni and others.
Also installs openmpi for multiprocessor support in R.
R ☠️
This is what is usual the catch phrase of pirates on the high seas. But here we are talking about the free software environment for statistical computing and graphics. afni needs this for several of the group analysis programs.
The version installed with this app is version 3.6.3 (Holding the Windsock) released on 2020-02-29.
The CRAN mirror is https://cloud.r-project.org so it should automatically choose a mirror close to your geographical location.
AFNI
AFNI is a set of C programs for processing, analyzing, and displaying functional MRI (FMRI) data. (taken from the about page…)
A few thing are happening here.
Basically running
@update.afni.binaries. It will default to installing in~/abin, but you can choose your own favorite folder.Updates your
~/.cshrc,~/.bashrc,~/.bash_profile,~/.zshrc, and other environments.Installs the R packages necessary for afni. First it checks to make sure you have R and Homebrew’s openmpi installed.
rPkgsInstall -pkgs ALLmay fail without those…
afni_system_check
Runs afni_system_check.py -check_all.
If you selected afni_system_check (which you should do…),
you will be presented with a dialog to let you view it before you procede.
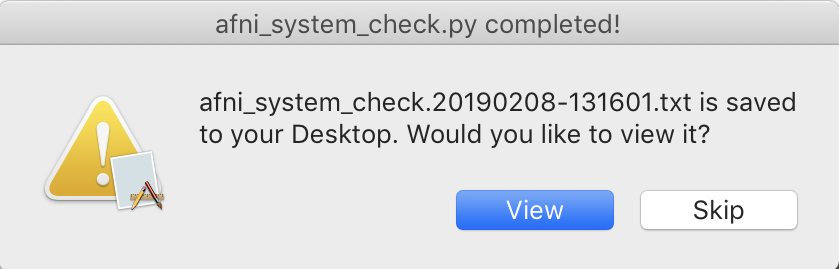
The afni_system_check output will have been saved to your desktop. It is named something obvious like “afni_system_check.20190208-145815.txt”. Clicking “View” will open the file in your default text editor. This file may be useful for figuring out problems with the install, especially when posting to the message board.
Note
When you are finished with installation, you may want to open up the AFNI and SUMA GUIs, juuuust to make sure all is well:
afni
suma
Class / Bootcamp data download
Download class data and prep it for bootcamps or your own practice.
You may want to do the following later:
Read+practice with the handy Unix documentation/tutorial.
Purpose: give you a quick lesson/refresher on using basic Linux shell commands (e.g., ls, cd, less, etc.). It will greatly enhance your bootcamp experience– we promise!
Pro tip: If you will be attending a Bootcamp, you might want to bring a mouse to use with your laptop. It will be easier to follow the demos using a mouse than a trackpad. (eh…)
Shiny packages
Install optional packages for some of afni’s shiny integrations. You can learn more about shiny apps here.
Runs:
@afni_R_package_install -shiny -circos
This is needed if you want to run any of these programs:
All Done
Upon completion of all installations, and barring any error, you should see a completion dialog.
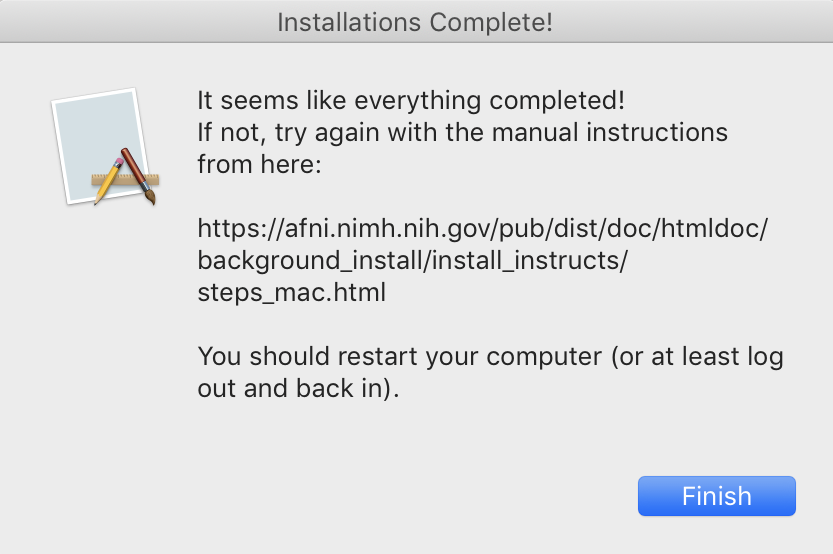
Then you can review the text or quit the app.

Setup Python (opt)
AFNI has very minimal Python requirements—at present, matplotlib and numpy. For example, for the recommended automatic QC output from afni_proc.py, matplotlib is necessary.
You can use any method to install+manage Python and its dependencies. In fact, your OS might have all the Python+modules needed to run AFNI already. Check this by running:
afni_system_check.py -check_all
... and seeing there are no notes in the “Please fix” section at the end—if there are none about Python, then you are all set!
But if you do still need to setup Python with appropriate modules, or you want to manage different environments with different package needs (Python or otherwise), then we note that we have found Miniconda to be convenient. It is cross-platform (with occasional OS-specific quirks). If you are interested in either using it or reading more about it, you can check out this tutorial, which has both verbose and quick instructions.
But Miniconda is not required.
Keep up-to-date (remember!)
To update your AFNI sometime, copy+paste:
@update.afni.binaries -d
That’s it!!
Purpose: This will automatically download the correct, latest AFNI version to your computer, replacing your old binaries. It will also update the
apearchhelp information. Update often!To check your AFNI version, copy+paste:
afni -ver
Purpose: Report this useful info whenever asking a question on the Message Board!
Note
The record of all changes (new options, new programs, bug fixes, et al.) in AFNI programs is maintained for all to see in the online AFNI History.
Older Version BETA V1
The following is a set of scripts packaged as an app. It is designed to automate the AFNI installation steps. You should launch the script by double clicking the icon like a regular program.
- This app will download and install the recommended versions of the following:
Xcode command line tools
Xquartz
R
AFNI
If a package is already installed, you may be asked if you want to reinstall it. But you can skip it if you like. This script will also setup your ~/.cshrc, ~/.bashrc, and ~/.bash_profile. It will add the appropriate entries to your paths specified there. After completion, you should restart your computer just in case.
This is a BETA script, so your feedback is welcome. We have tested the app on 10.10 to 10.13 with various hardware.
If you are seeking the non-App version of install instructions, please see HERE.
Download the file and open it to extract the contents.
Read the README!!
Double click the “afni_macOS_install_10.7_BETA” or “afni_macOS_install_10.12_BETA” icon.
You may get a popup notification about an “unidentified developer”.
- If so, you can continue by:
Right click or control click the app icon.
Then click open from the shortcut menu.
(see here for more info: https://support.apple.com/kb/PH25088)
- This will launch your terminal.
Most of the rest of the interactions are in the terminal. If needed, the Xcode command line tools will popup an installation window. Once complete, return to the terminal to continue.
- To accept the default options (shown in [ ]), just press Enter.
For some sections, you may need to type in your password. If you are not an administrator on your computer, this installation may fail. Make sure you have permissions for the folder you choose for AFNI! The
sudoprompt will time out after awhile, so this is not an unattended install.
This script does not install fink. Nor does it download the class data.

The icon is a work in progress. If you have some design skills, please send me alternatives.
Footnotes
