12.16.1. Using afni_refacer2 (and @afni_refacer_run)
Introduction
Download script: refacer_run.tcsh
afni_refacer2 (and the older, very similar performing
@afni_refacer_run) refaces and/or defaces a volumetric dataset,
typically a (human) T1w volume. It performs this task by using
alignment to a reference dataset, which has pre-created mask regions
to apply. The header information of the output volume can also be
anonymized. As an additional convenience, QC images are automatically
created for quick visual validation of results.
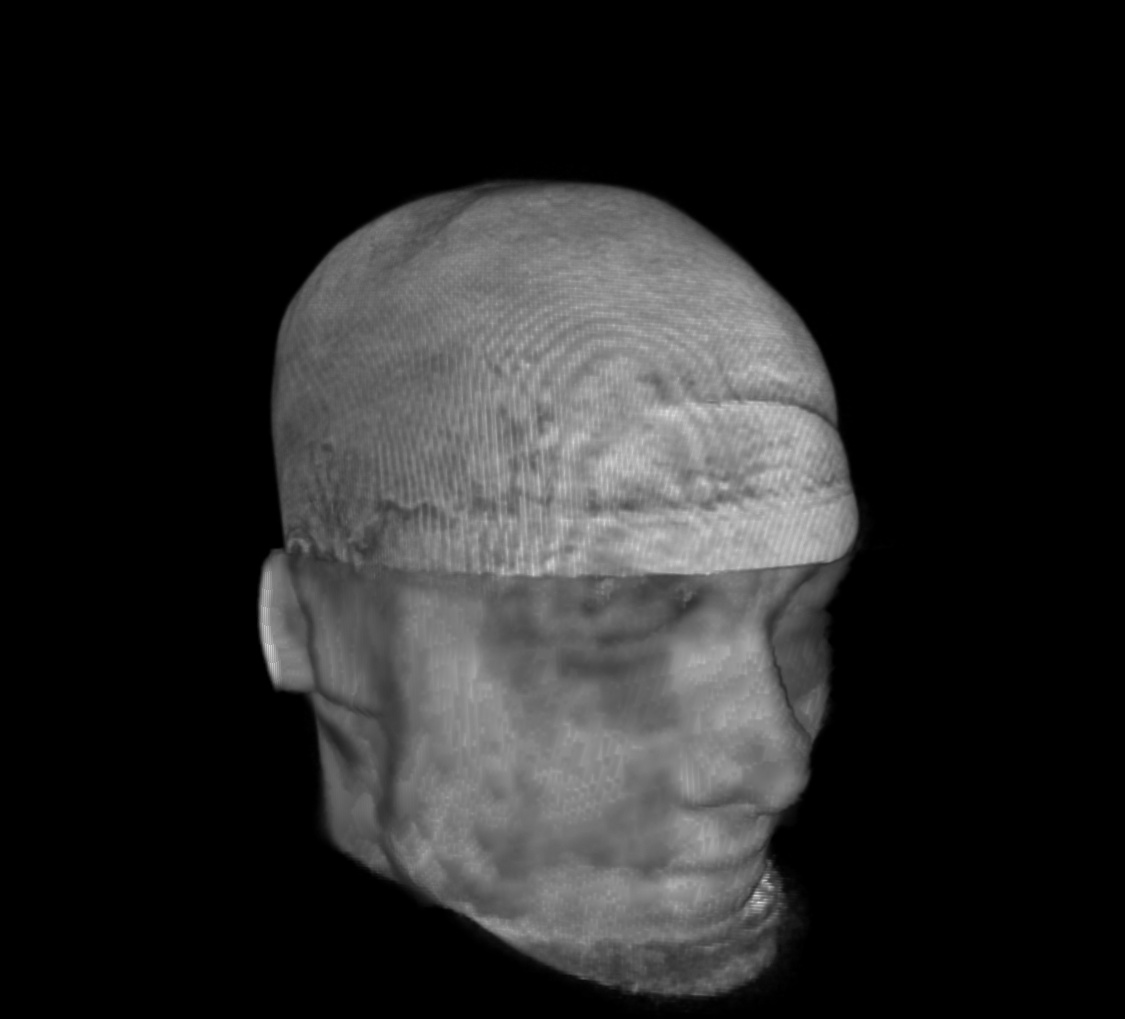
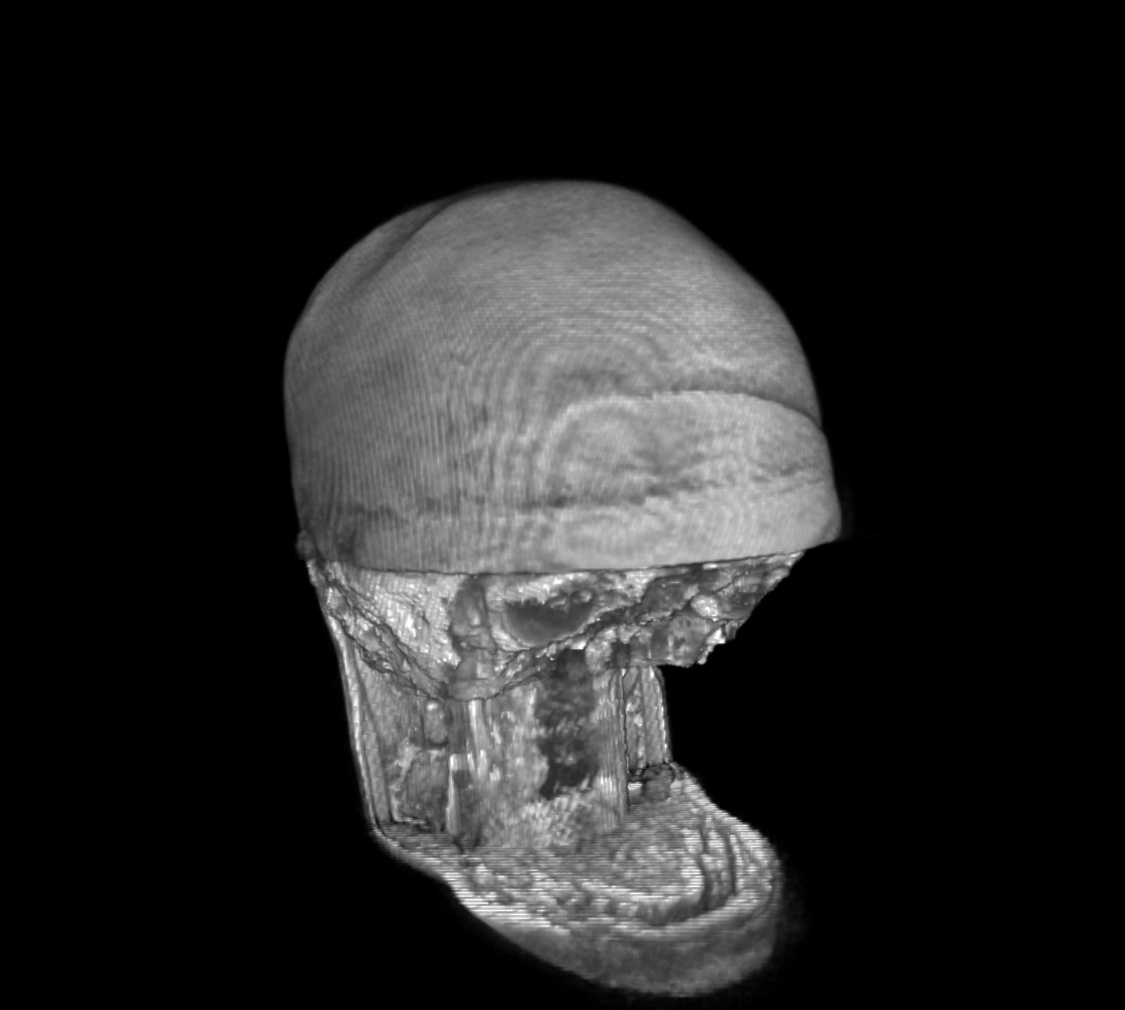
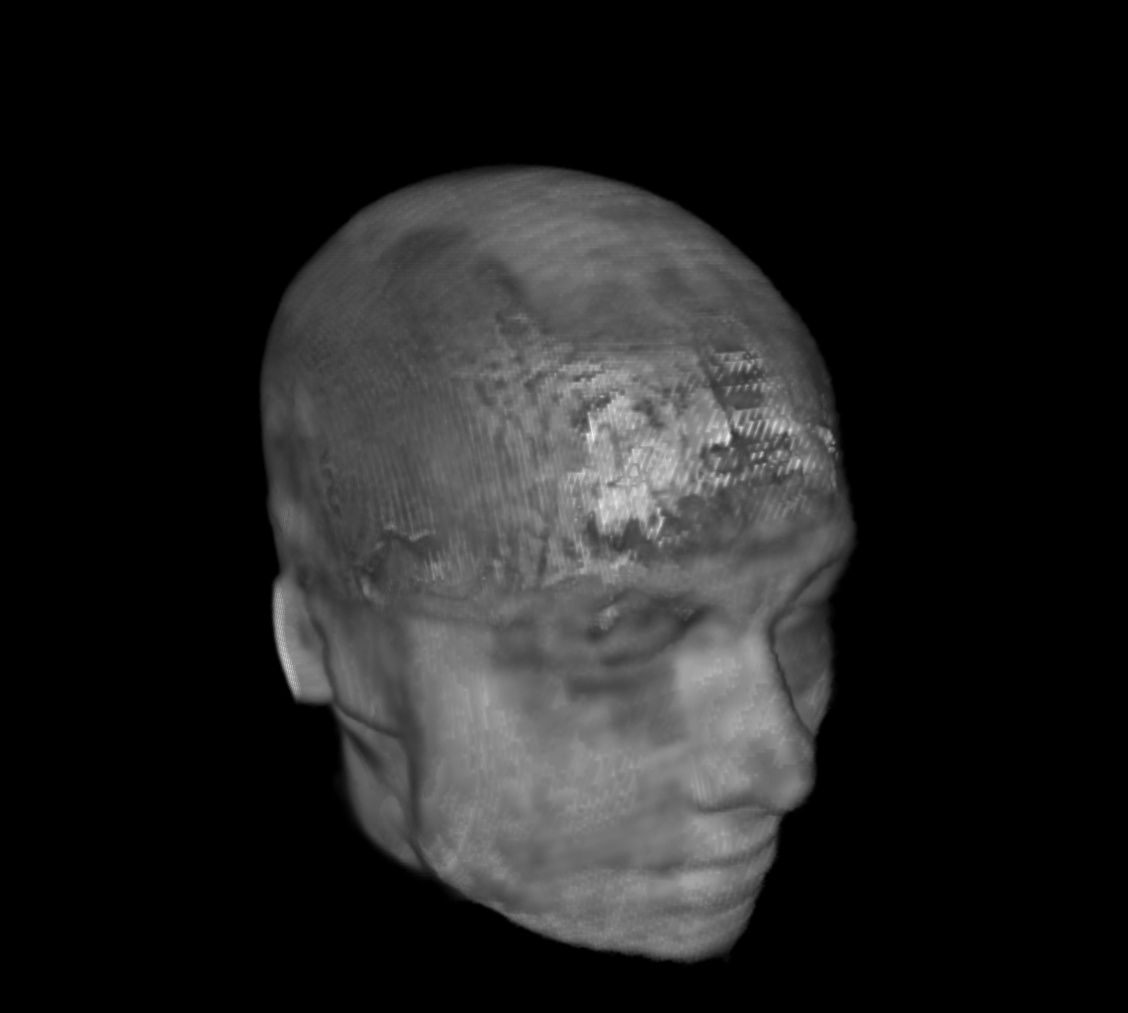
For a SUMA view of what we are talking about, consider the following anatomical dataset, shown in original state (top-left) and after refacing (top-right), defacing (bottom-left) and reface-plusing (bottom-right):
original anatomical dset |
refaced anatomical dset |
|---|---|

|
|
defaced anatomical dset |
reface_plused anatomical dset |
|---|---|
|
|
This program can be used in any of the following modes:
deface: create a copy of the input dataset with zeros in the face and ears region.
reface: create a copy of the input dataset with values from a smoothed, generic face placed in the face and ears region.
reface_plus: create a copy of the input dataset with values from a smoothed, generic face placed in the face, ears and (outer) skull region.
The regions replaced in deface/reface modes are identical. The replacement “generic face” was created by warping+averaging several public datasets together. When using either of the refacing options, the values of the replacement region are roughly scaled to the values of the original dataset.
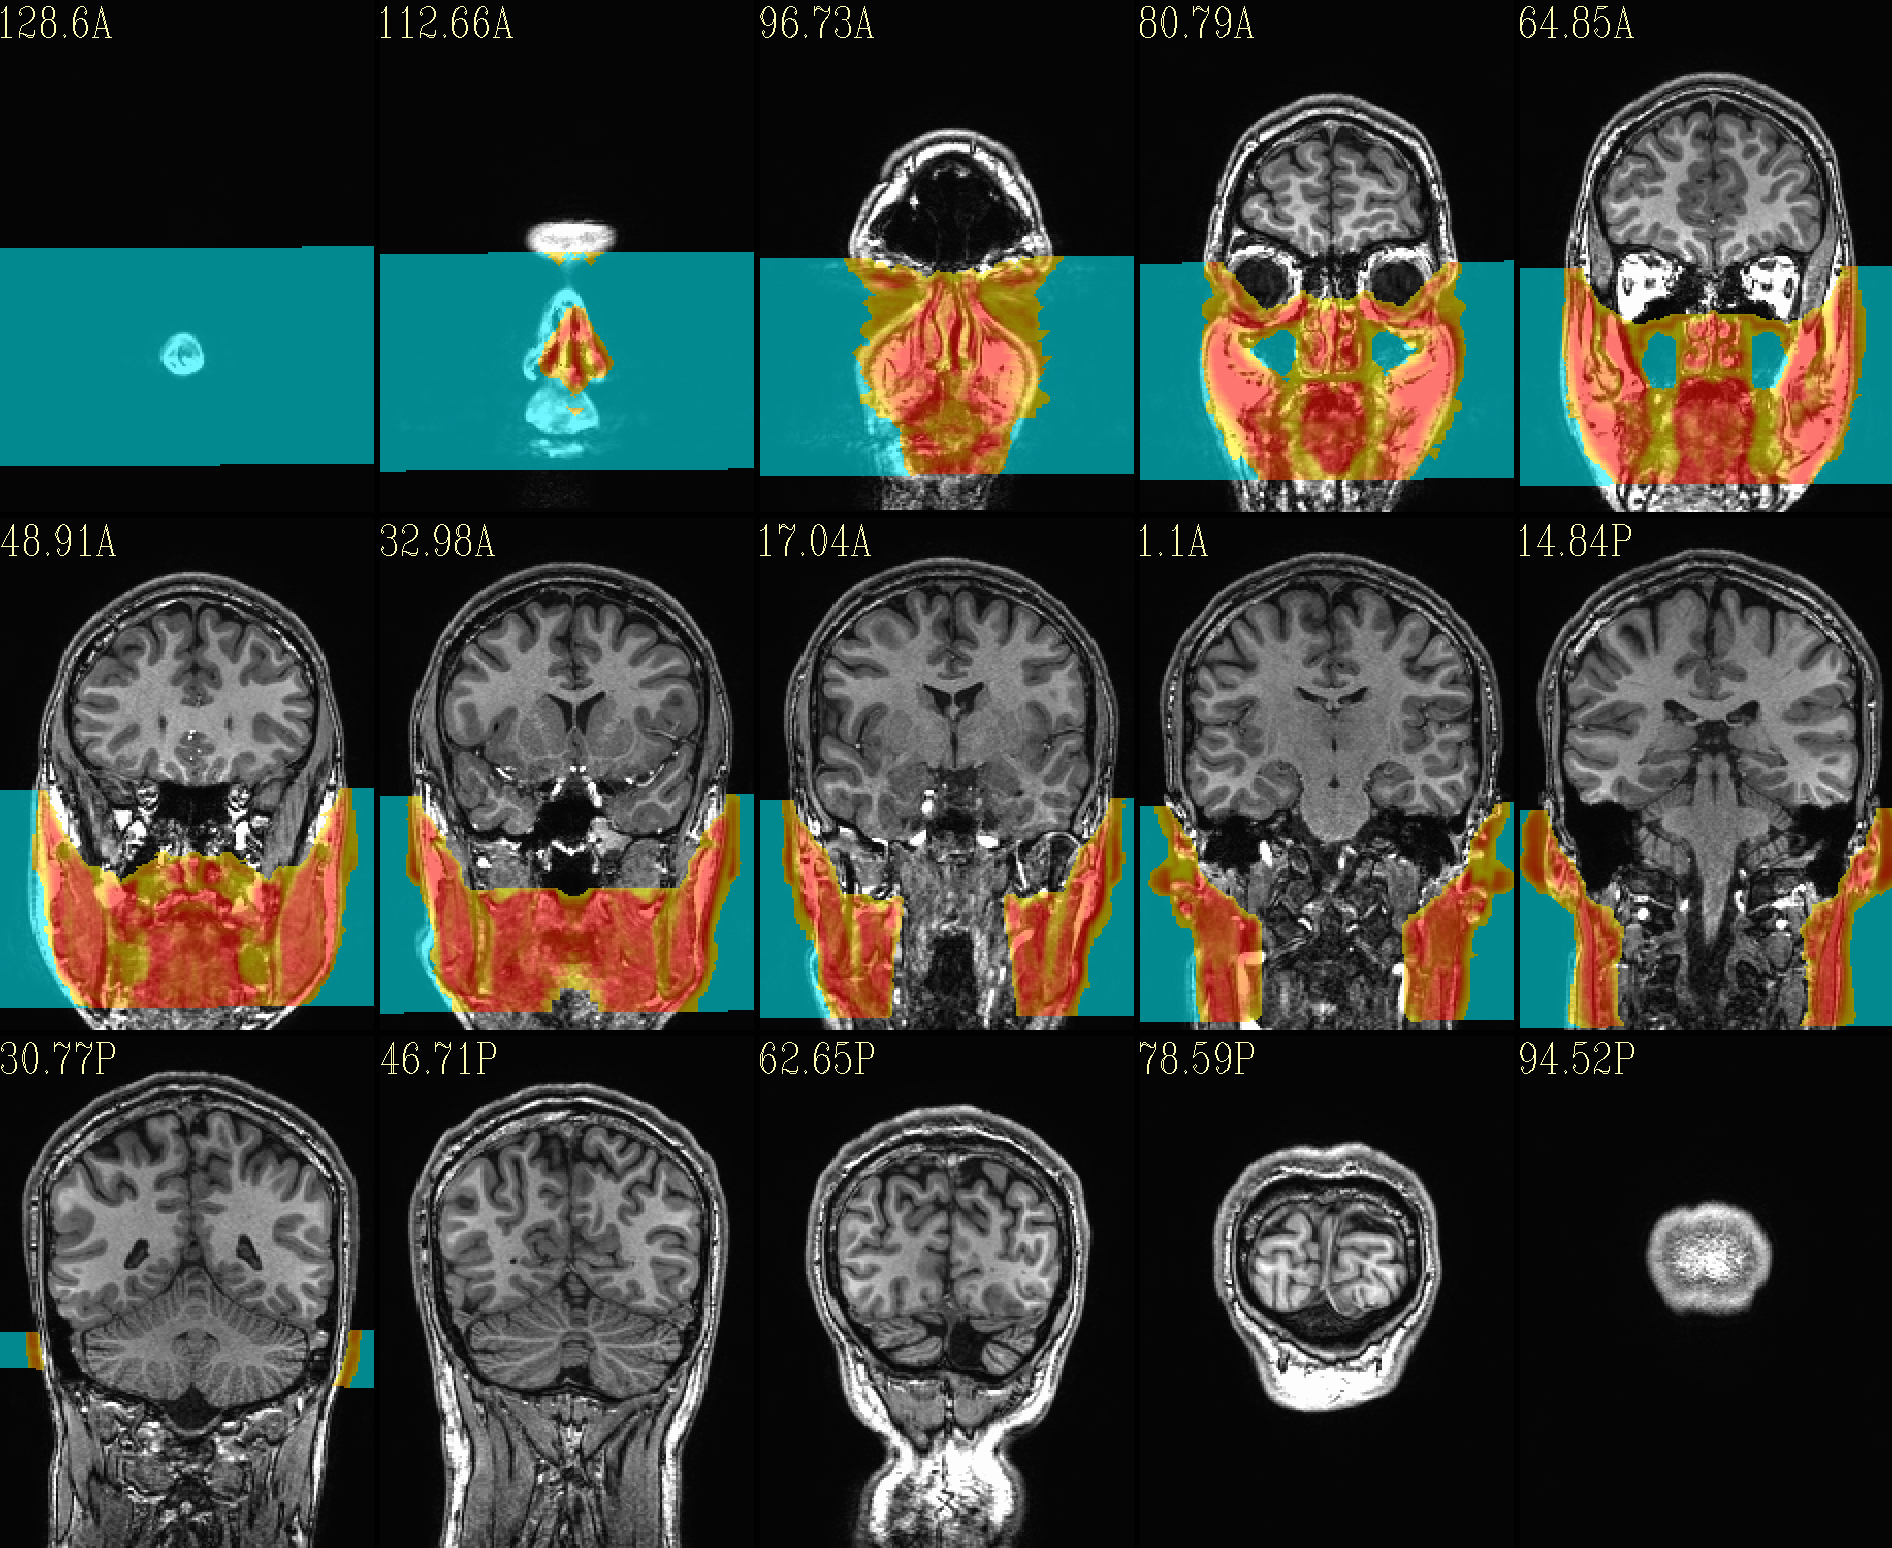
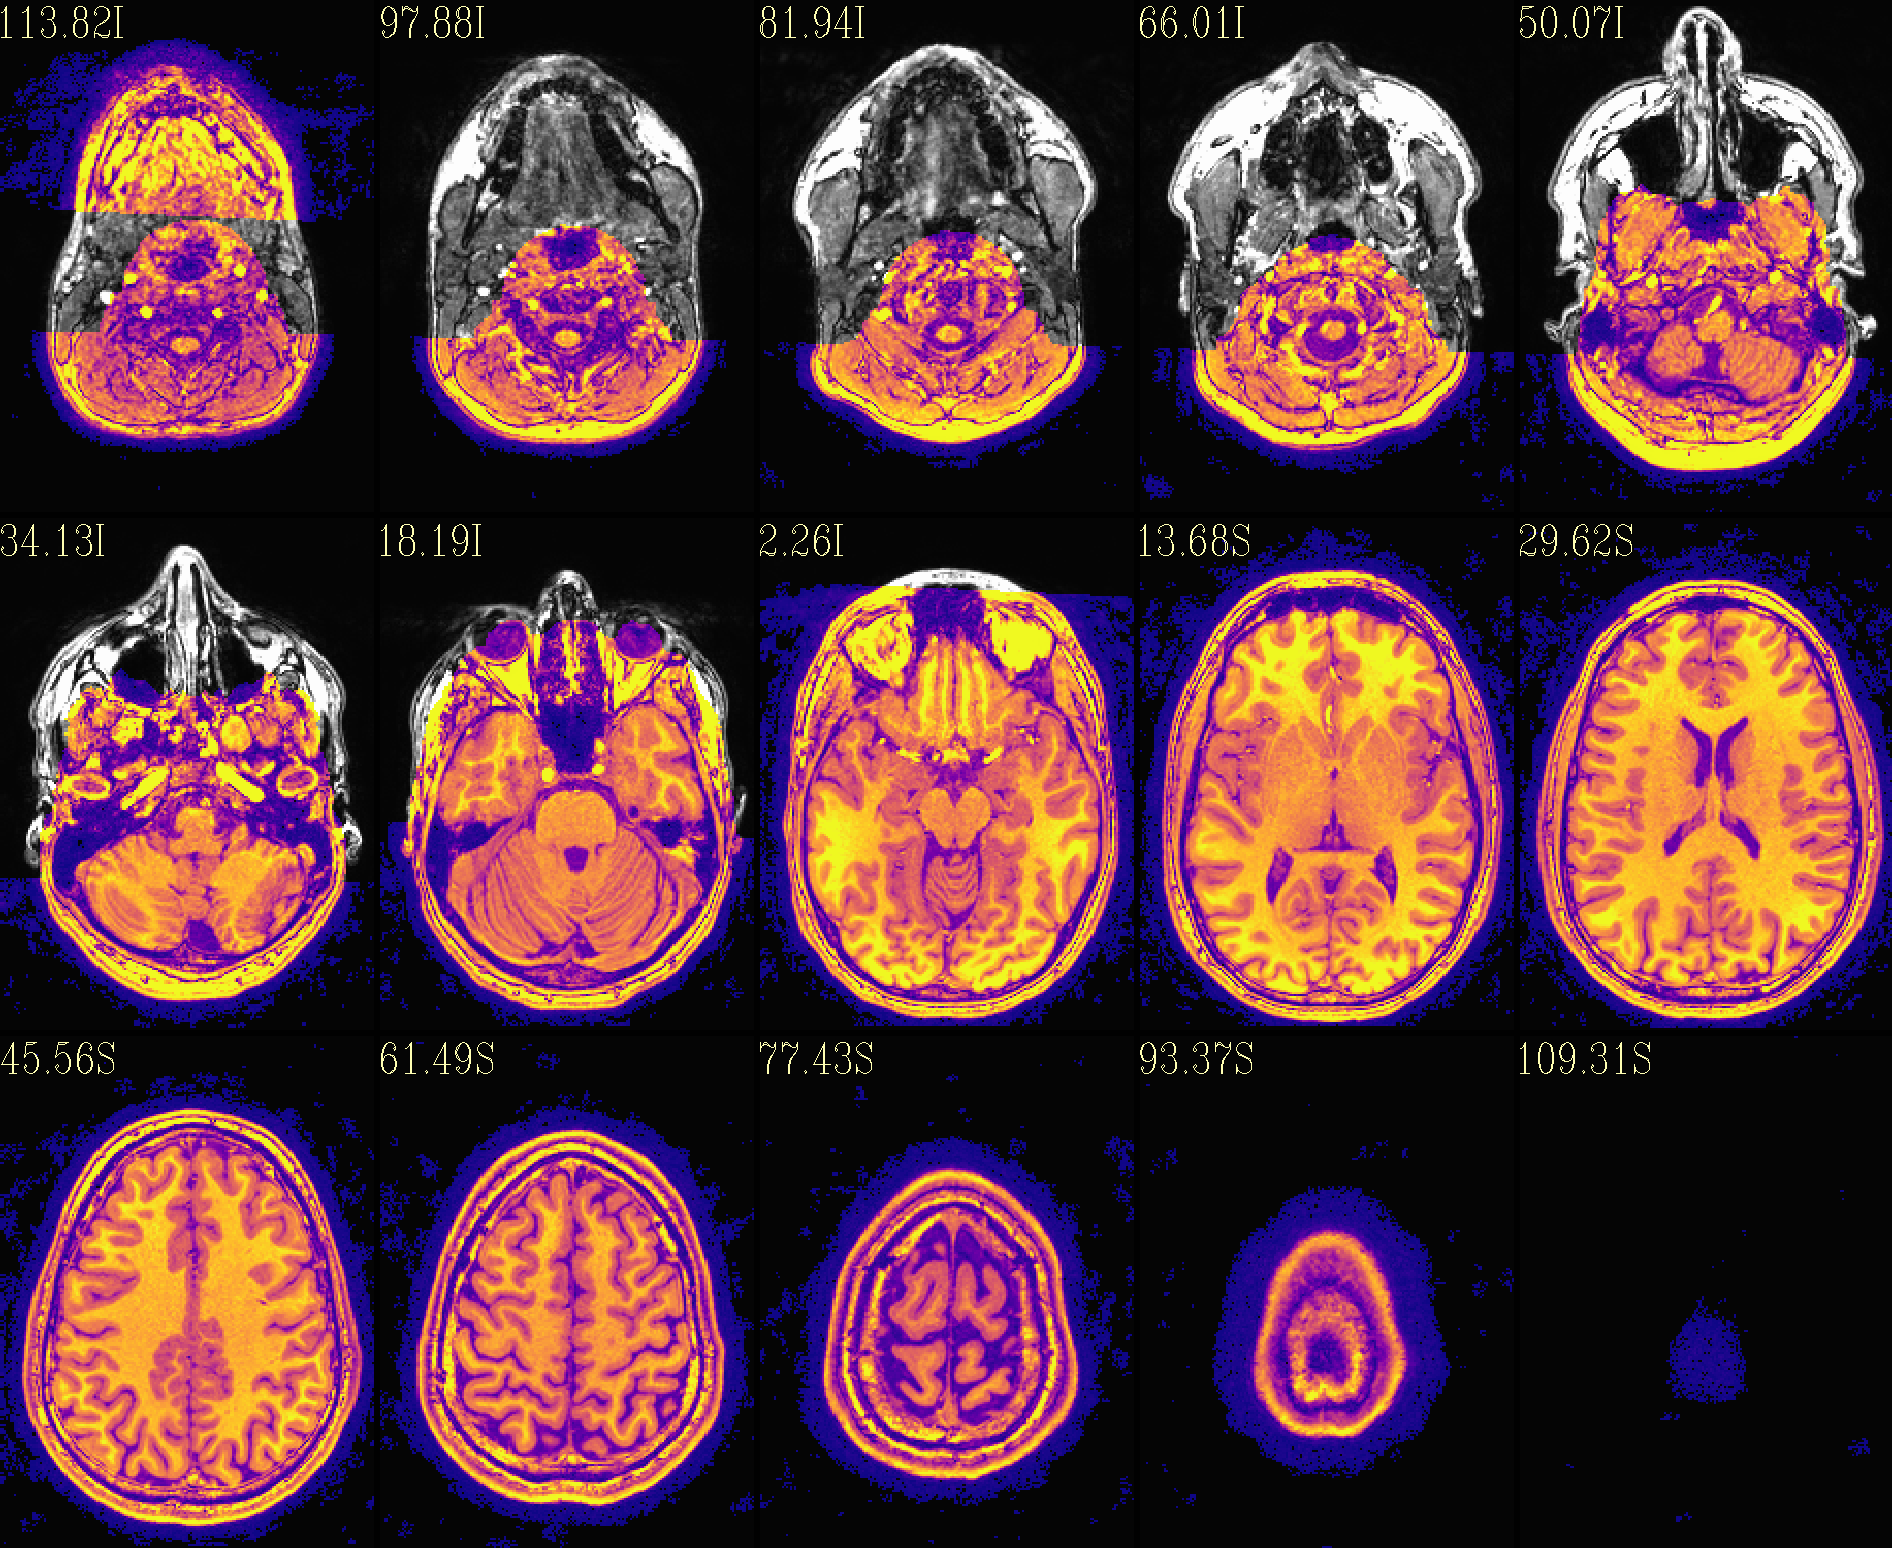
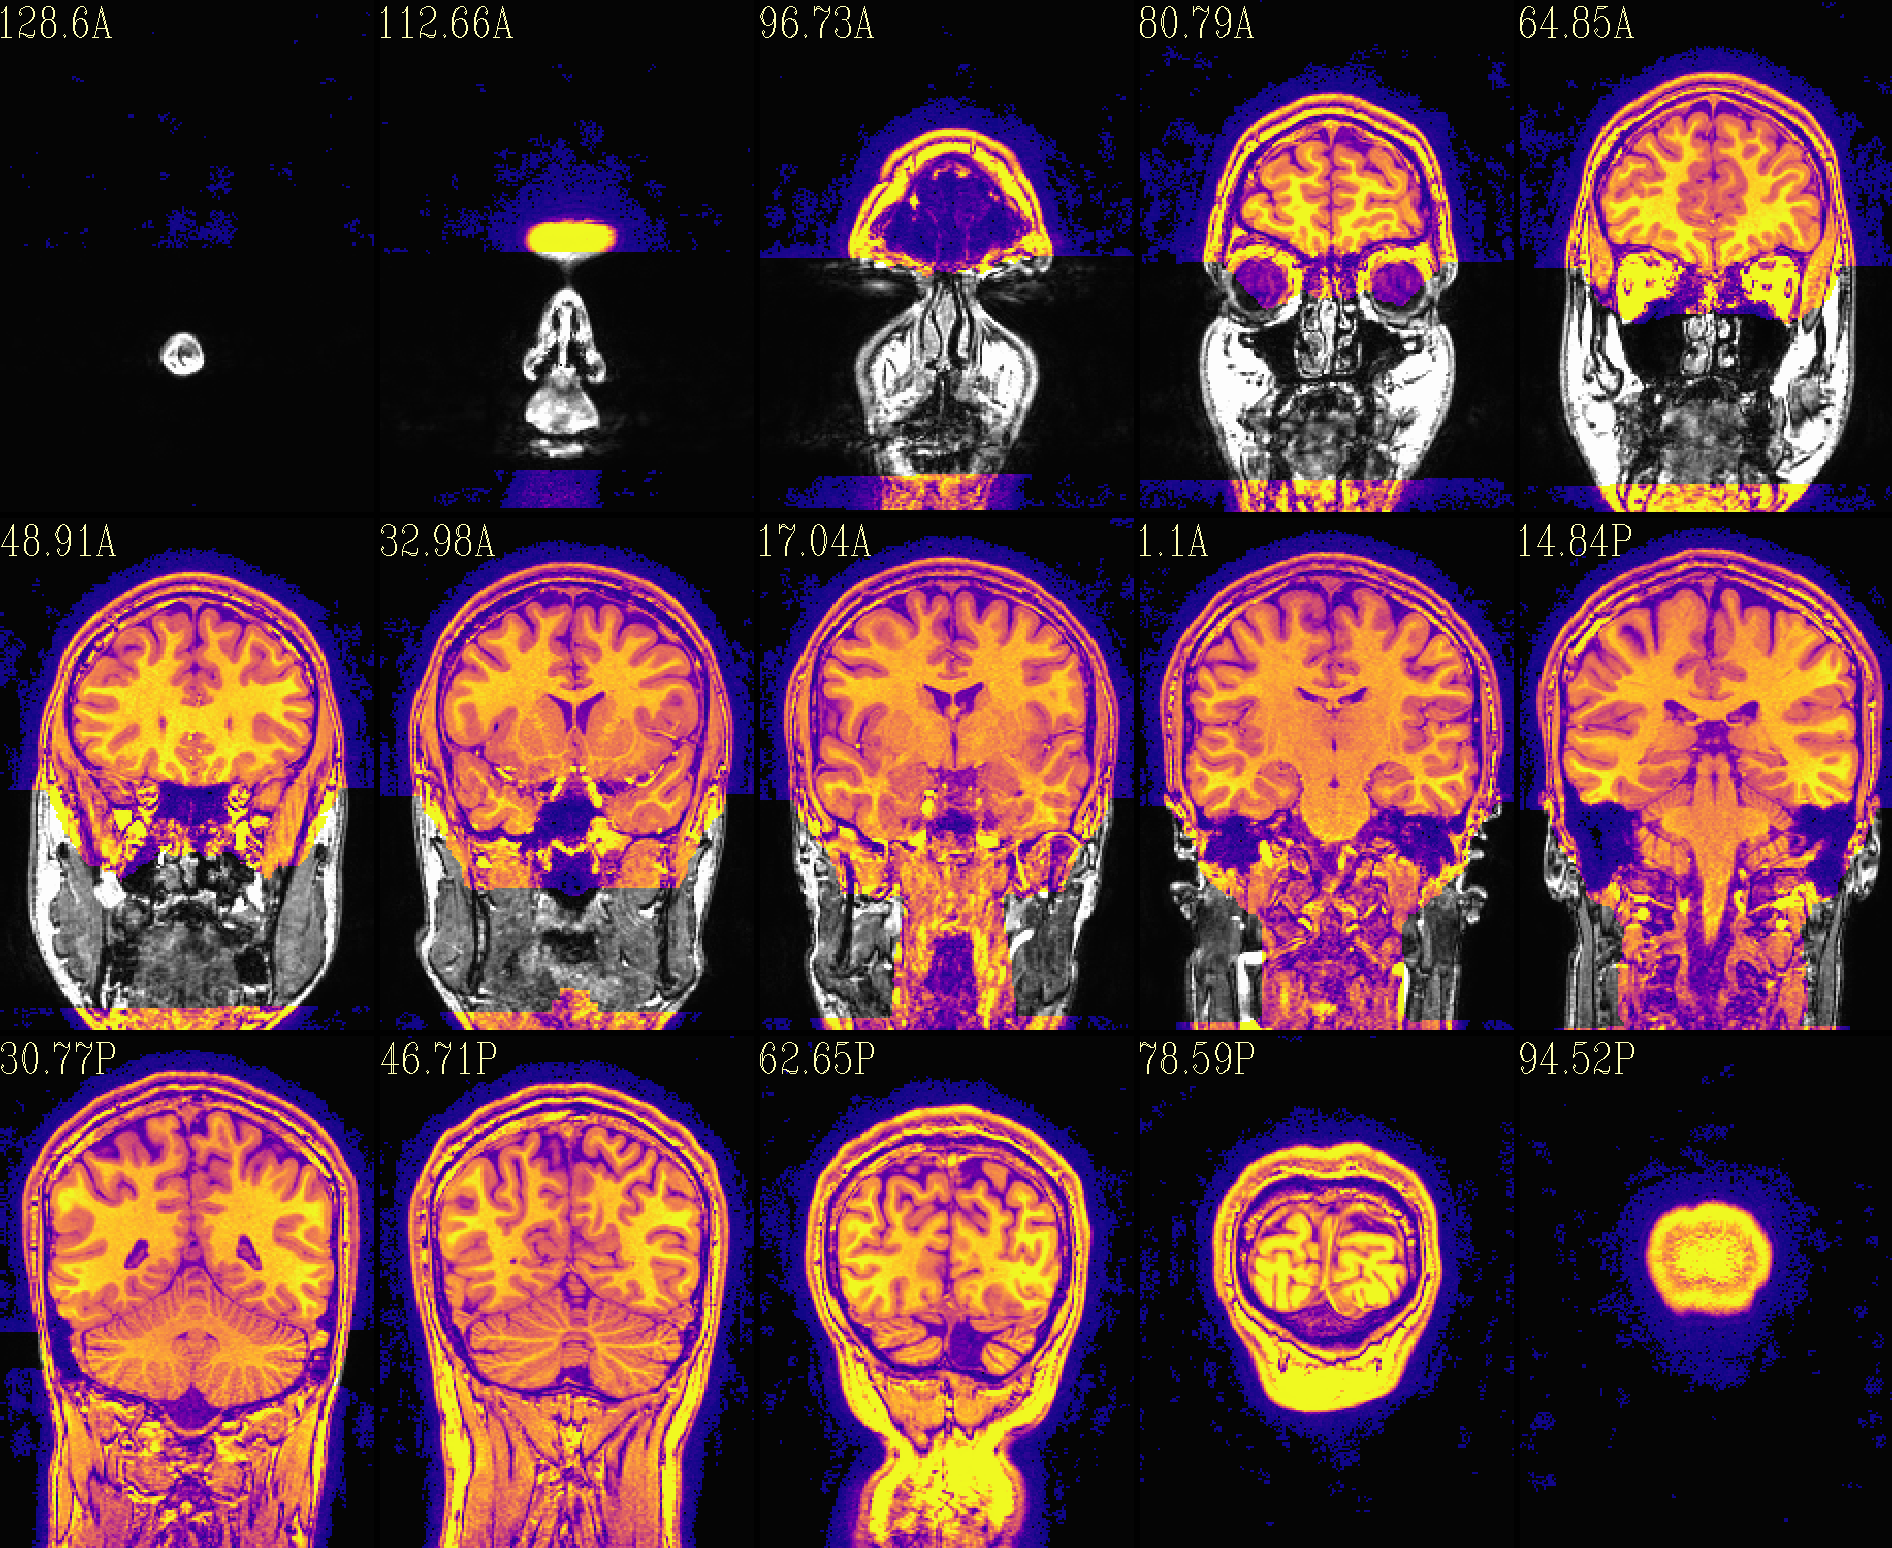
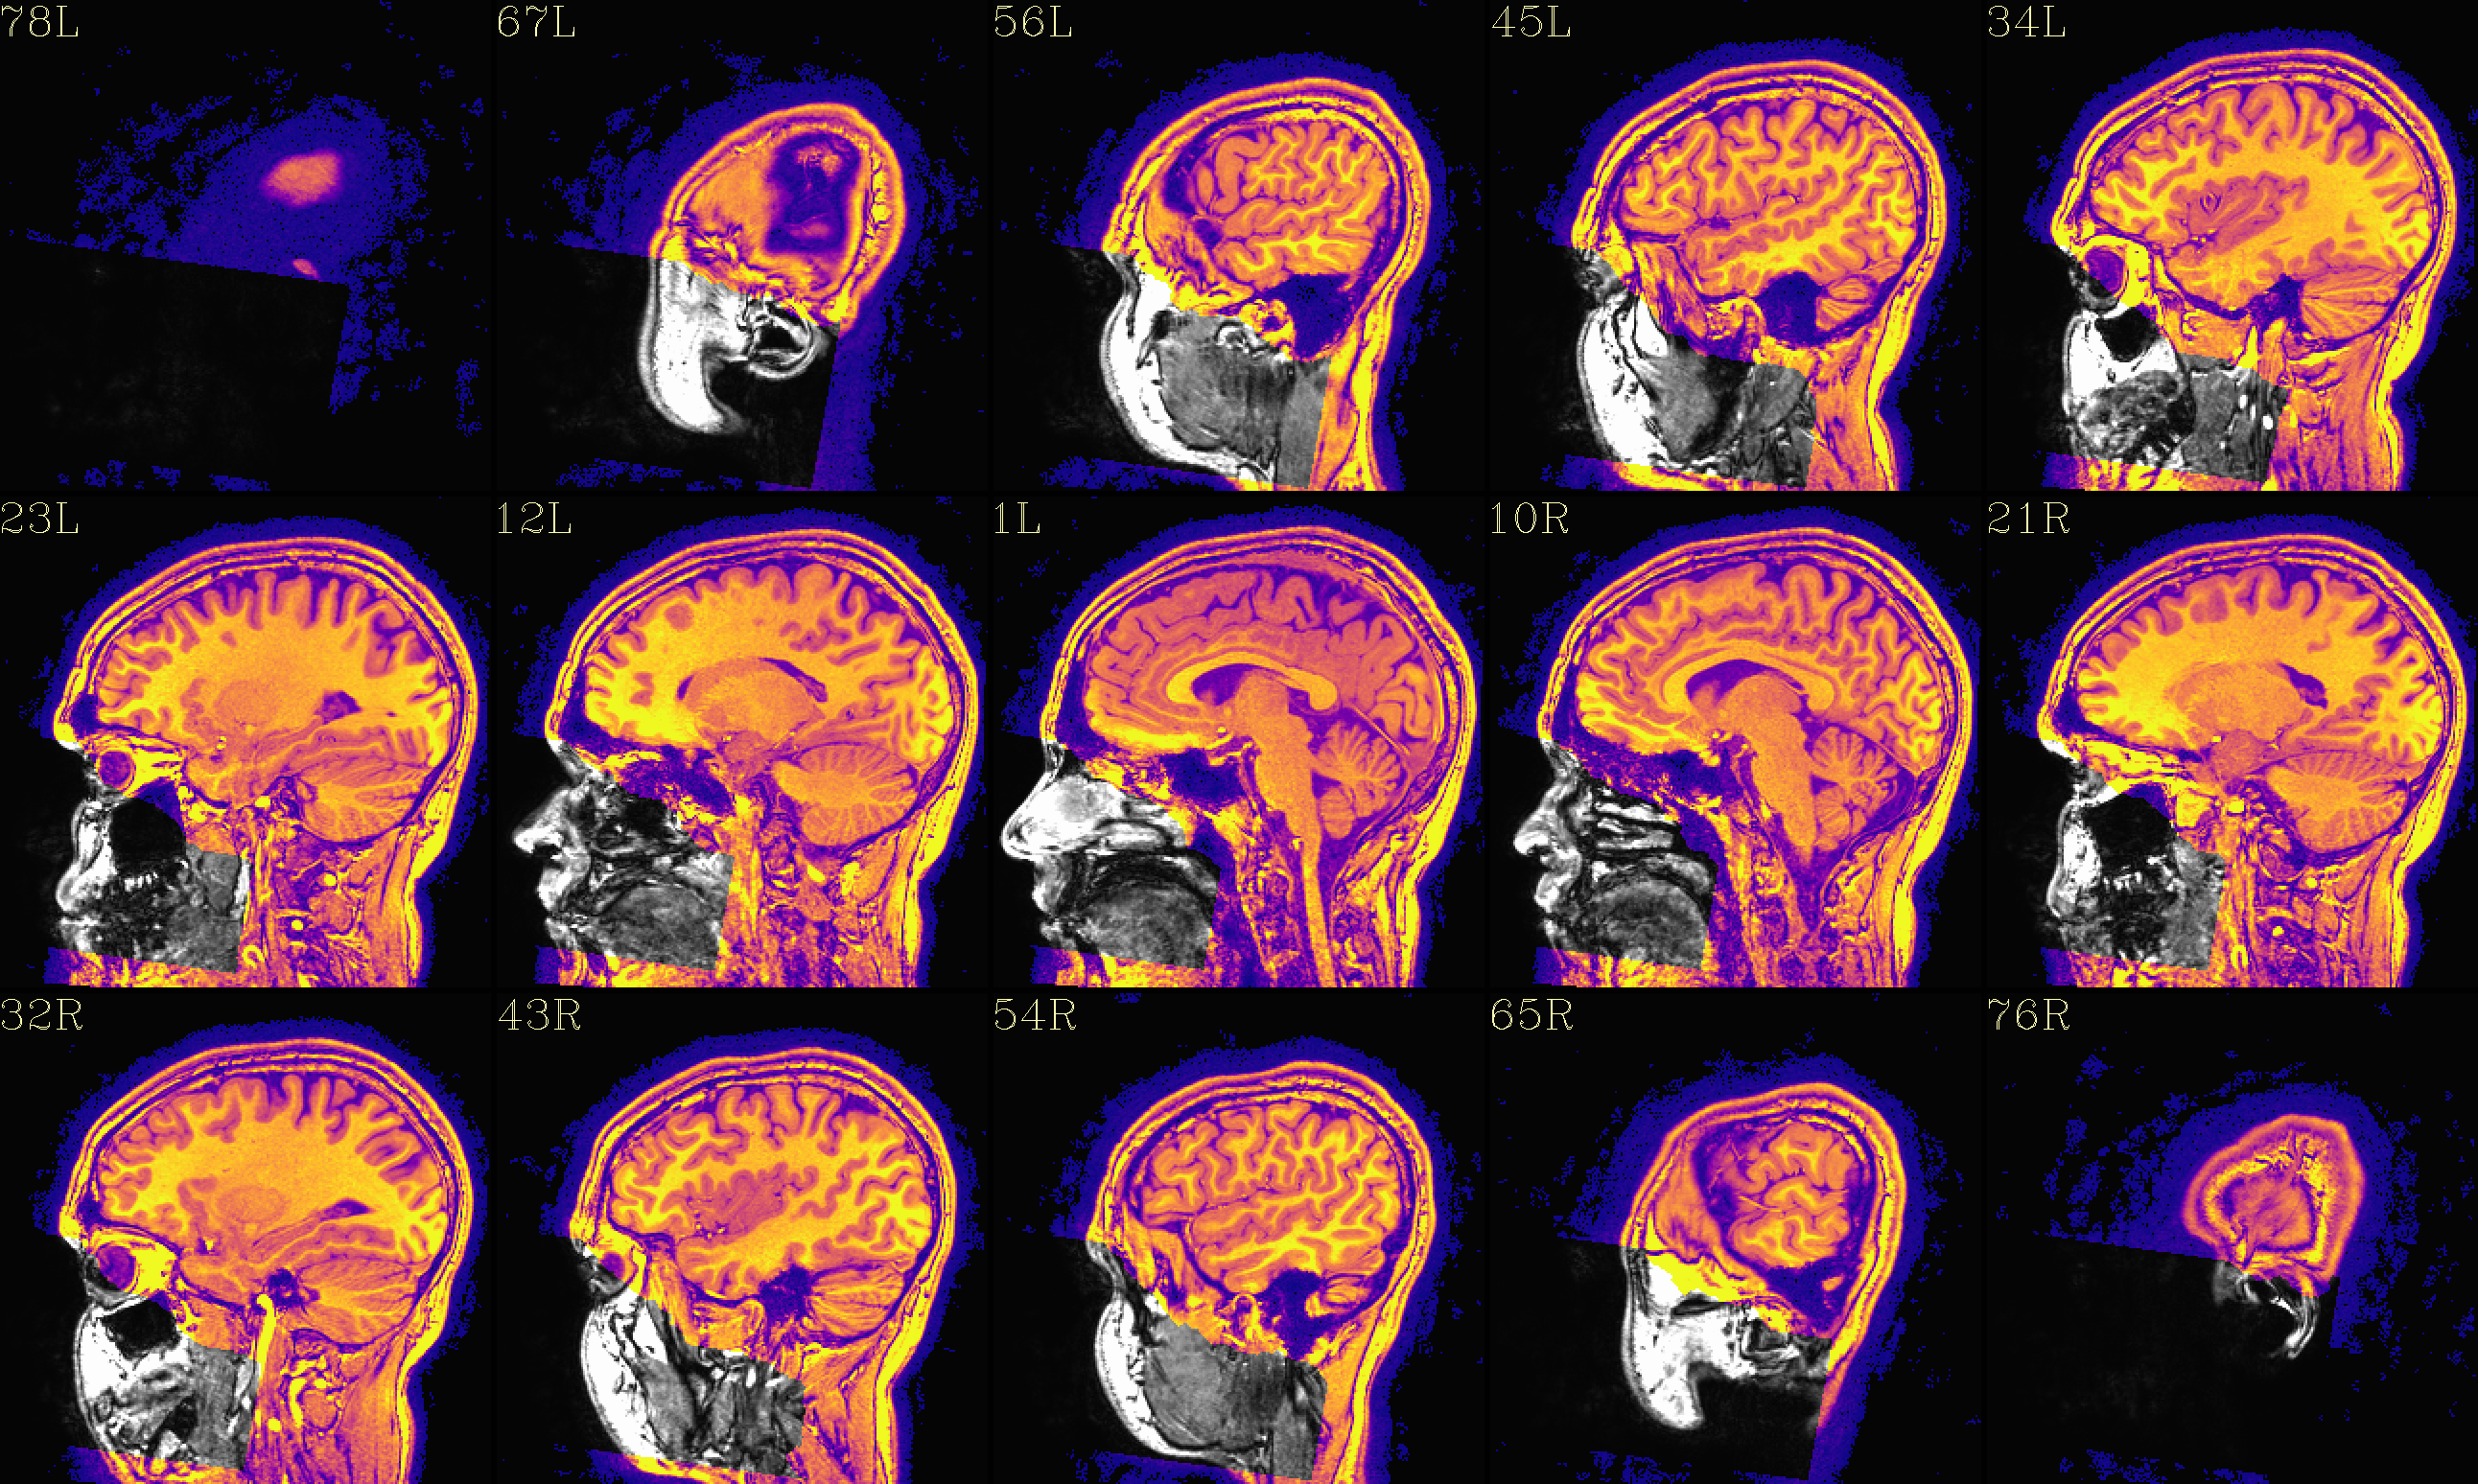
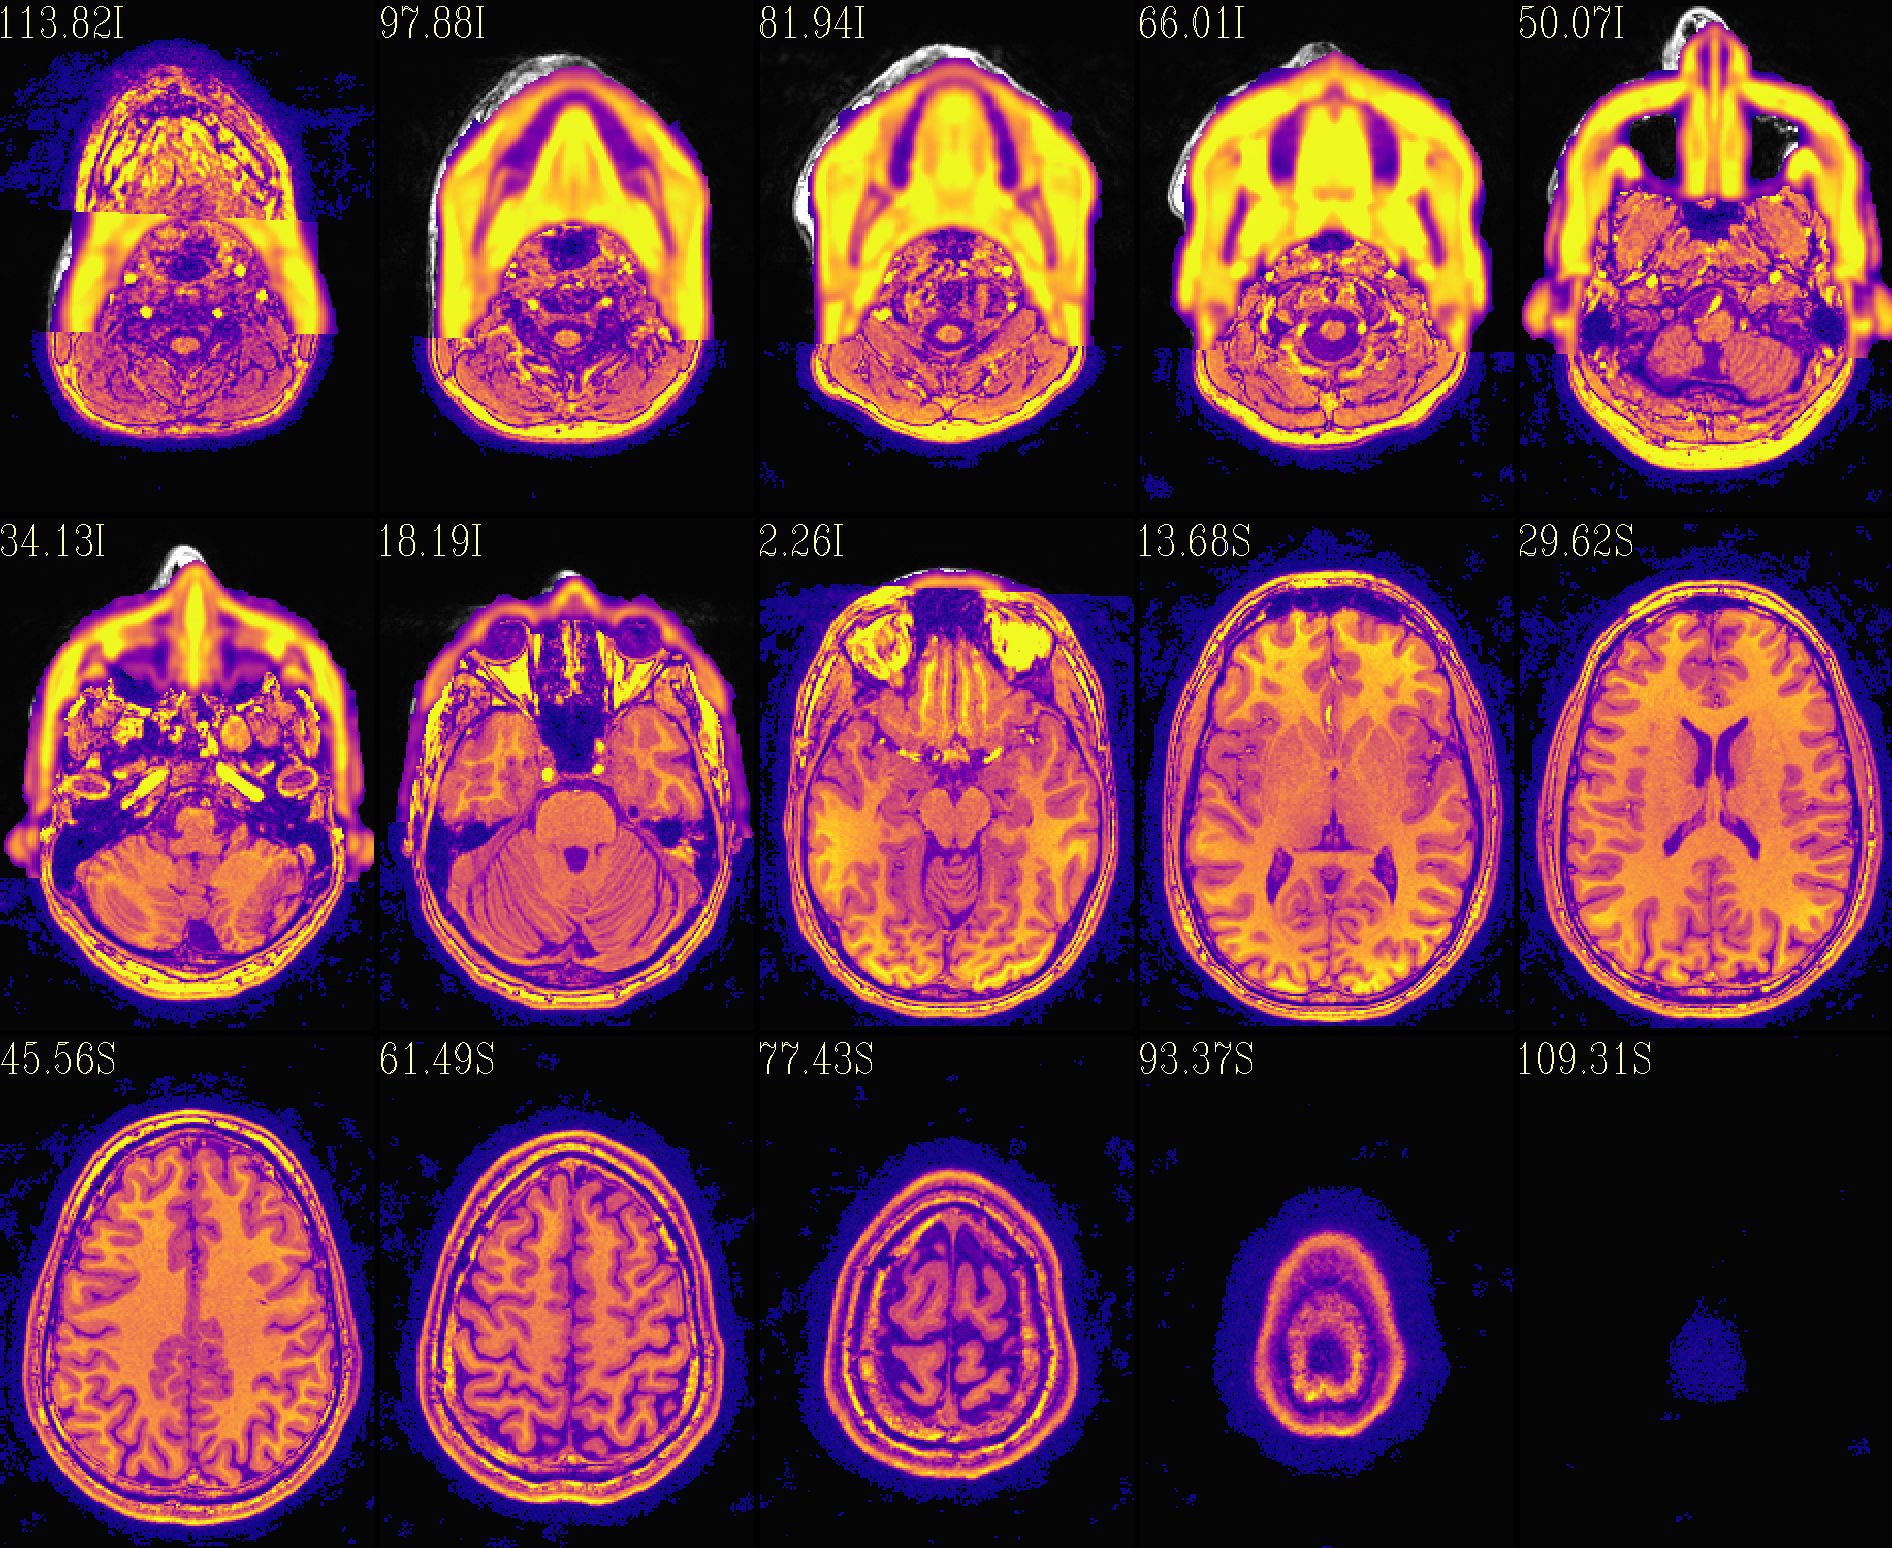
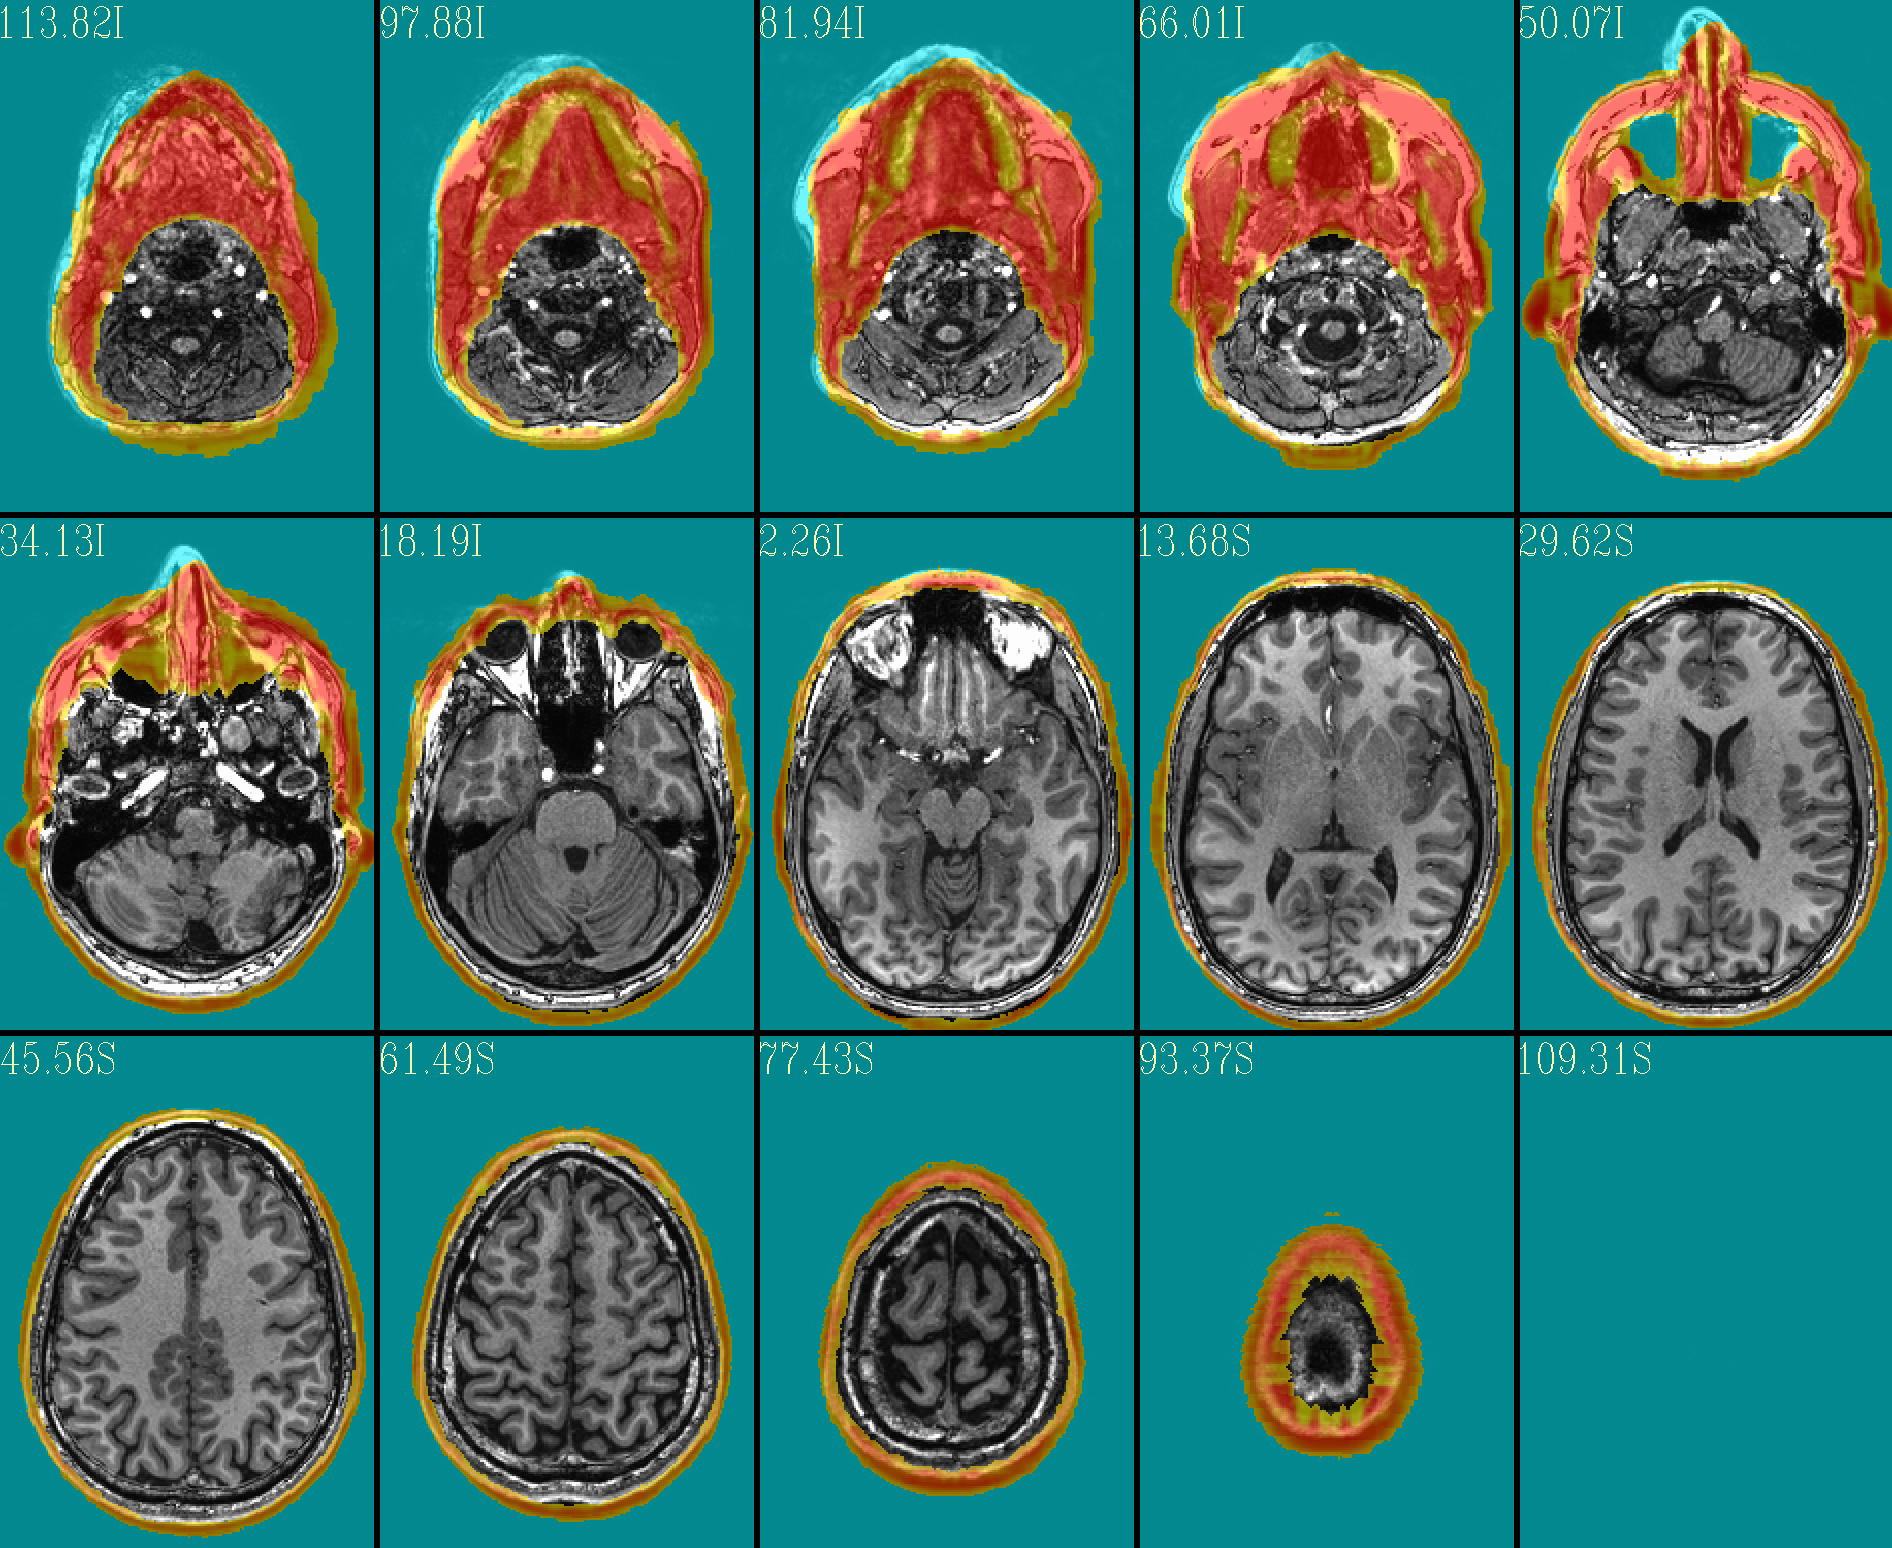
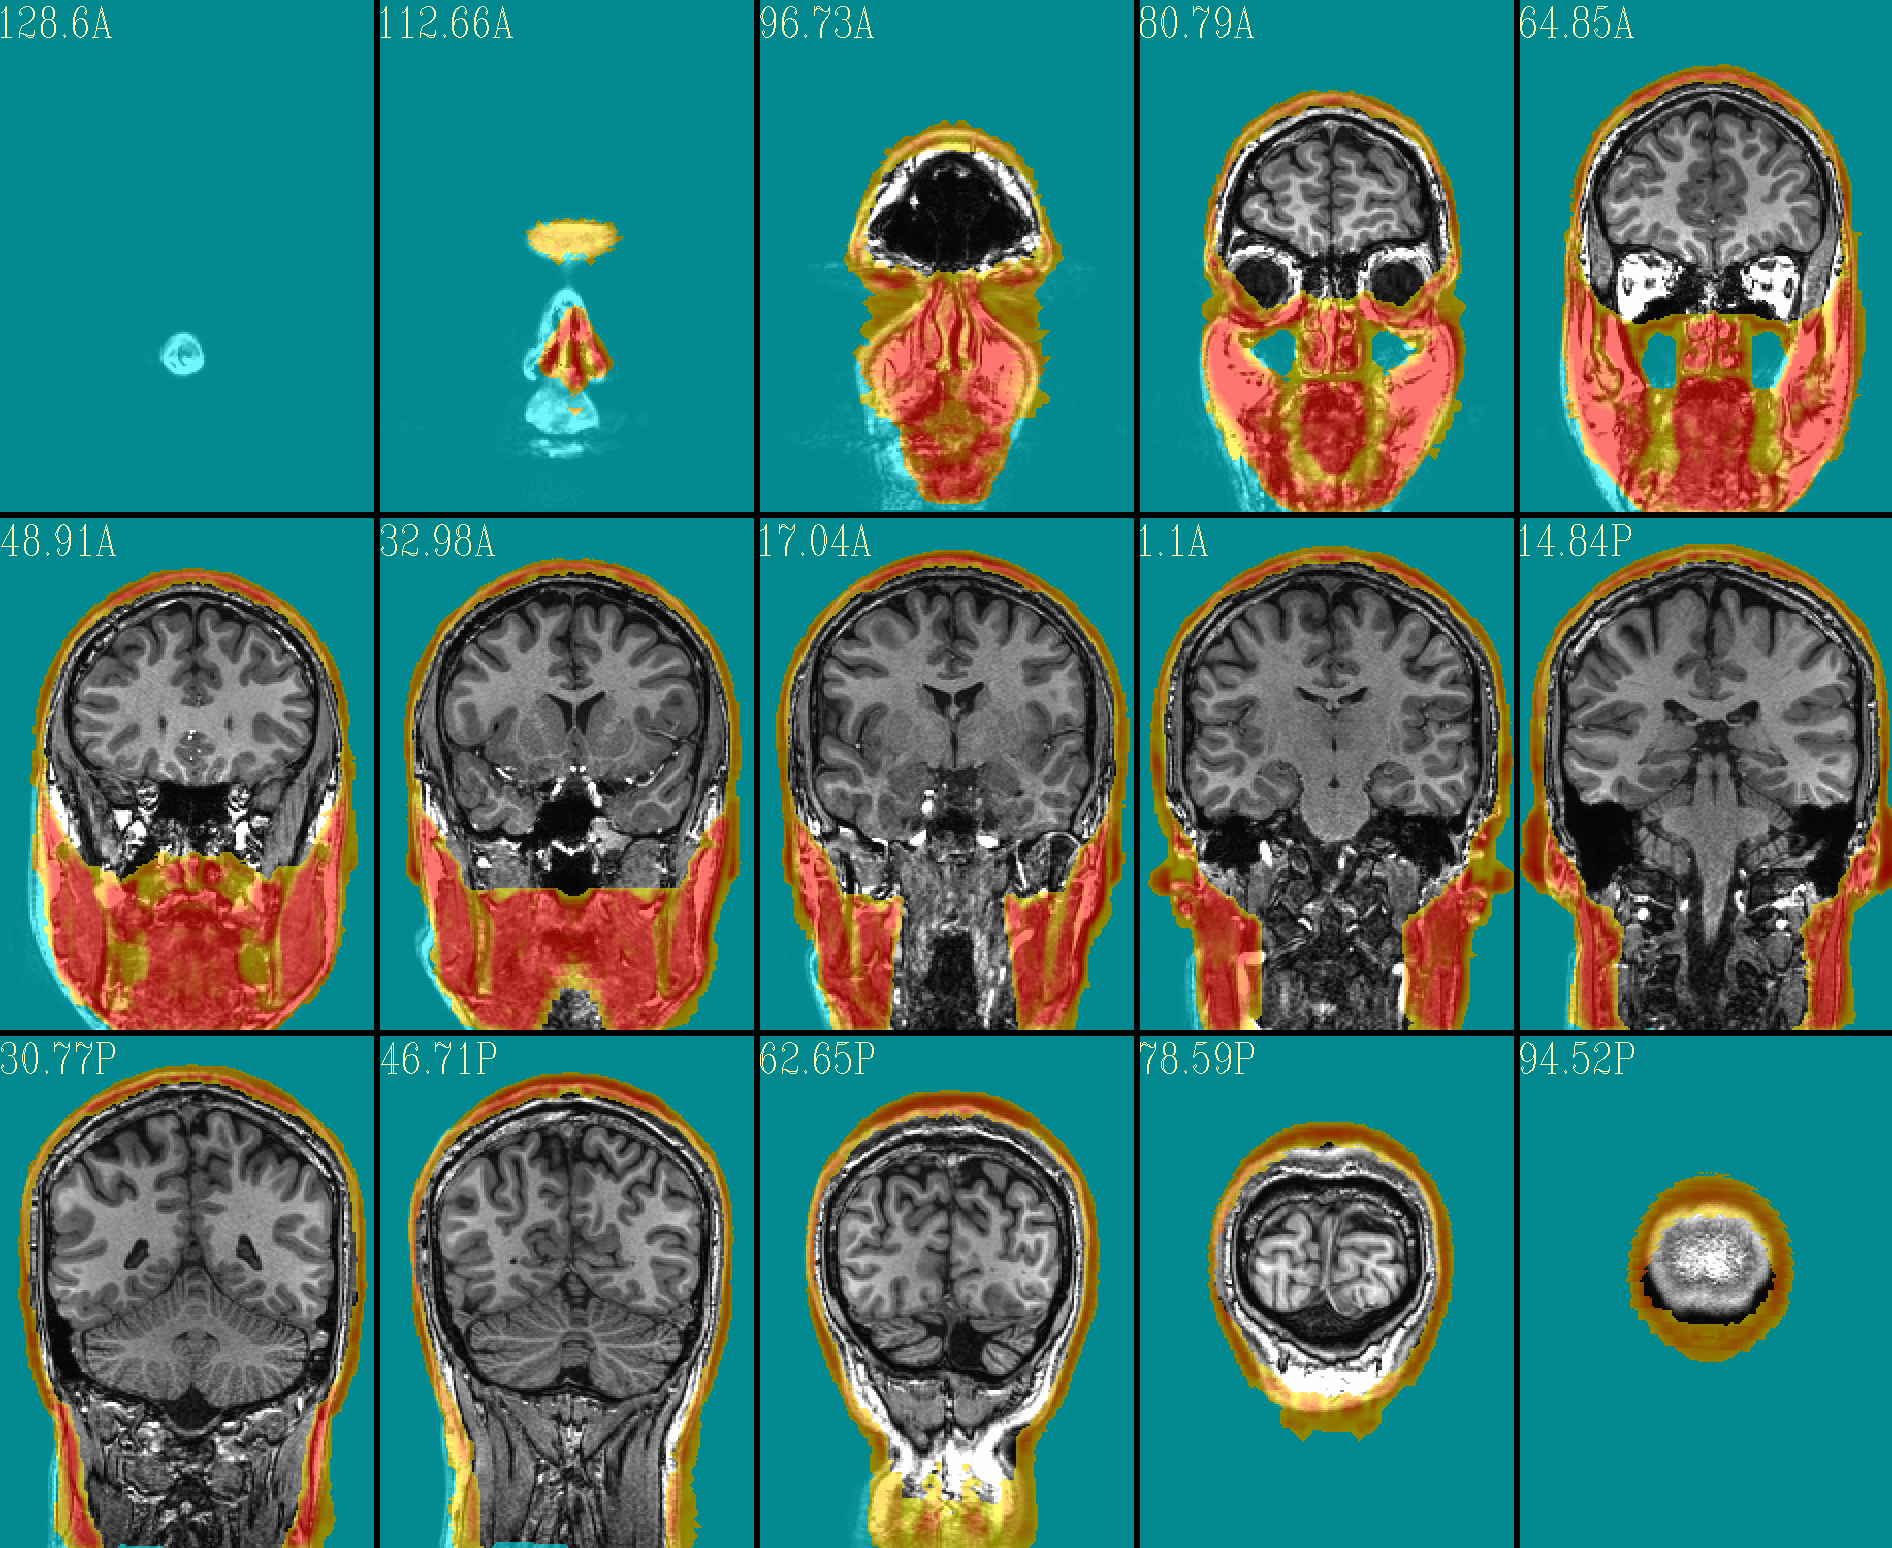
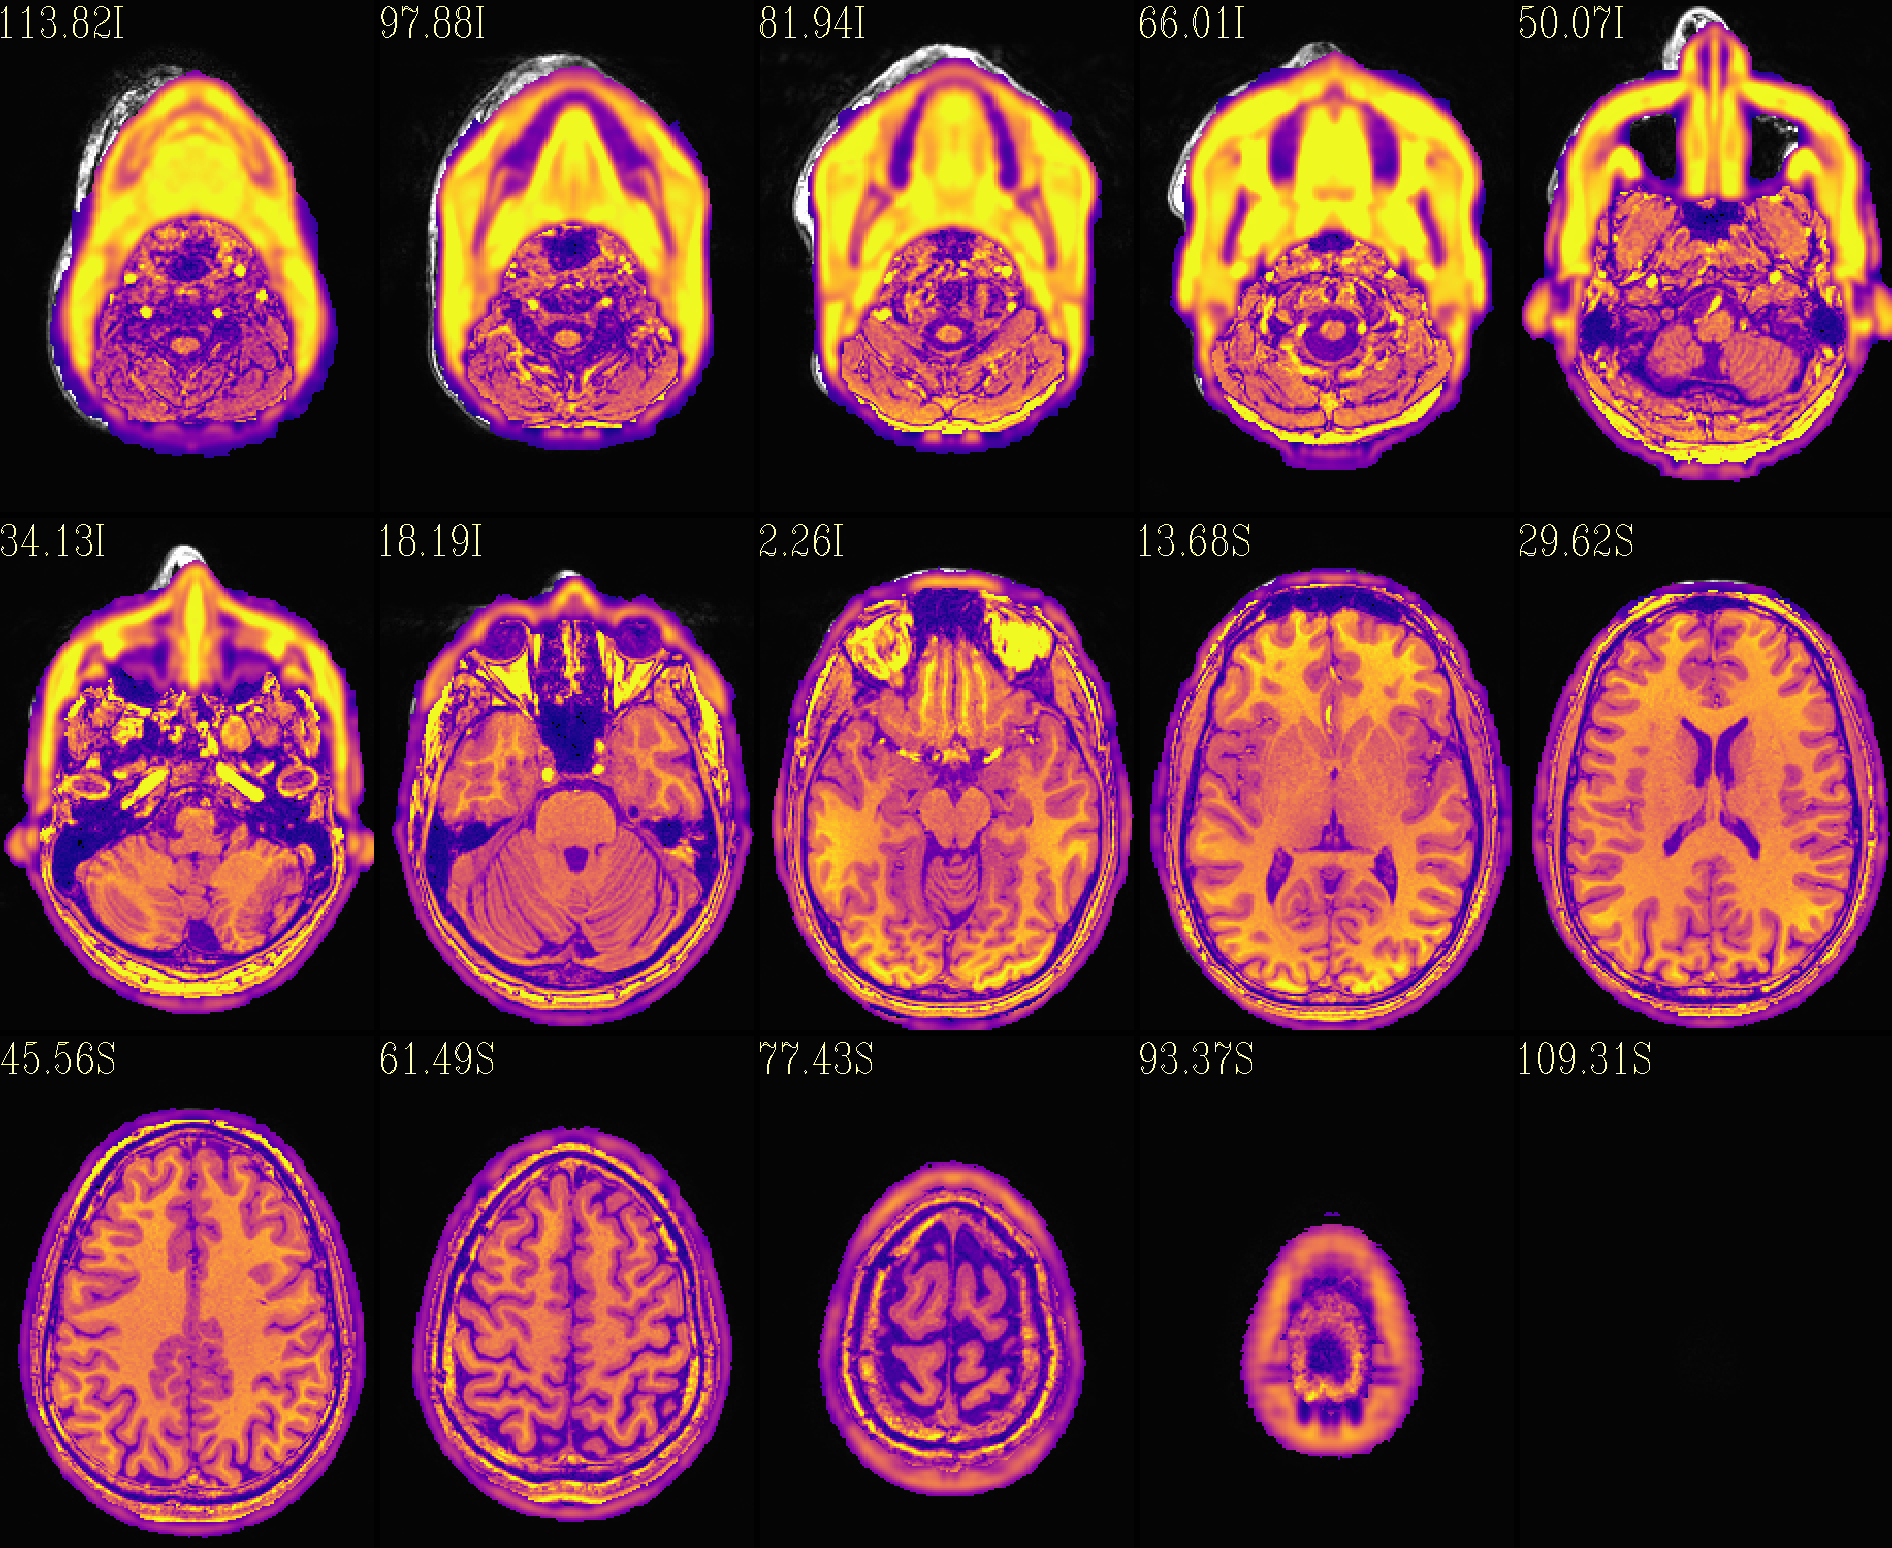
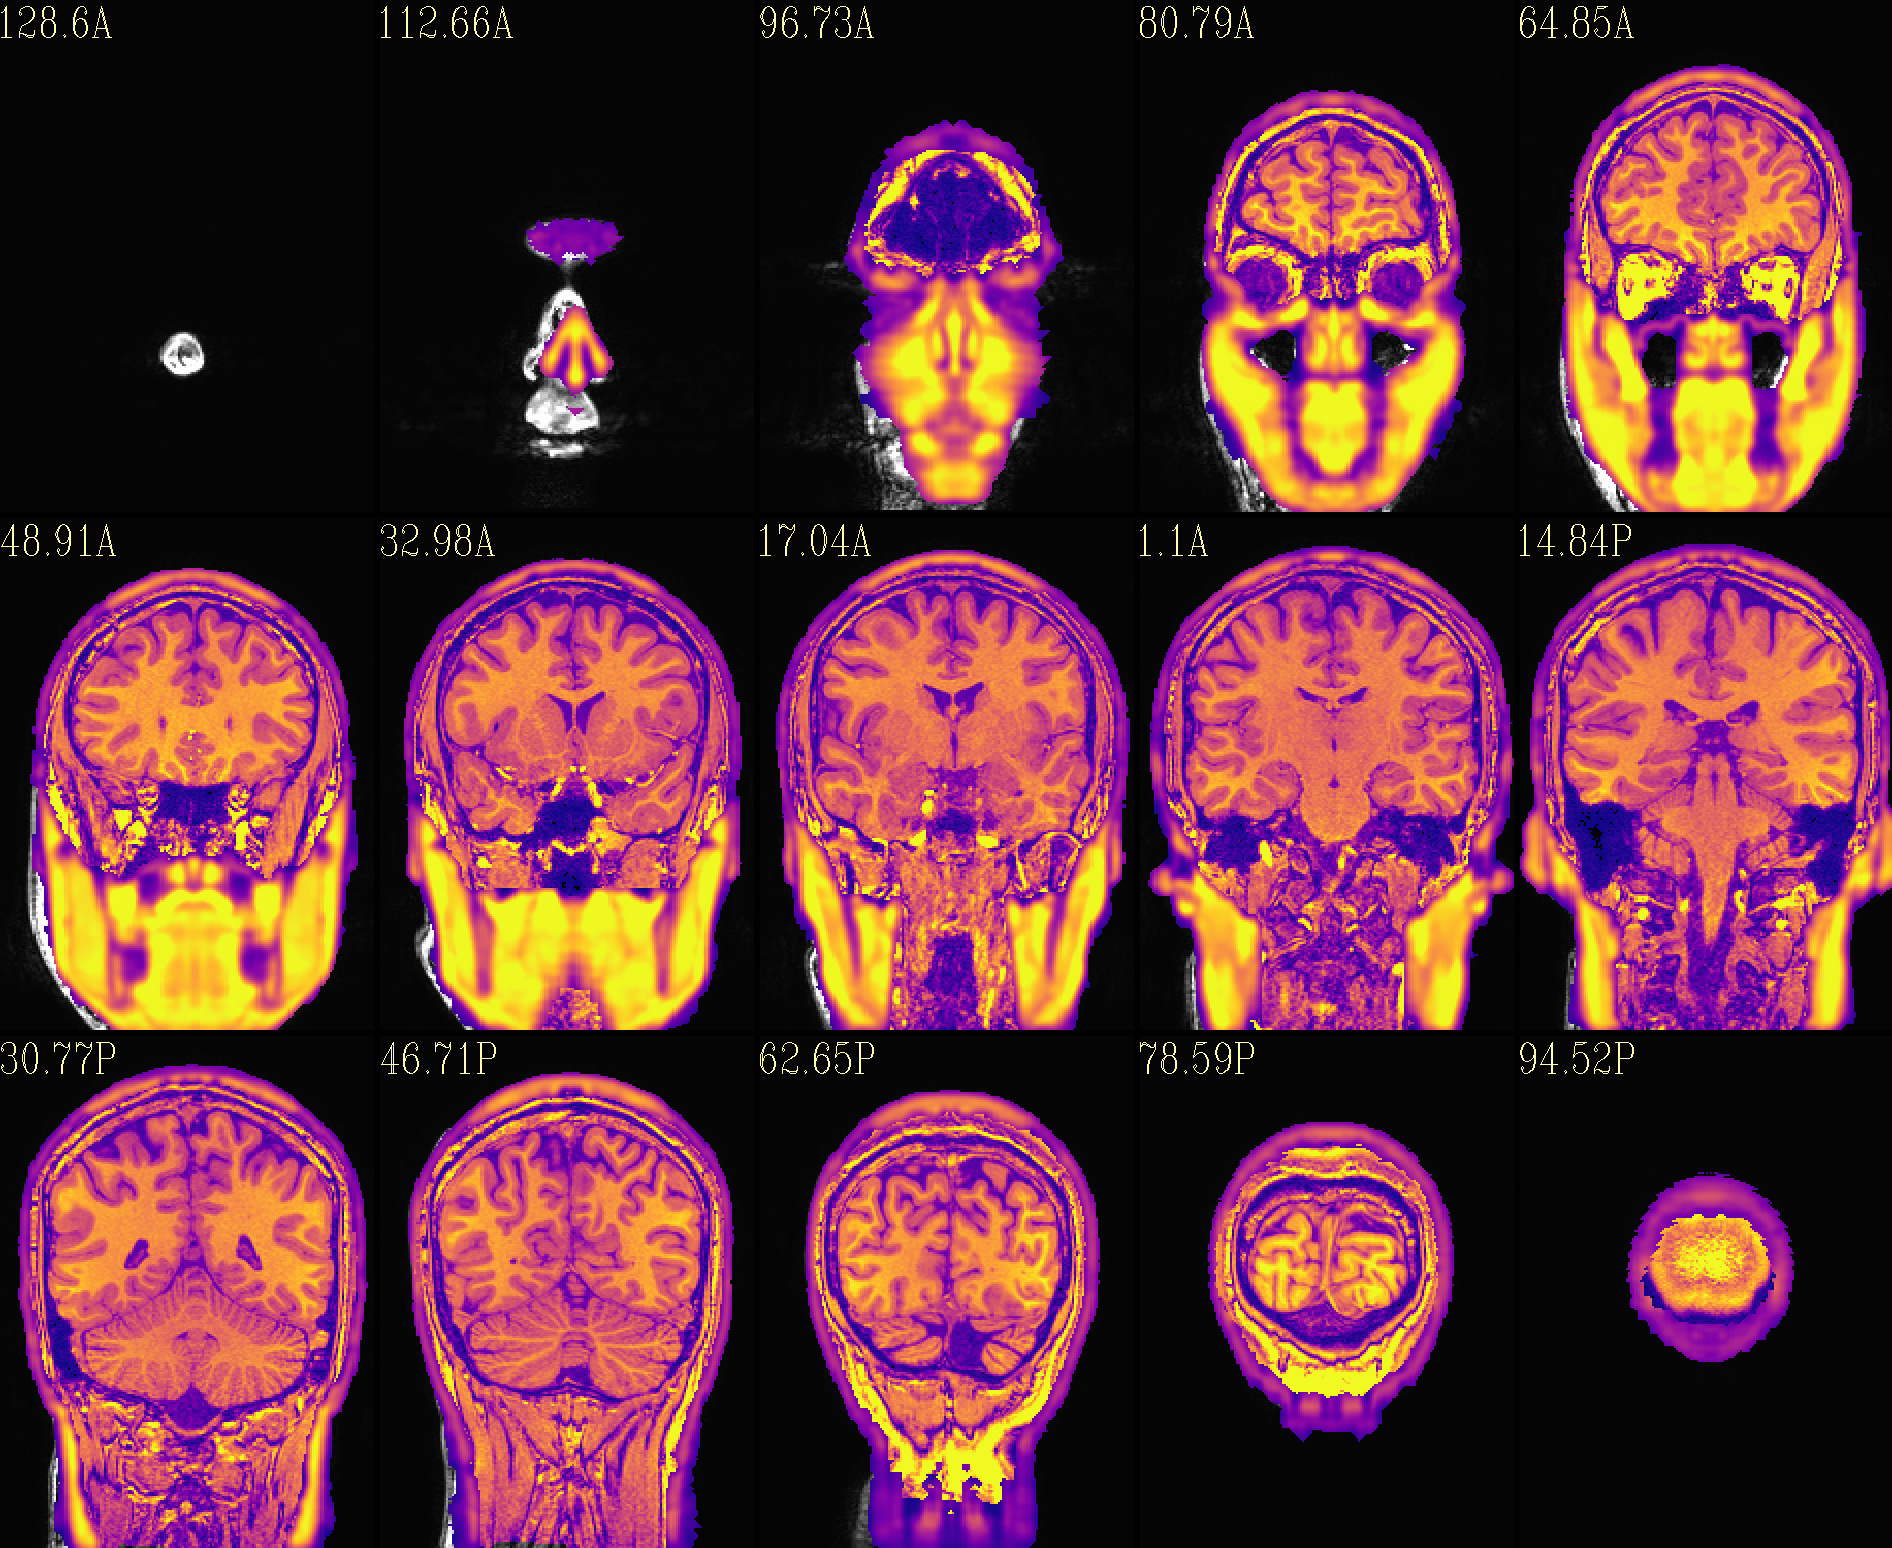
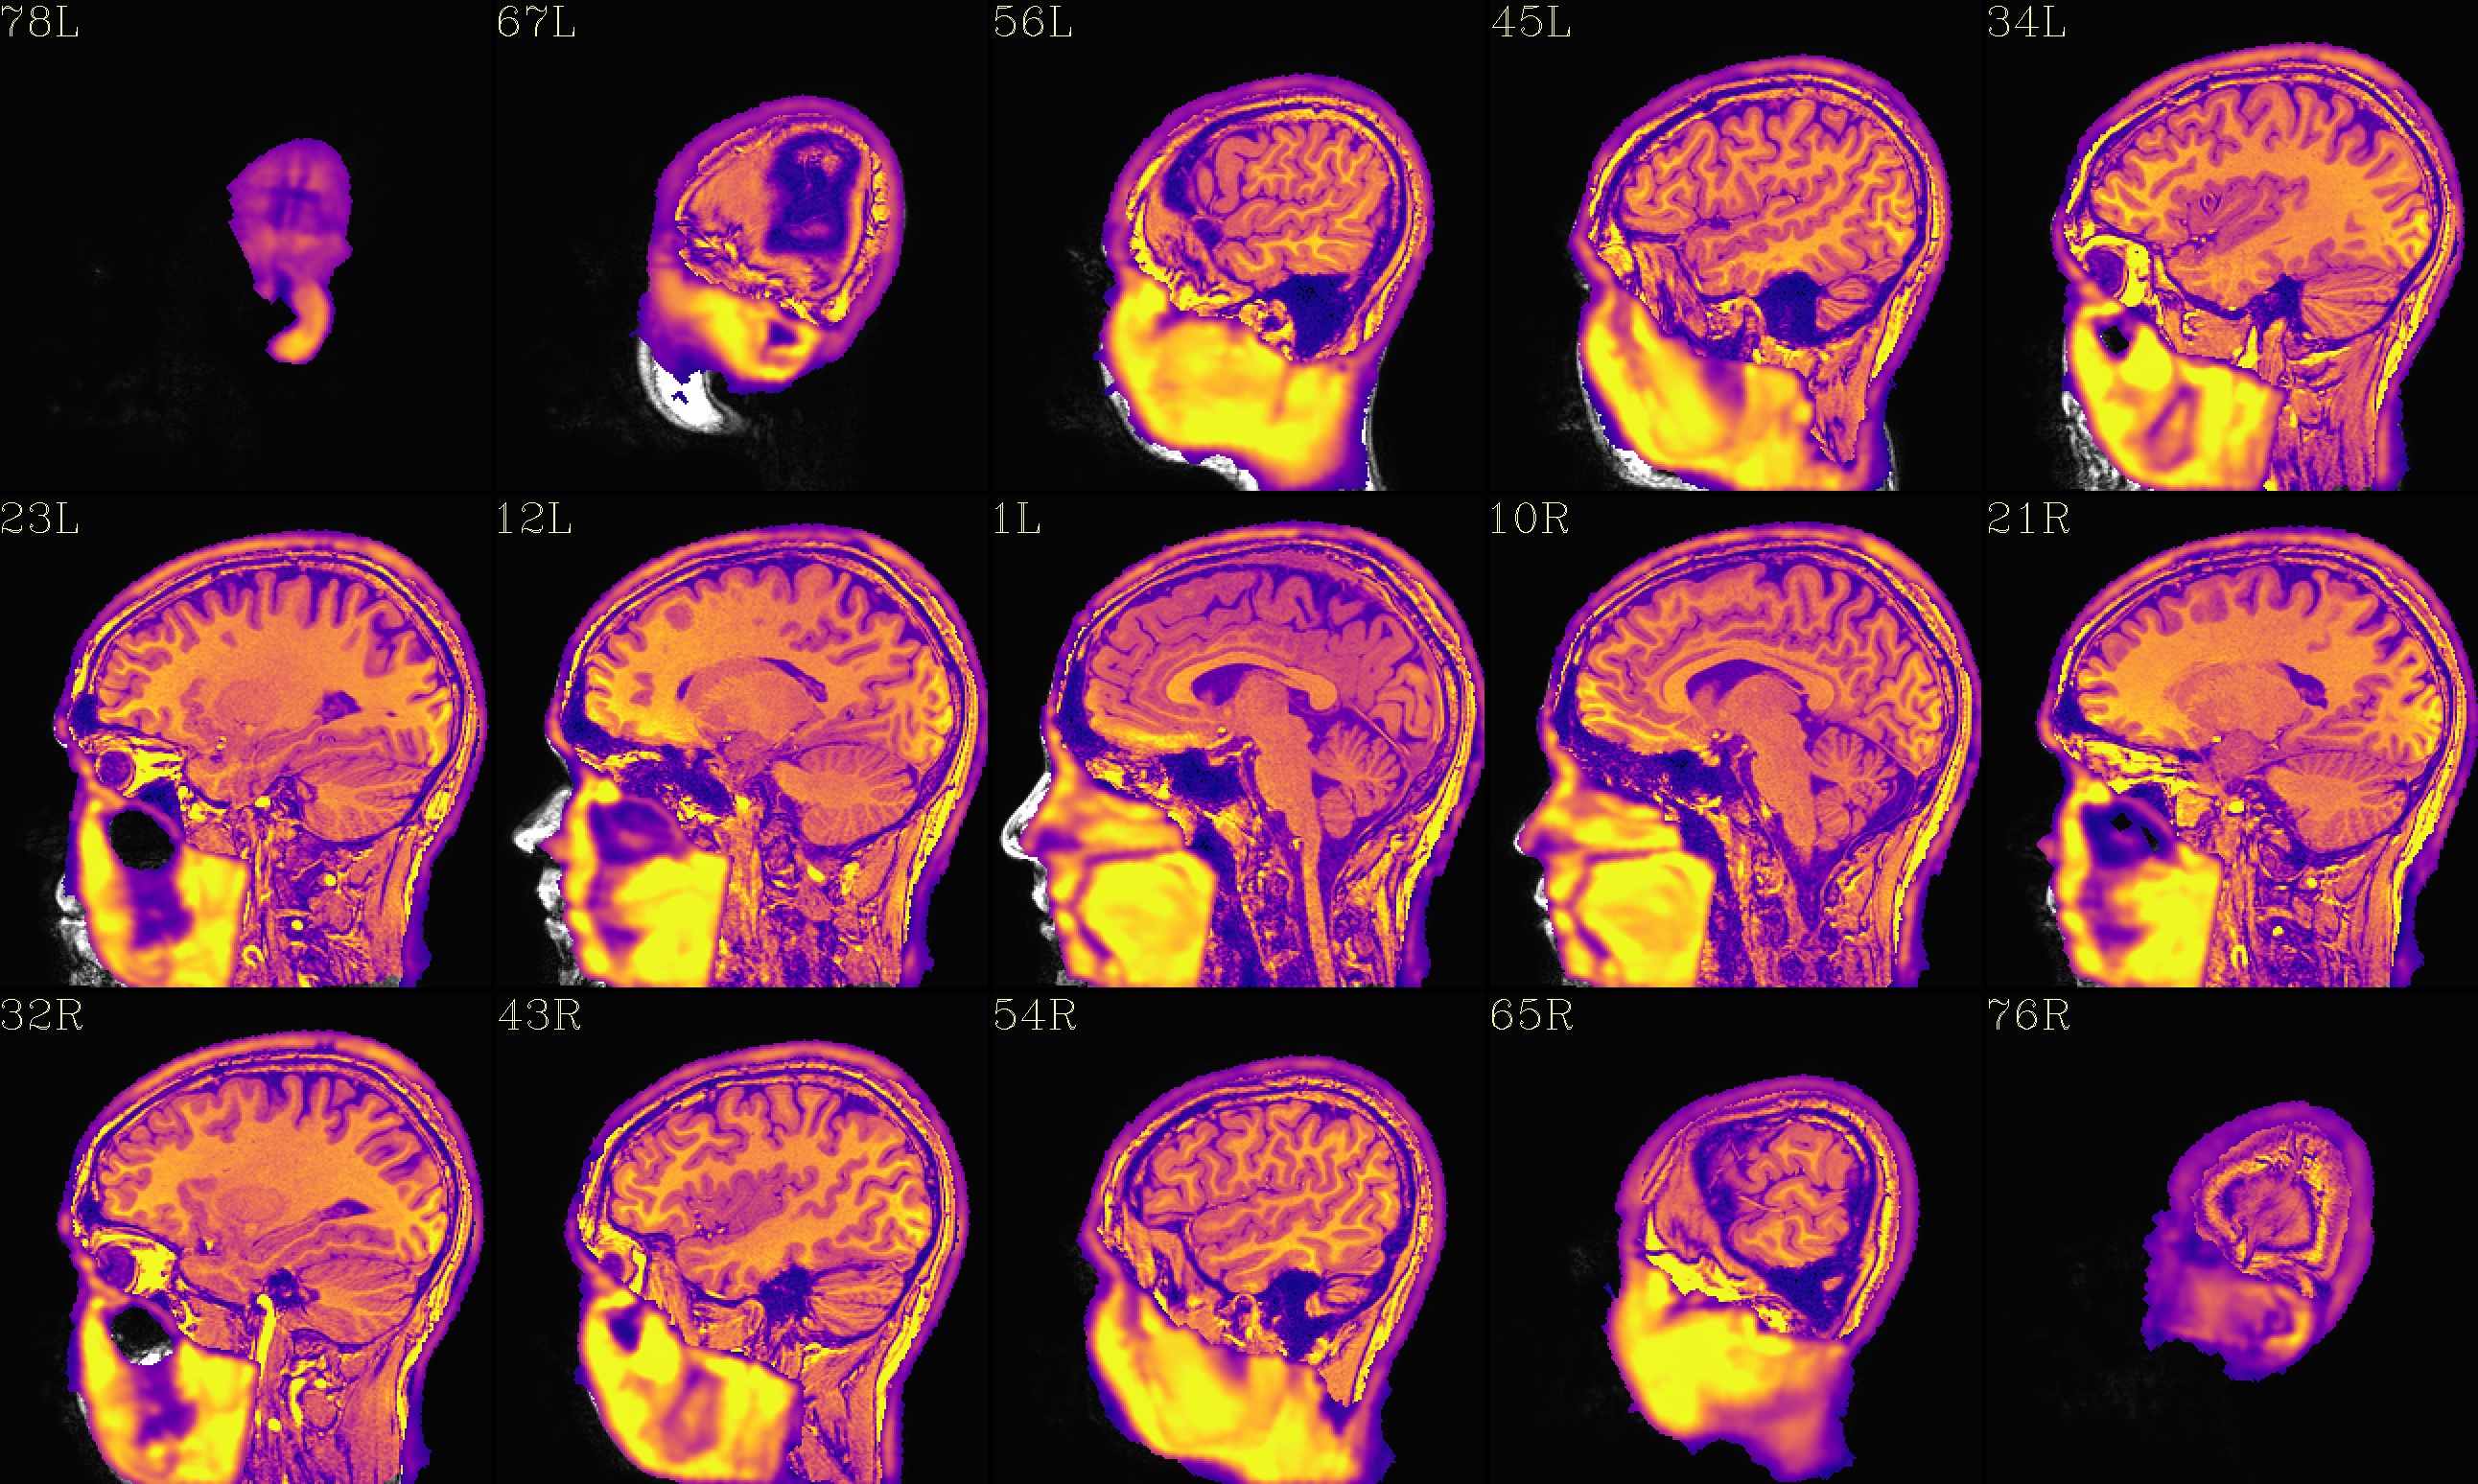
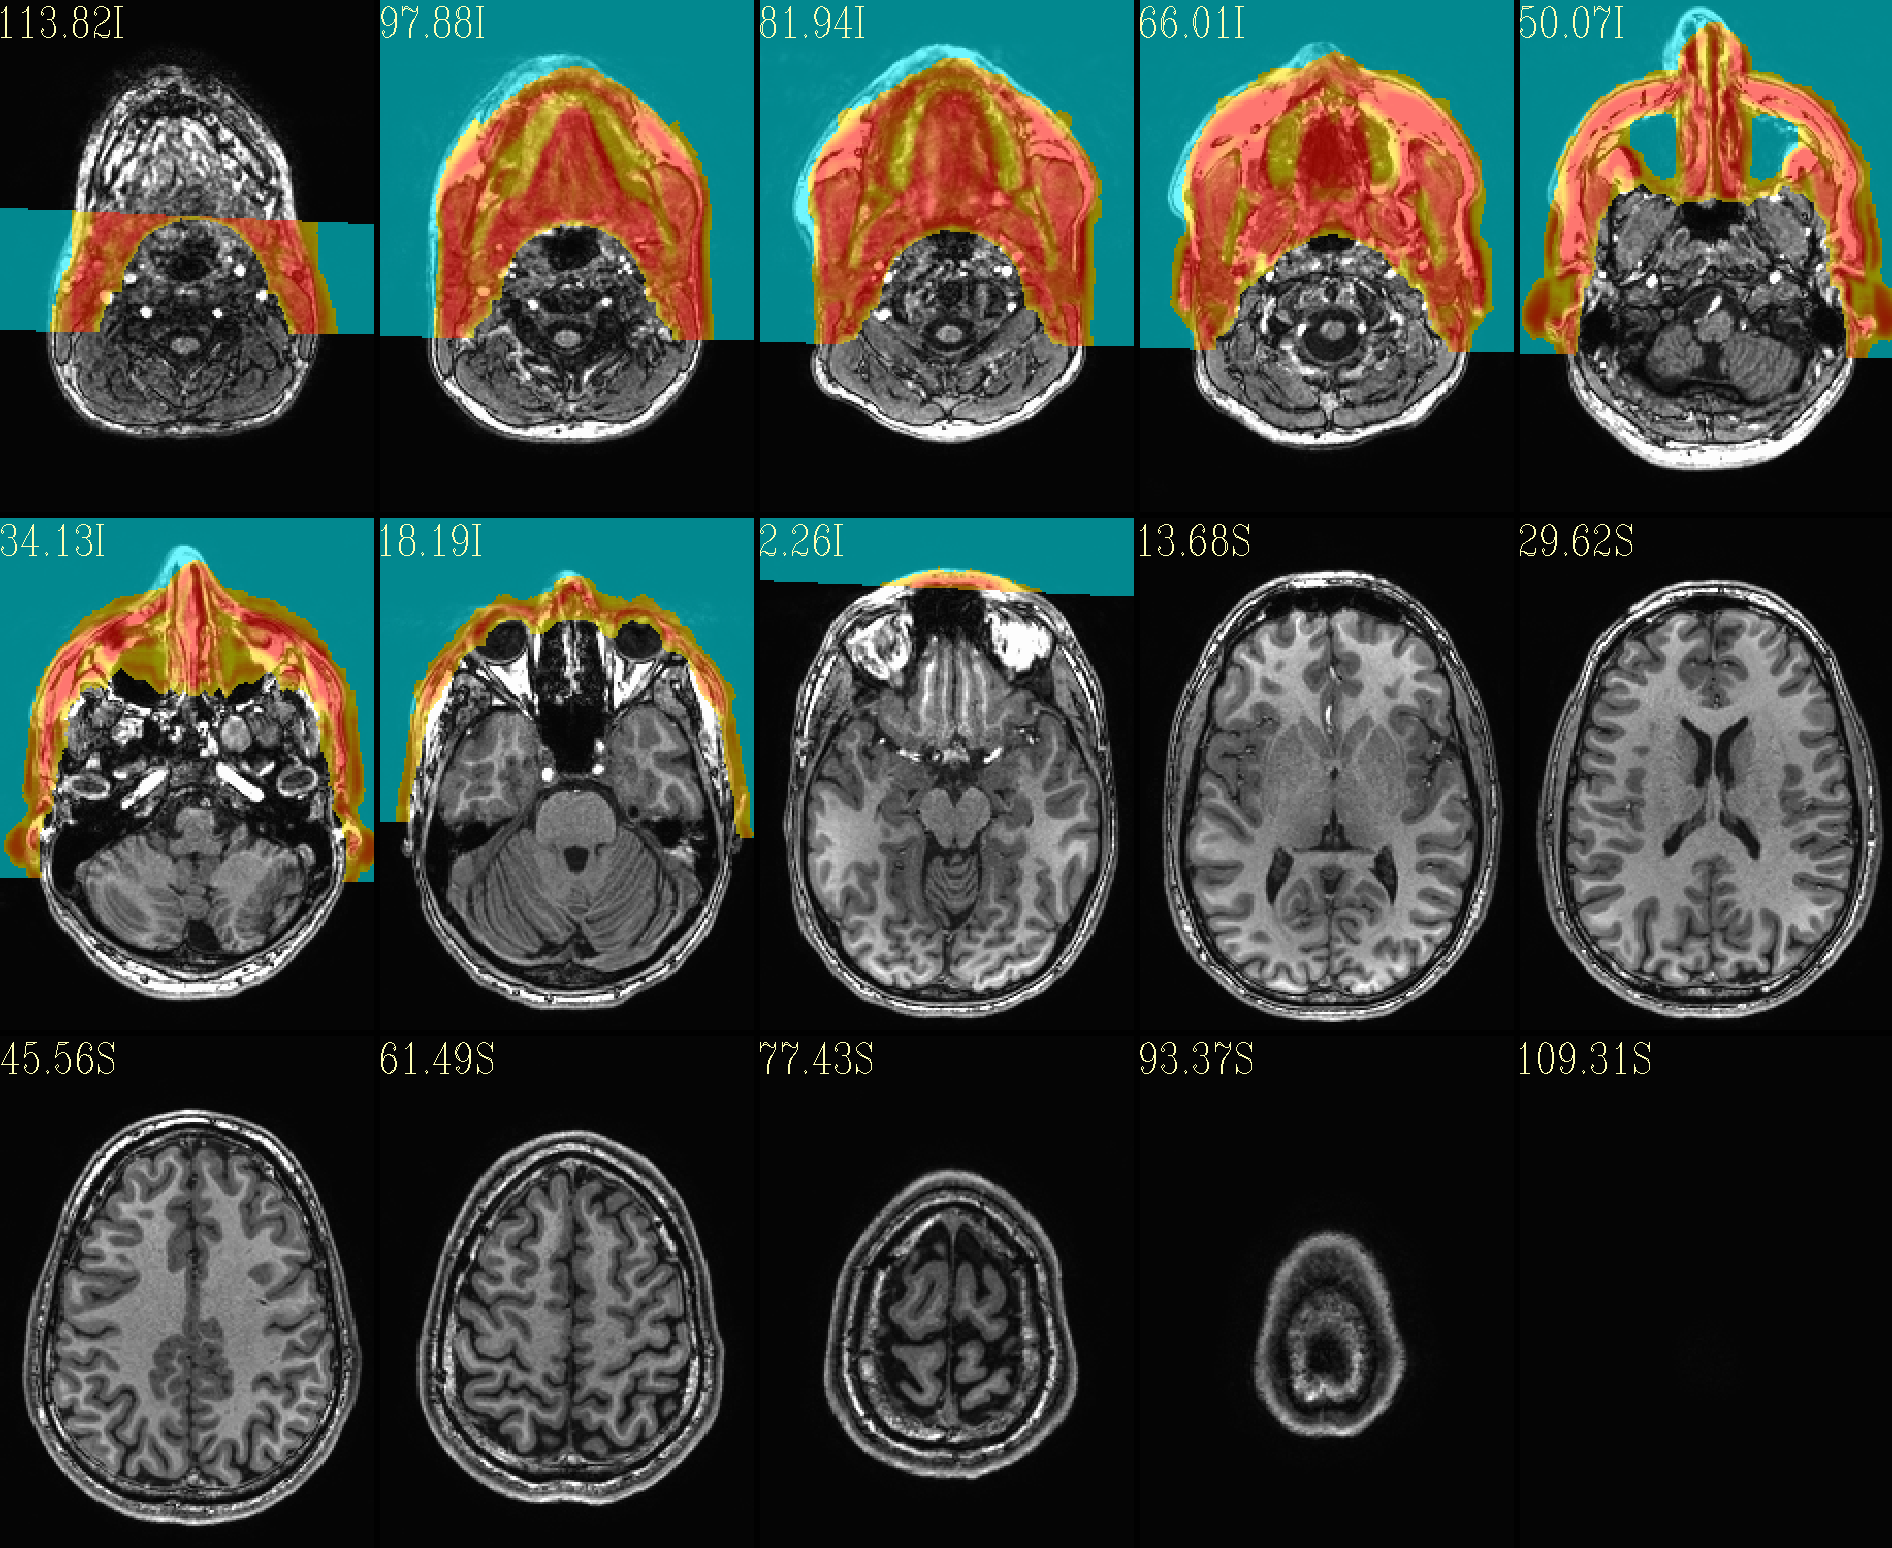
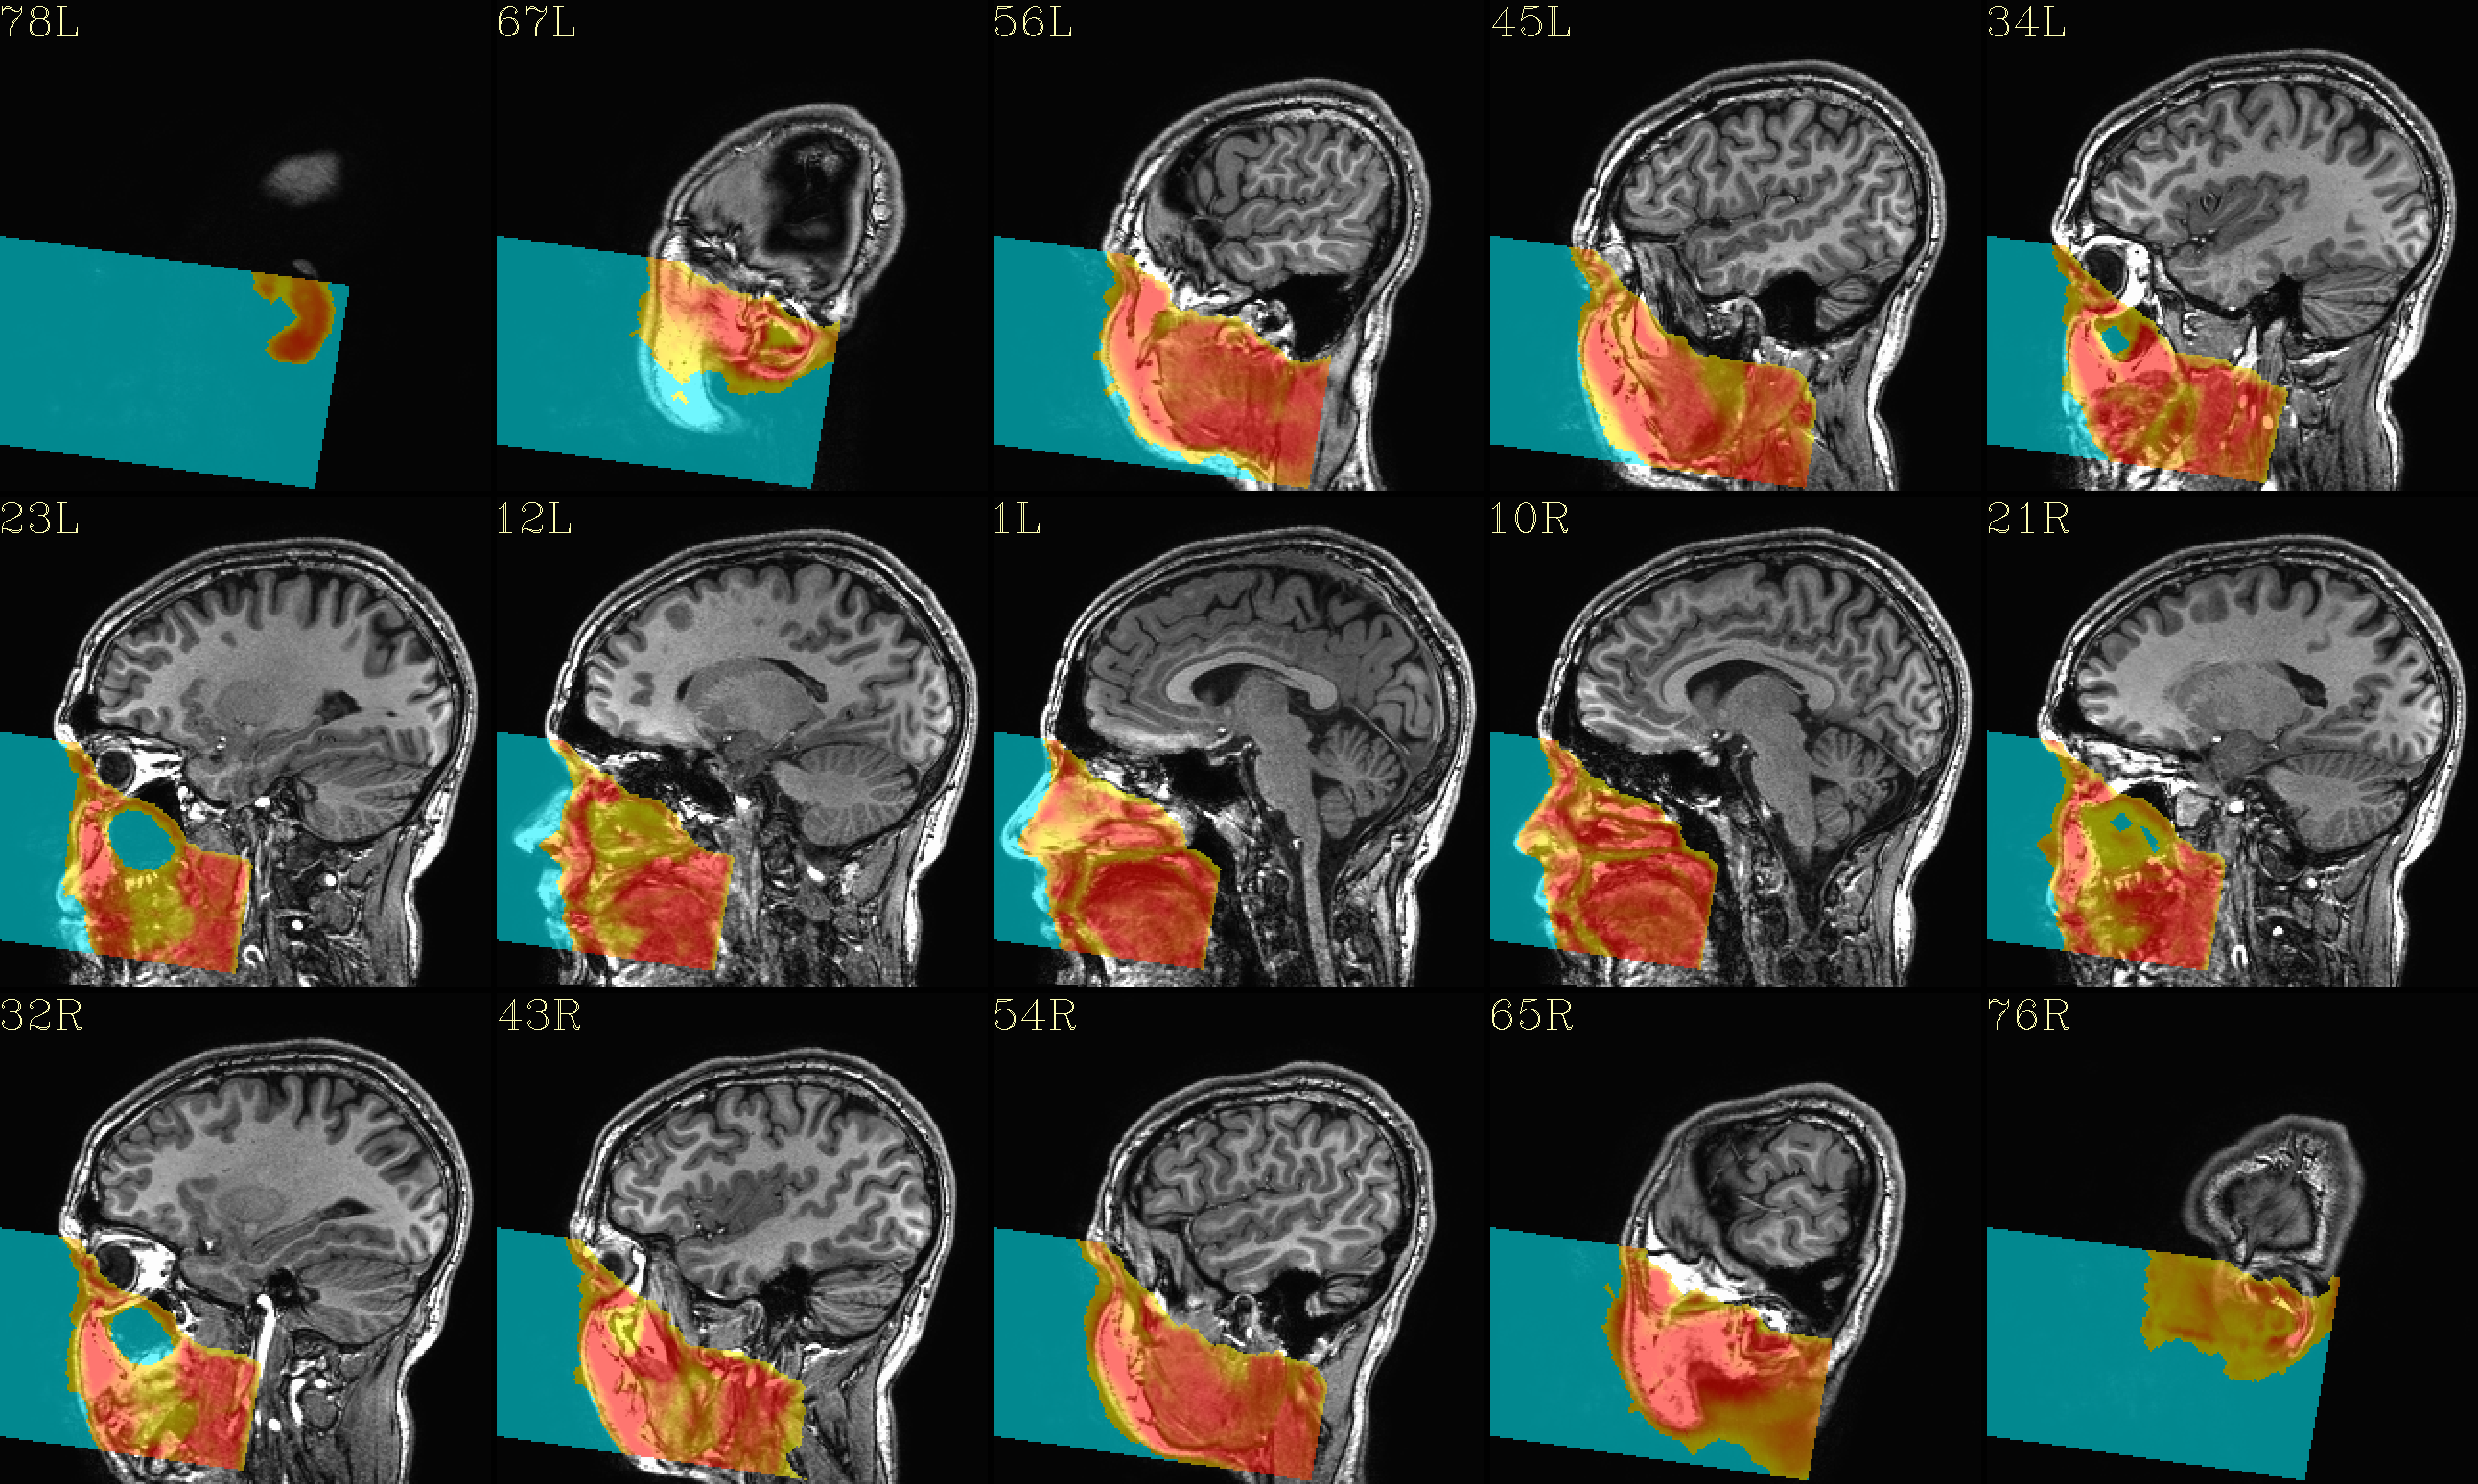
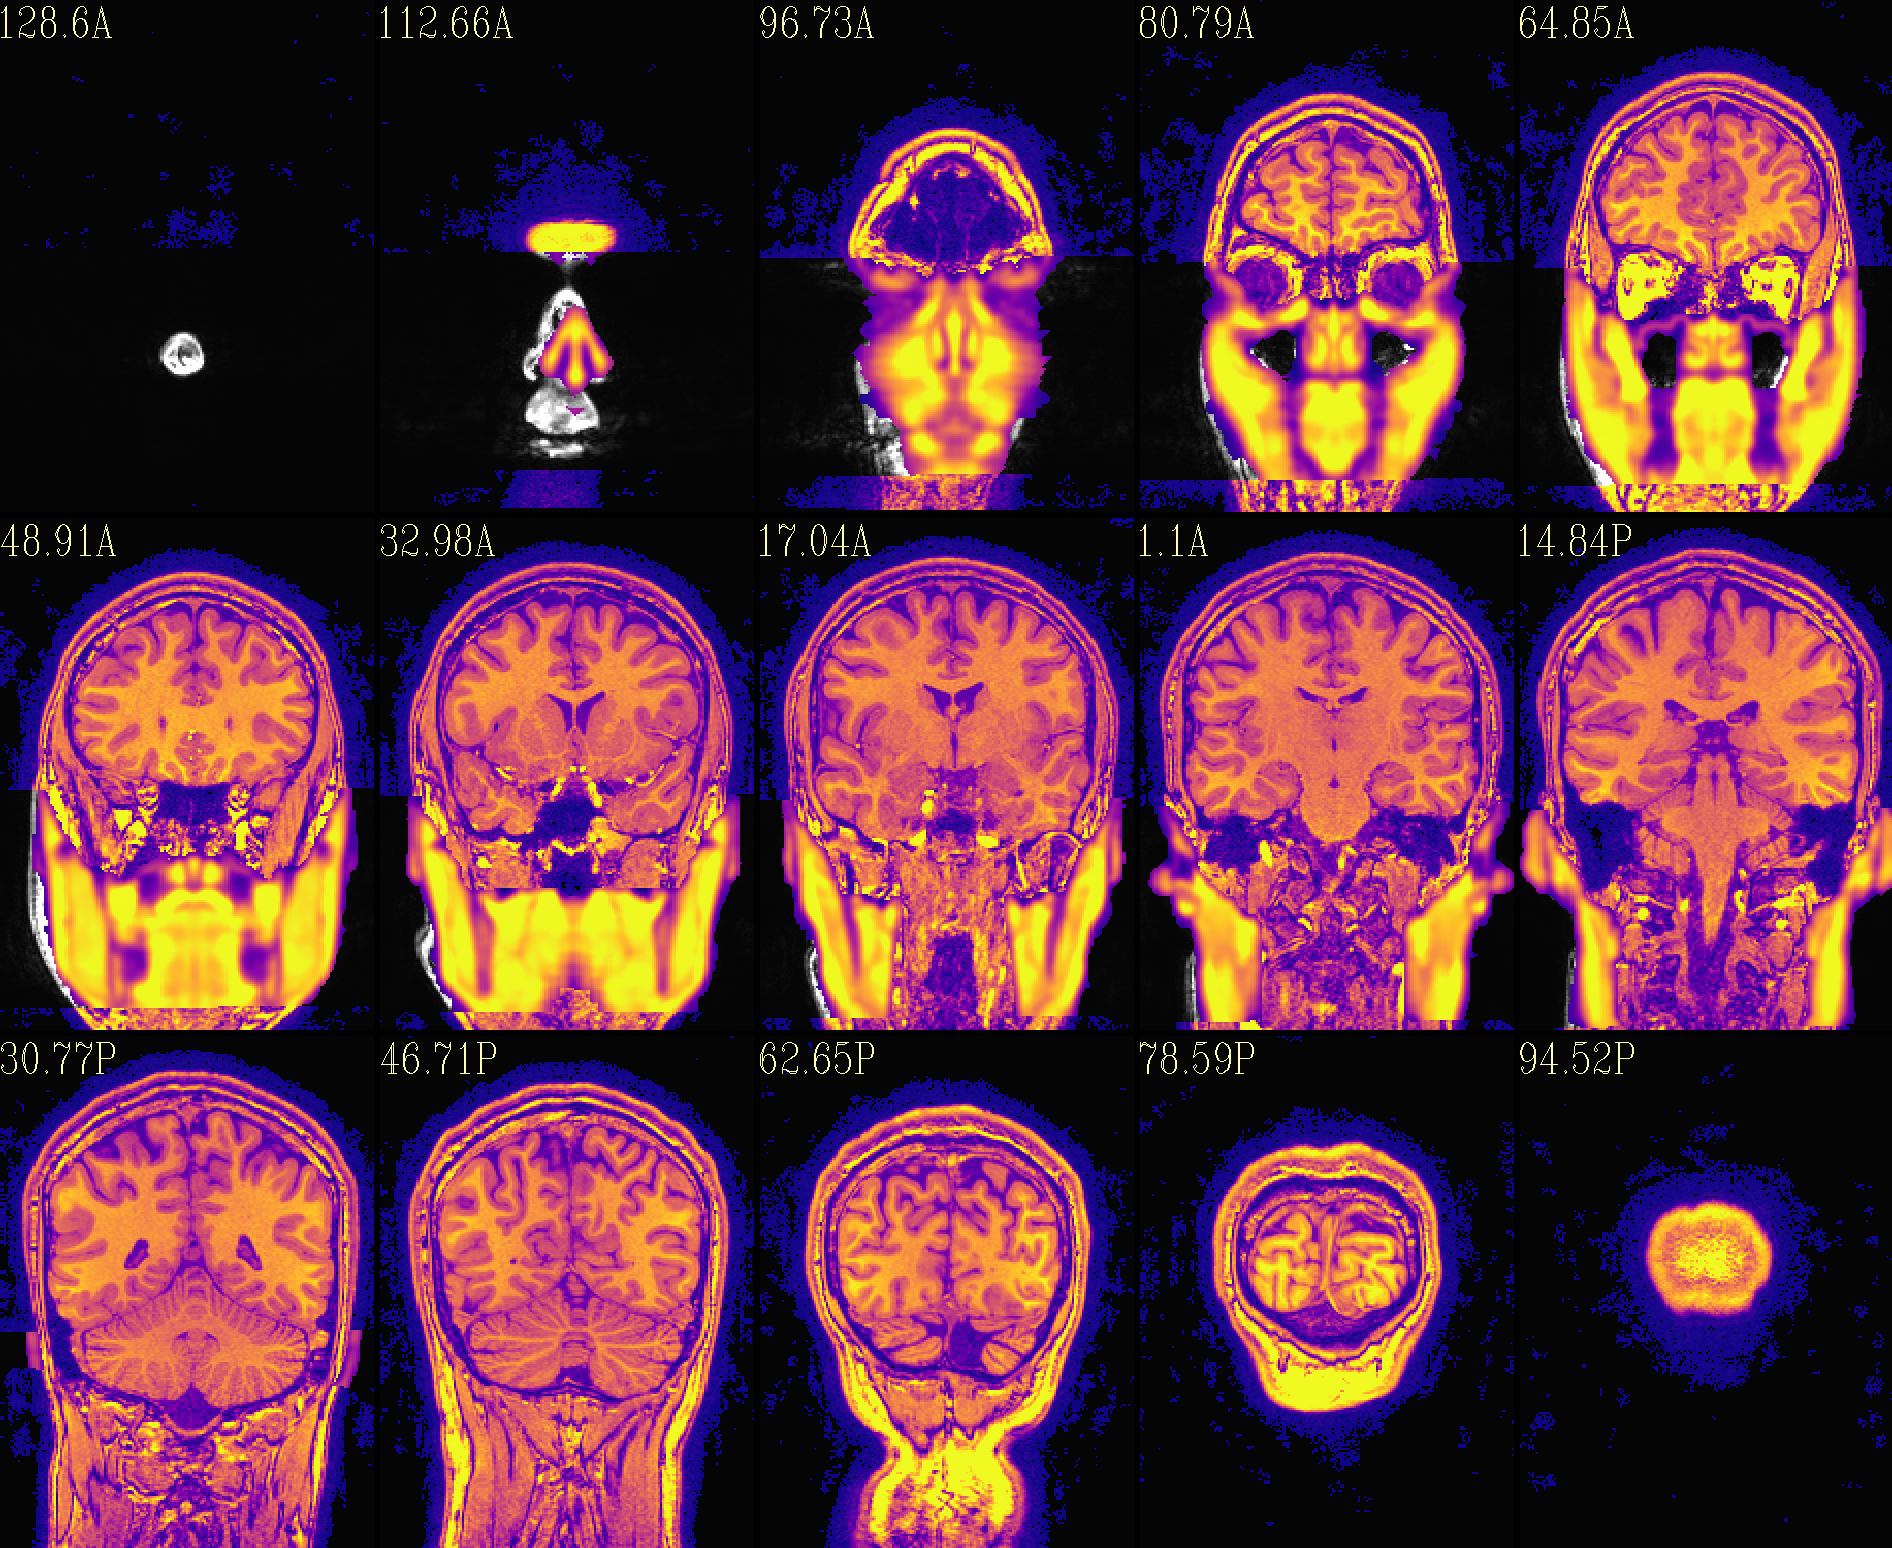
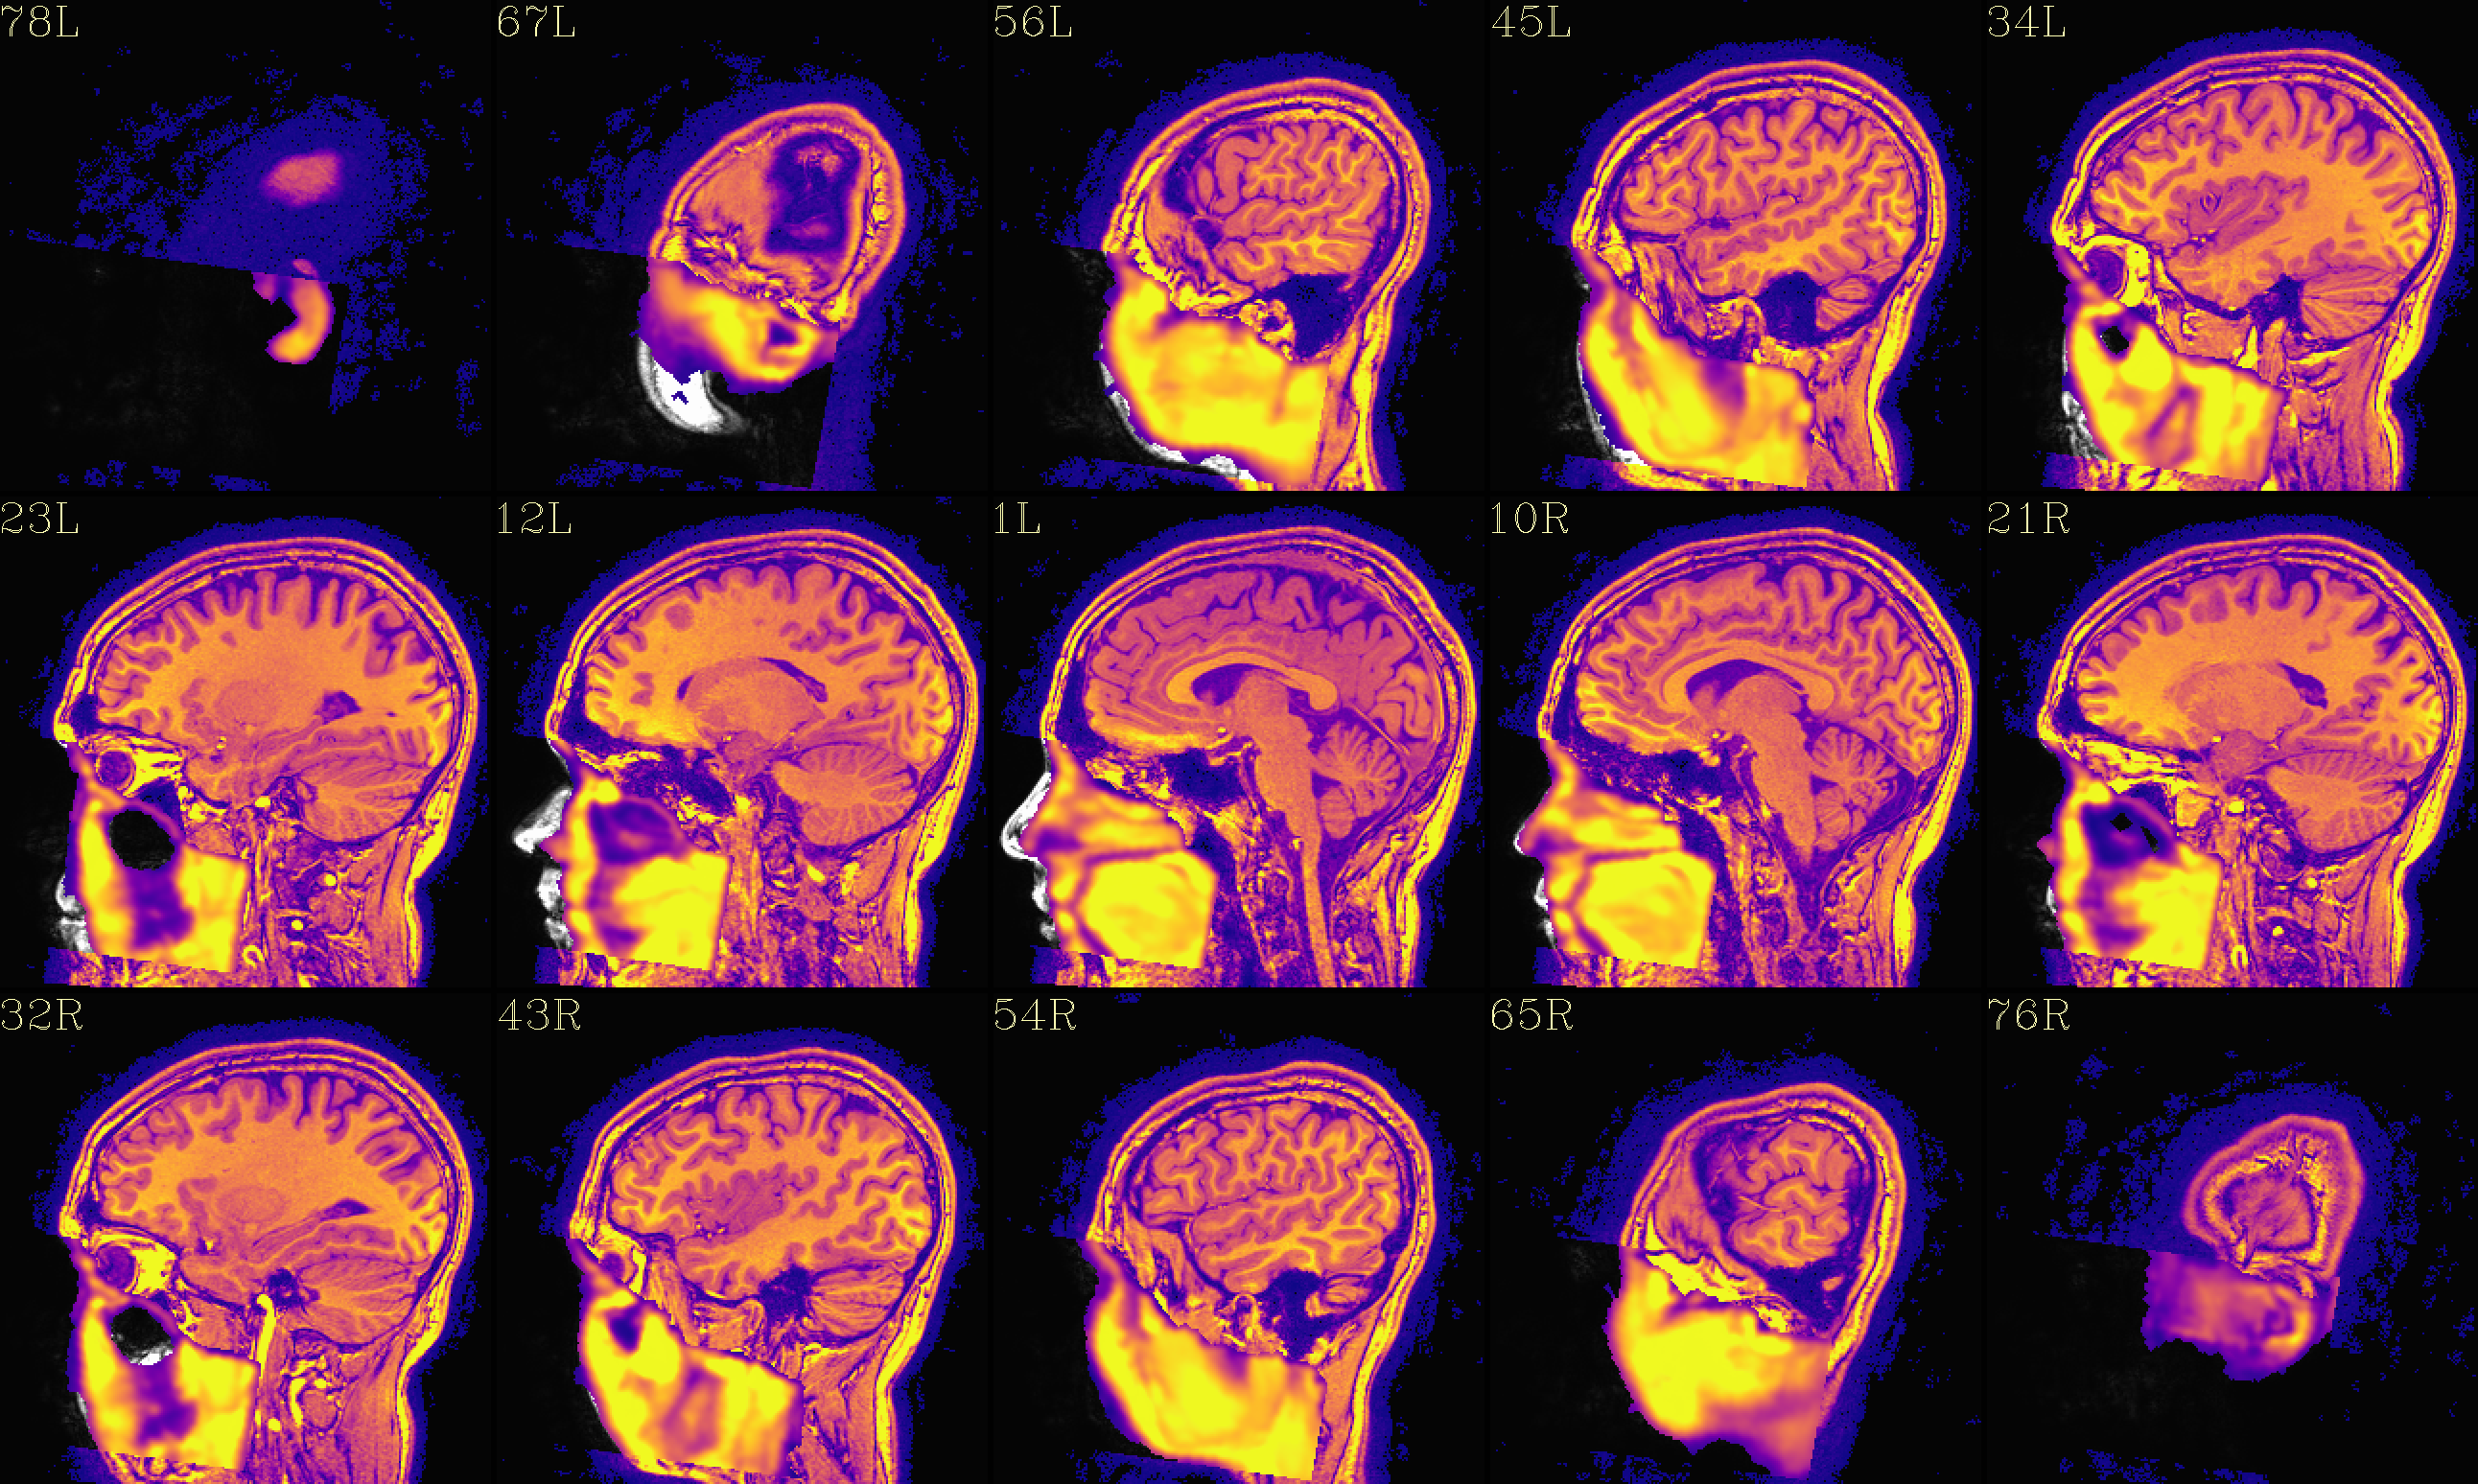
QC image files are produced in sets of 3: one each of axial, coronal and sagittal slices. They display the face and/or face_plus regions used, as well as the new dataset overlayed on the original, for comparison.
afni_refacer2 and
@afni_refacer_run ?afni_refacer2 performs very similarly to
the original one (which was top performing in this independent
study
of defacing tools across the field). The main updates are “under
the hood” within the program itself, to be easier to maintain and
update as needed. The main output difference is that by default,
the newer afni_refacer2 performs a deeper anonymization when it
runs. That is, it uses a re/defacing shell that removes more face,
forehead and ears. In all cases, we recommend using the updated,
more flexible program, afni_refacer2.A note on examples below
For the afni_refacer2 examples below, we use data of the
AFNI_data6/afni/ directory of the freely available AFNI Bootcamp
demo sets (see here if you don’t have it yet).
The code snippets can all be run in a single (tcsh) script file
(provided above)– the variable names are consistent throughout the
page, starting from the initial definitions. Just save the script in
your AFNI_data6/afni/ directory.
A few supplementary volumes/text files will be generated and added to
the directory. The images themselves are put into a subdirectory
called *_QC/ that is created.
Example 1: All modes at once
This program runs with very few options: basically, in input file, and output name/prefix, and one “mode” that specifies whether you want to deface, reface or reface-plus your data. Or, you can run all at once, which is what this example demonstrates.
Anonymizing might also be useful, so we include that option here.
This leads to 3drefit -denote ... and nifti_tool -strip_extras
-overwrite being run to clear out header information in the output
dataset.
# Example 1: run all reface/deface modes, and check results

afni_refacer2                                                         \
    -input anat+orig.                                                 \
    -mode_all                                                         \
    -anonymize_output                                                 \
    -prefix anat
Running the above command creates all new versions of the input dataset with refacing, defacing and reface-plus-ing. (This might be the most useful/comprehensive way to run this program, because you get everything at once.)
The output images of the above command are presented here. Based on
the prefix given, they would each be created in a subdirectory called
anat_QC.
The ‘face’ region for replacement or zeroing (overlayed on orig input) |
|
|---|---|

|
|

|
The ‘deface’ volume, overlayed on orig input |
|
|---|---|
|
|
|
The ‘reface’ volume, overlayed on orig input |
|
|---|---|
|

|

|
The ‘face_plus’ region for replacement (overlayed on orig input) |
|
|---|---|
|
|

|
The ‘reface_plus’ volume, overlayed on orig input |
|
|---|---|
|
|
|
Example 2: Reface mode
This command is nearly the same as the above, except for the “mode”
chosen, and the fact that the -prefix .. argument here specifies
the full output name of the file.
# Example 2: simple refacing (only)

afni_refacer2                                                         \
    -input anat+orig.                                                 \
    -mode_reface                                                      \
    -anonymize_output                                                 \
    -prefix anat_reface.nii.gz
The above produces two datasets:
anat_reface.nii.gz, which is the refaced input
anat_reface.face.nii.gz, which is the face that will overwrite part of the input dataset.
It also creates a directory called anat_reface_QC with the QC
images to quickly show the behavior of the program.
The ‘face’ region for replacement (overlayed on orig input) |
|
|---|---|
|

|
|
The refaced input, overlayed on orig input |
|
|---|---|

|
|
|
Example 3: Note on other modes
The other modes, -mode_deface and -mode_reface_plus operate in
the exact same way as the preceding example, just with the varied
output type. The -mode_all example above displays all the
possible outputs.
Soooo, hopefully that’s clear enough.
